![]()
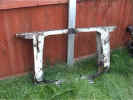
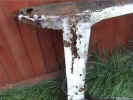
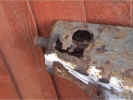
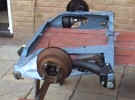
A bit of gentle tapping on the old subframe revealed a few holes....
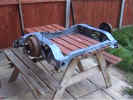
The nice shiny new one should be a bit safer !
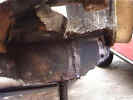
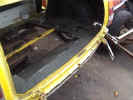
Having sheared a couple of the old bolts in the heel boards, both ends of the old panel were chopped off and new repair sections welded in.
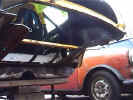
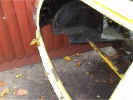
Then the rear section of the boot floor was taken out (again using the mildly scary 9" grinder).
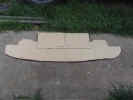
A cardboard template for the replacement panel was made in about 15 mins with a permanent marker and a pair of scissors. - Remember to use round nosed scissors, and don't sniff the pen (too much!).
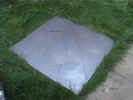
A quick scribble round the cardboard, which only just fitted on the sheet !
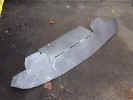
Then after only 10 mins with the 9" grinder, the panel was ready to fold and fit.
After a bit of light bashing, and some slight dressing again with the grinder, the panel was ready co clamp on and weld.

 www.msefi.com


