--


Introducing Mr William Fickington
1965 Morris Minor
He sort of arrived on 30th December after looking a bit lonely on Ebay!
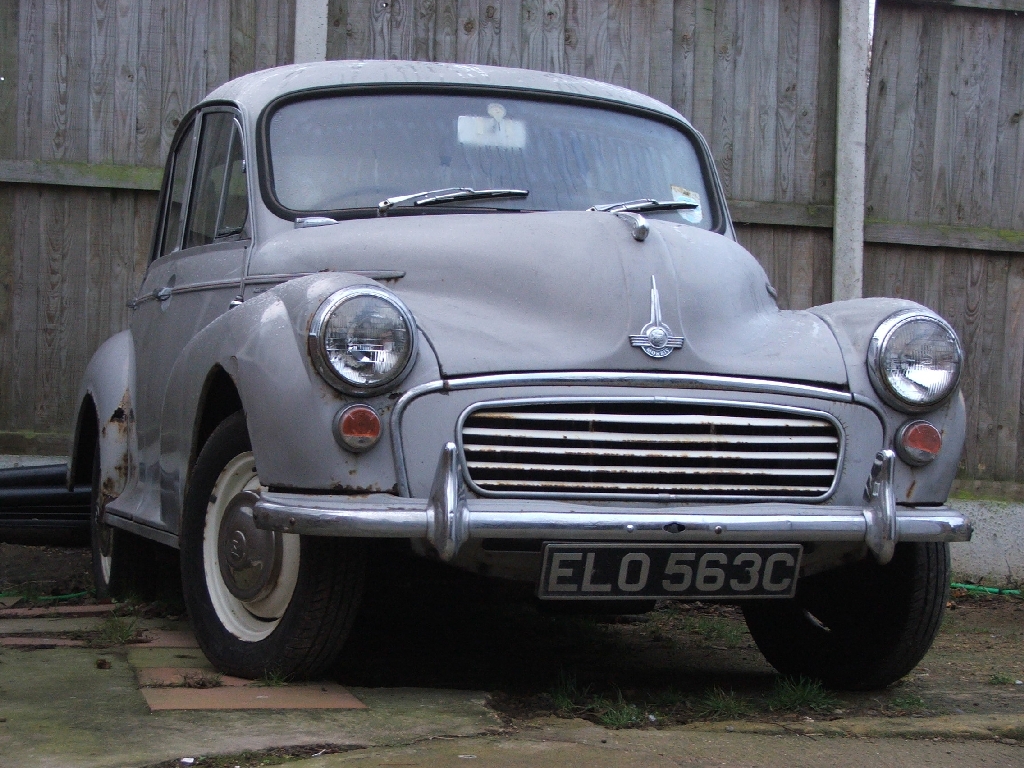
Boasting of up to 48bhp of radical rear wheel drive mayhem!!!
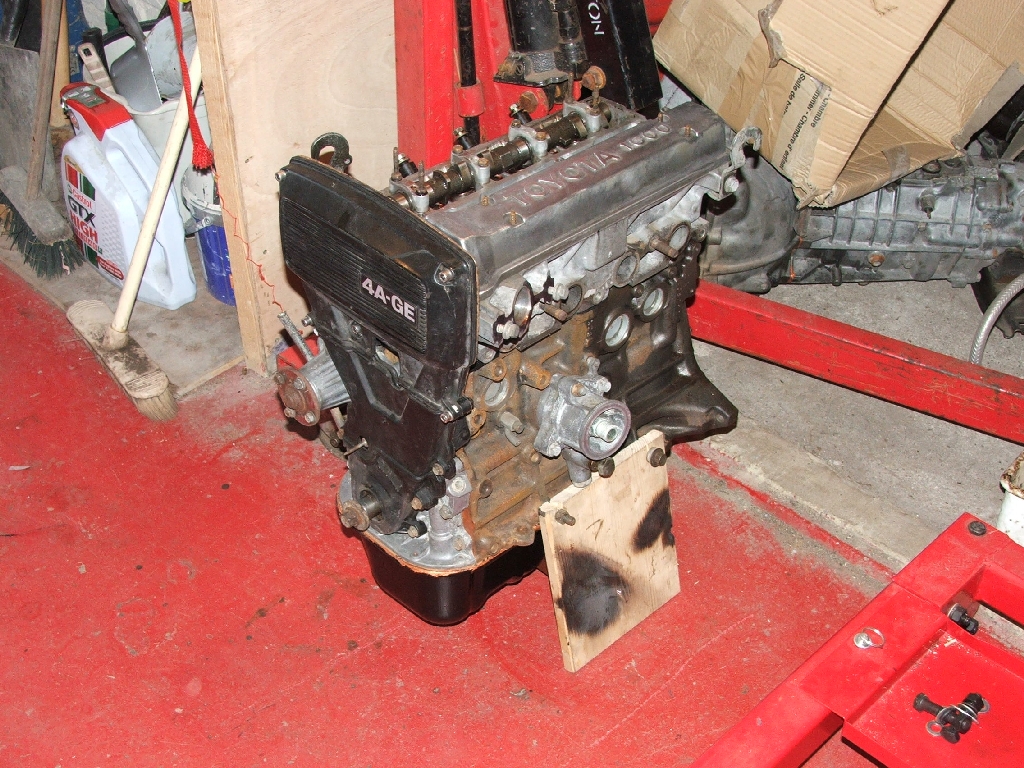
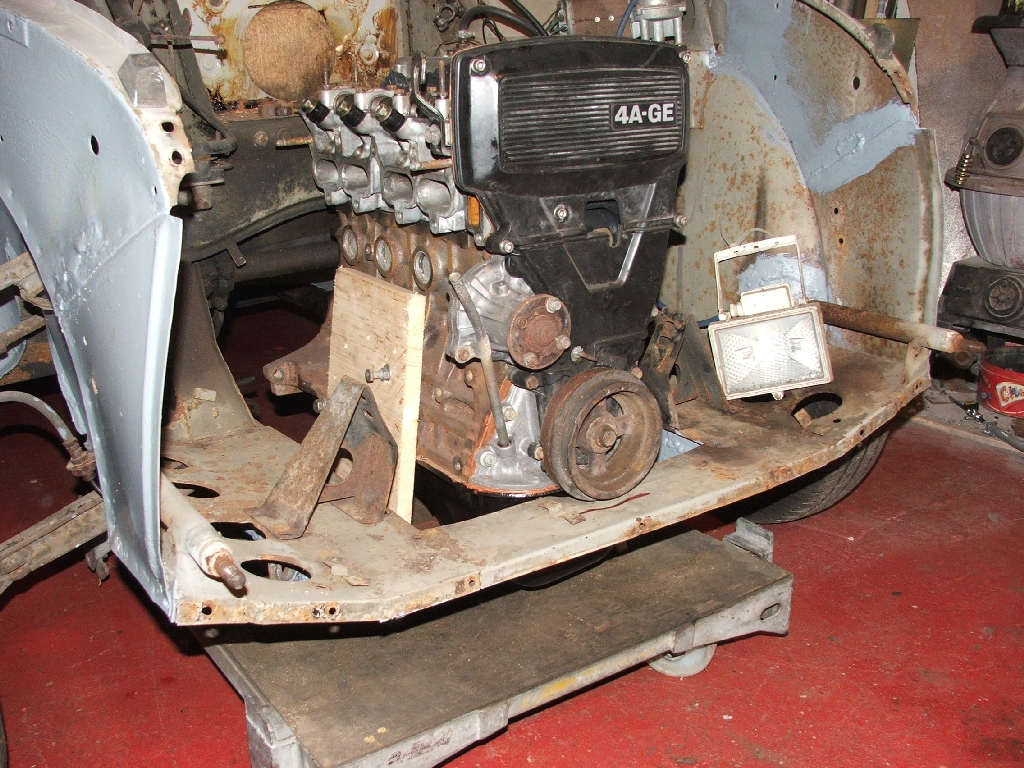
Though when the spare 4AGE is dropped in it should add another 80 horses or so :)
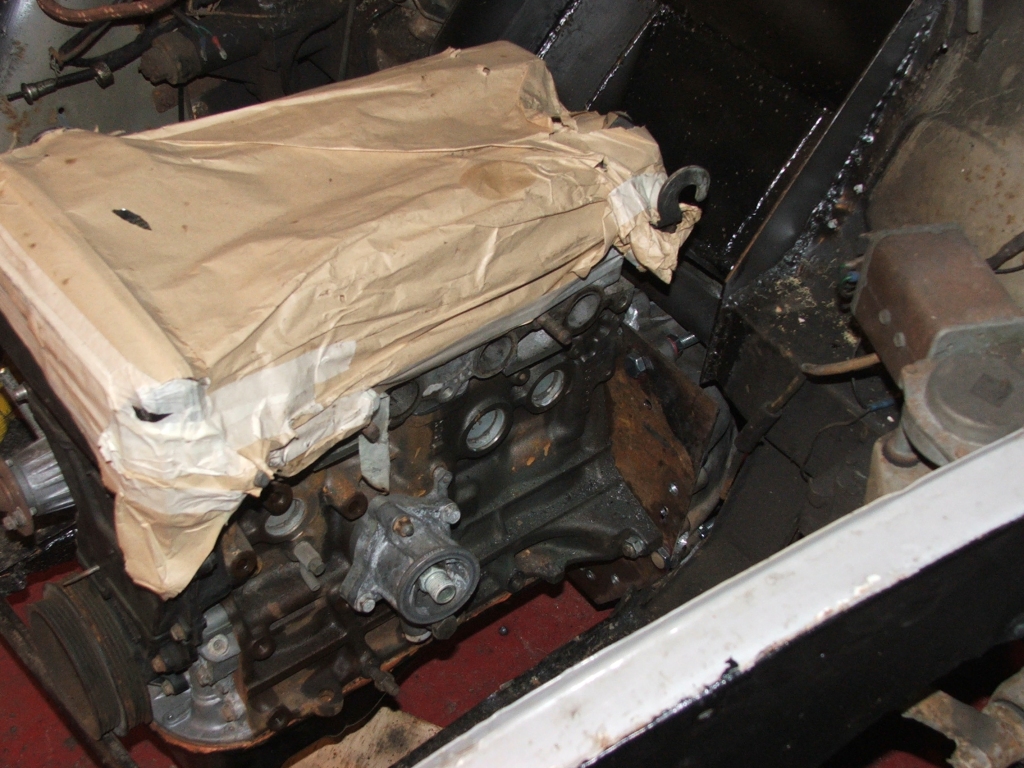
Engine is not properly rebuilt yet, but has been cleaned (hooray for dishwashers!) and is part built. 4age build
Jan 19/20
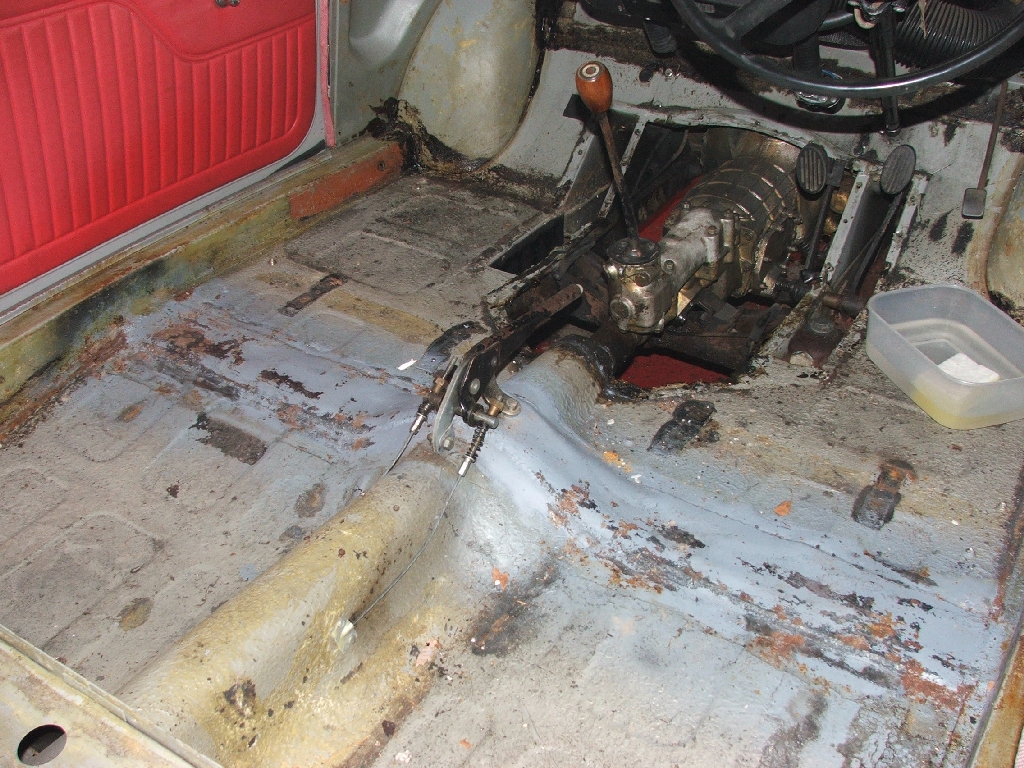
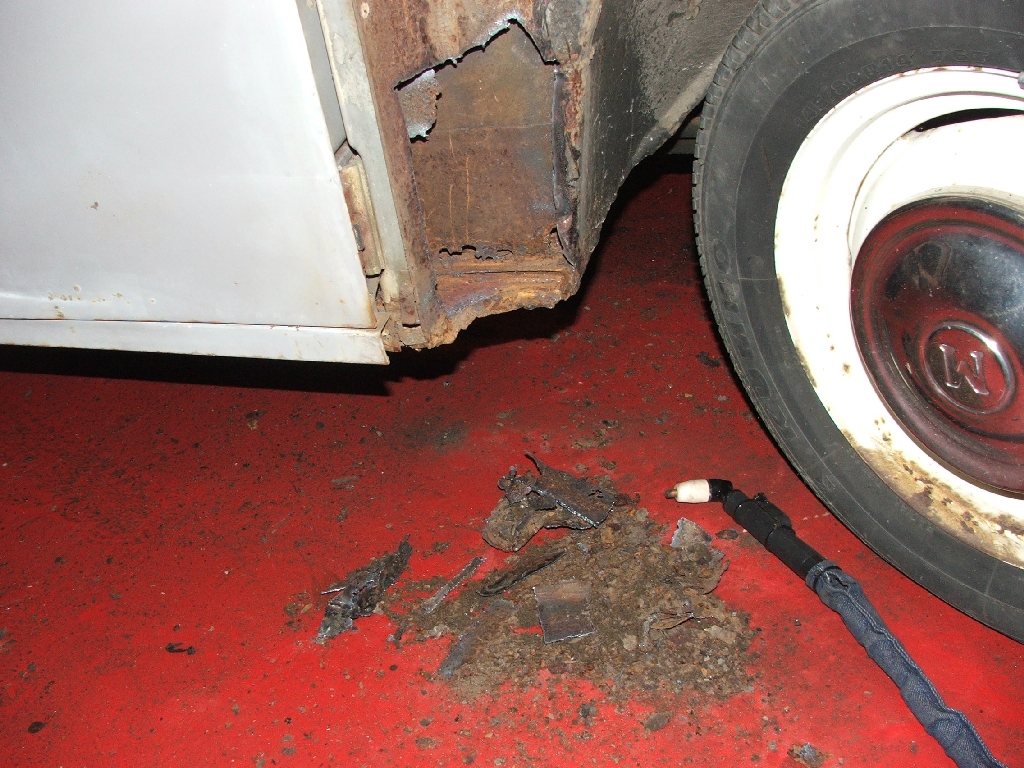
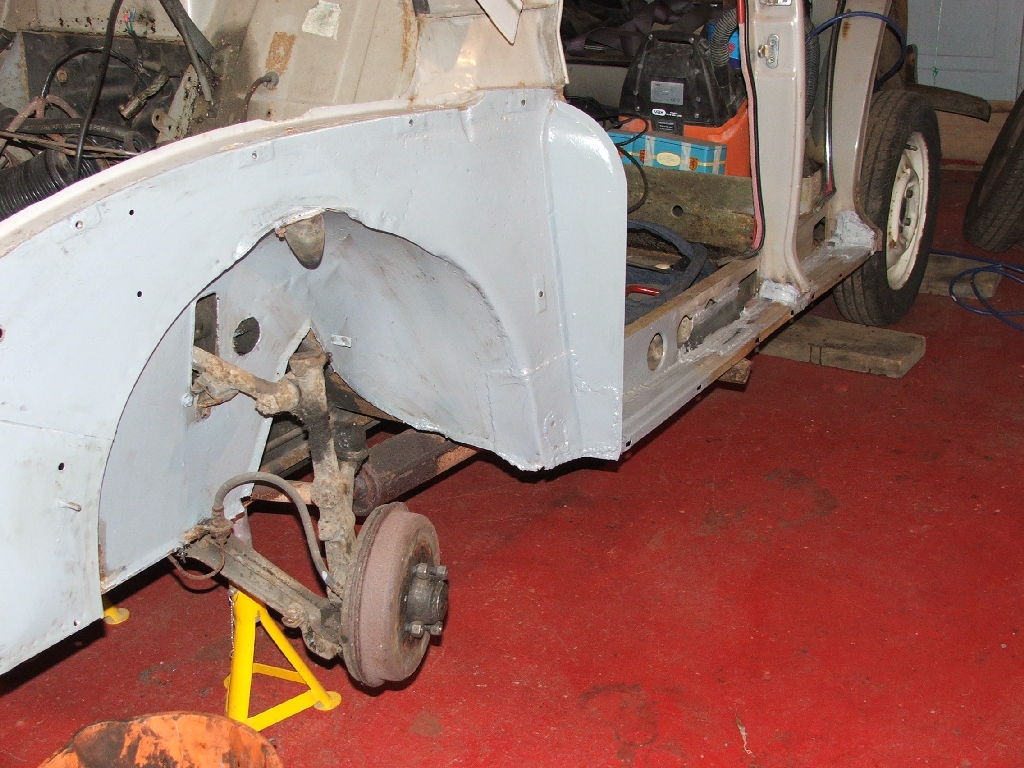
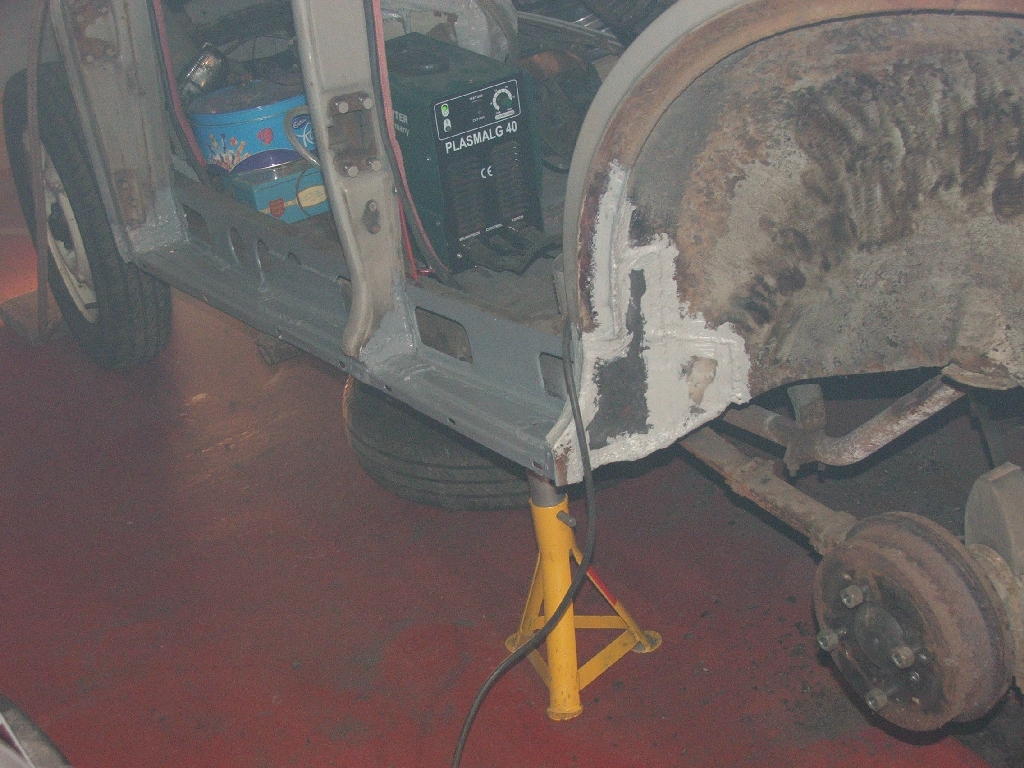
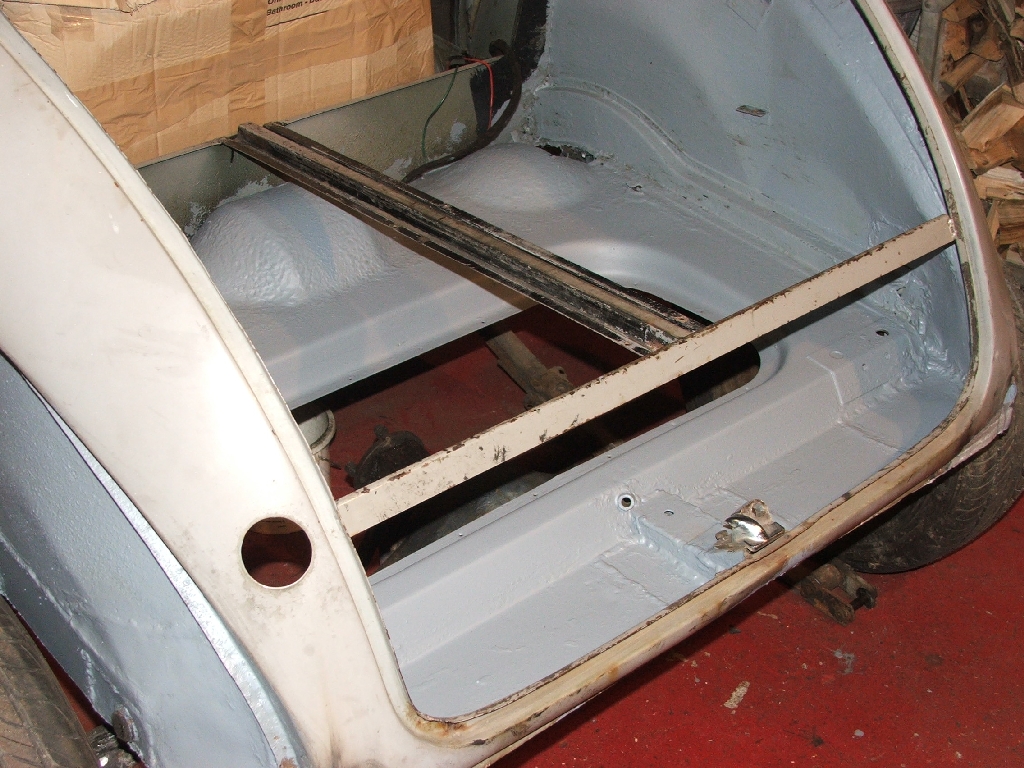
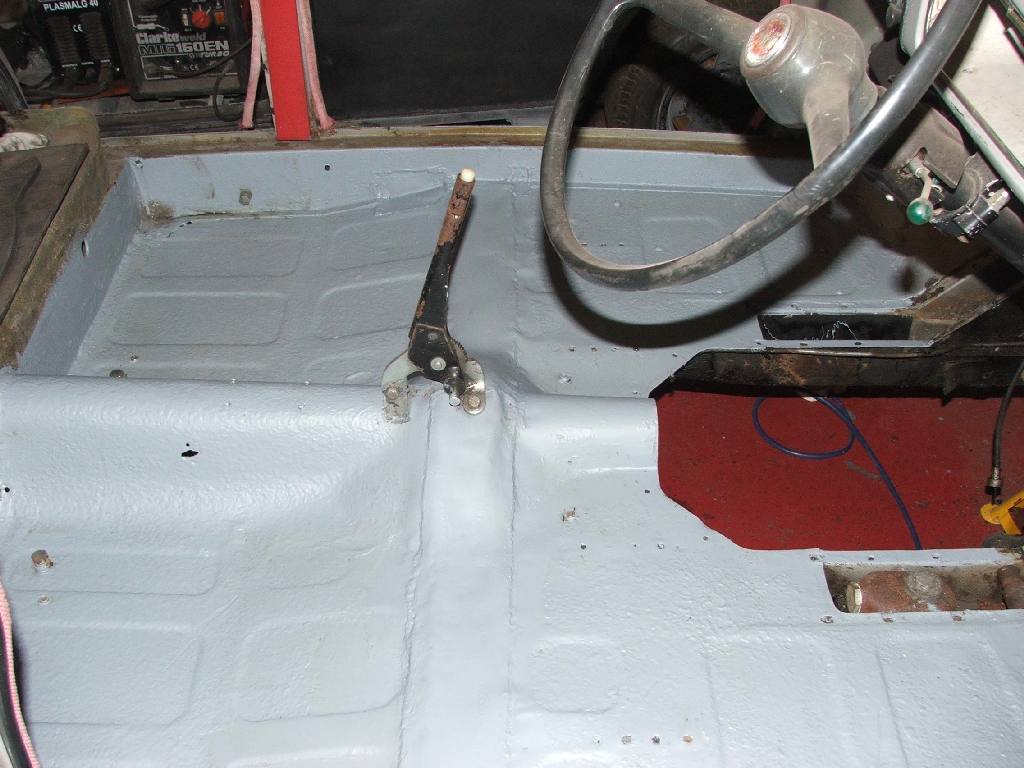
Spent the weekend investigating the tinworm situation...
With the interior out, the floorpan all looks solid.

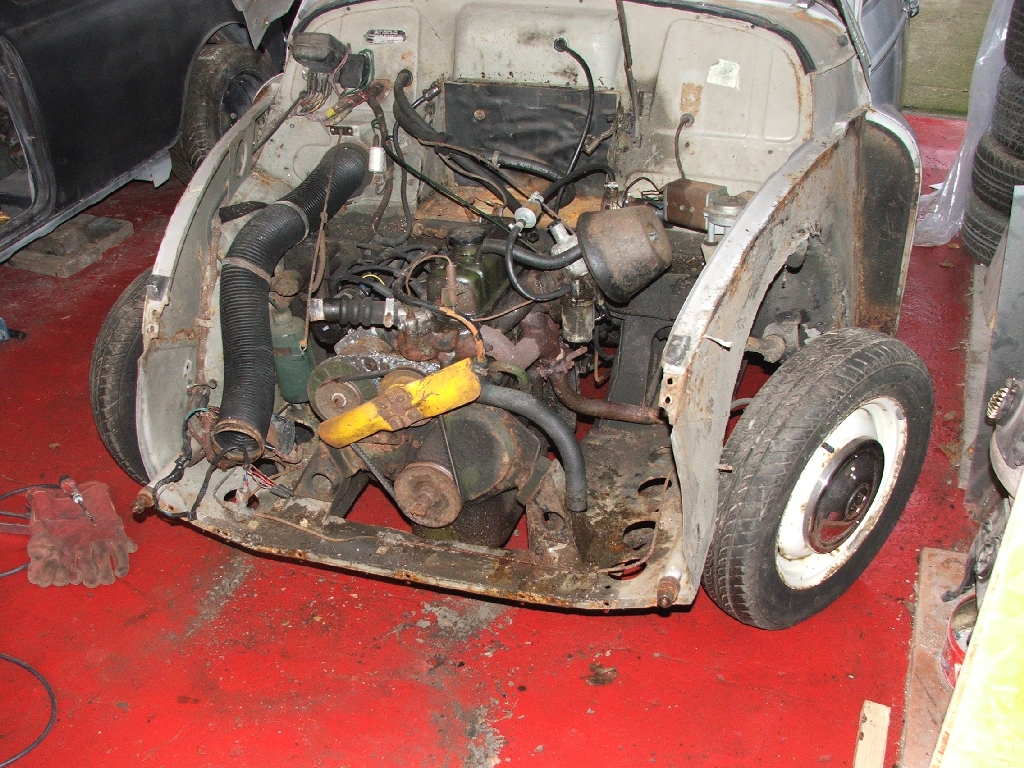
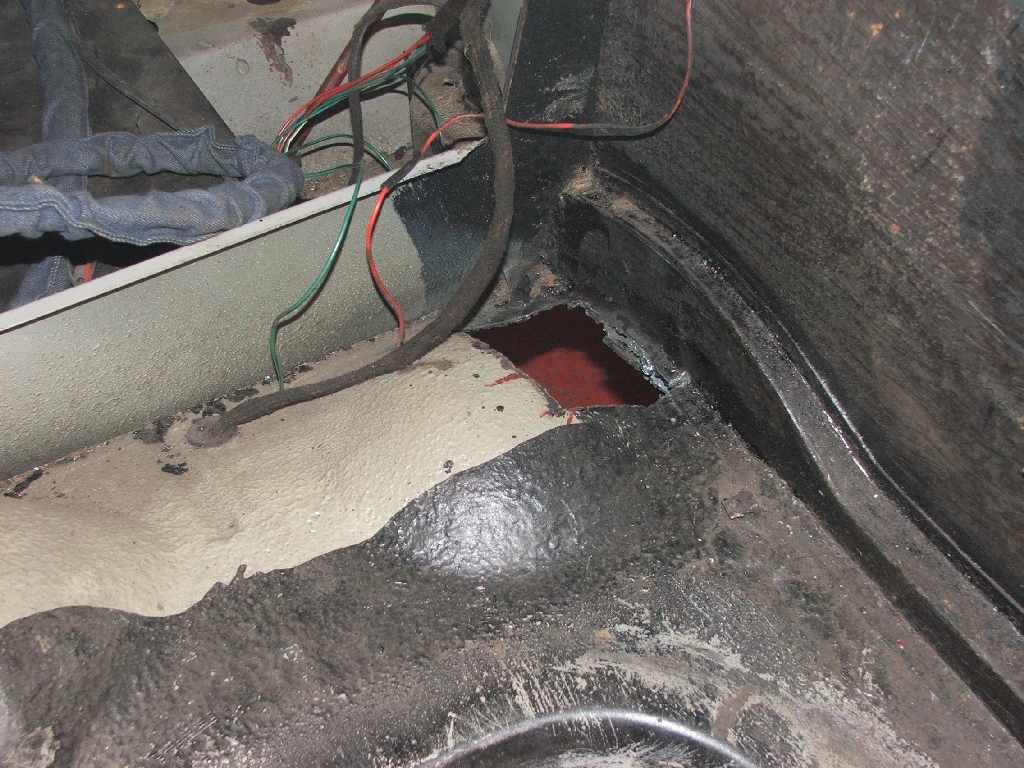
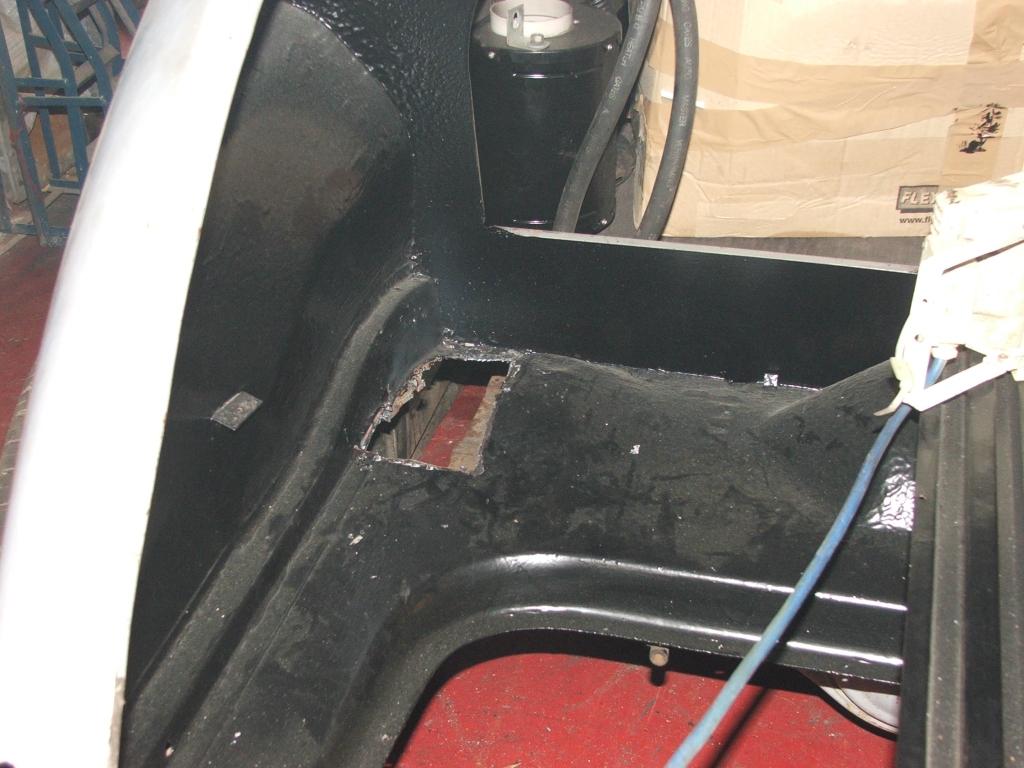
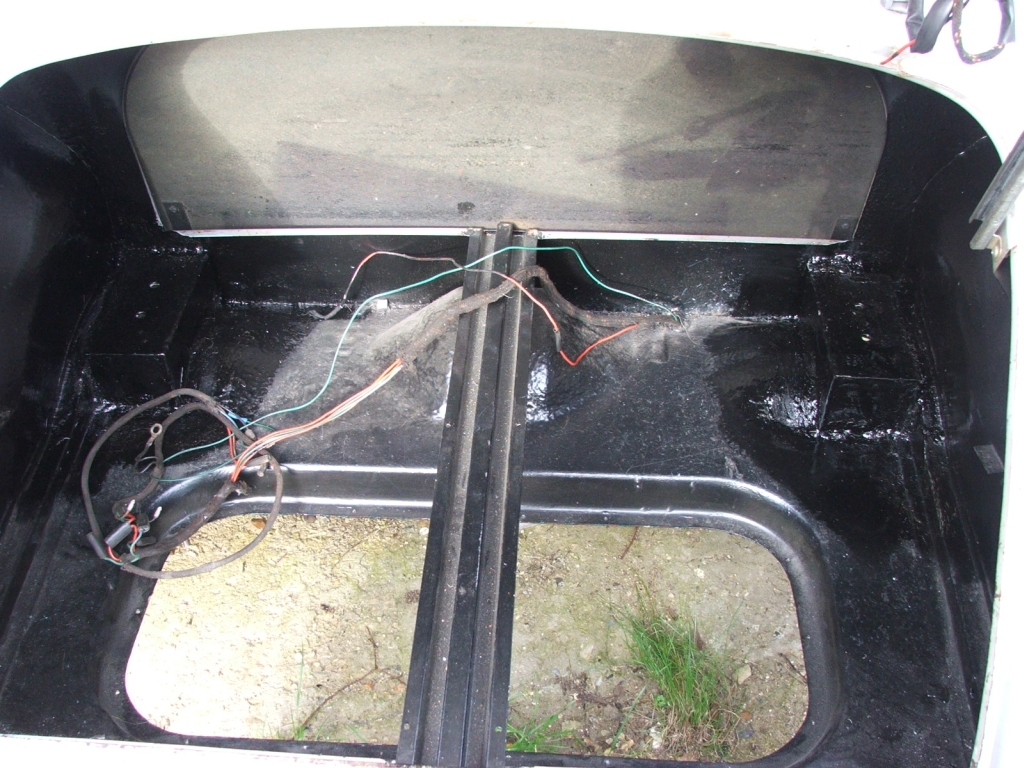
Engine bay all looks good, but a bit crusty in the boot corners.

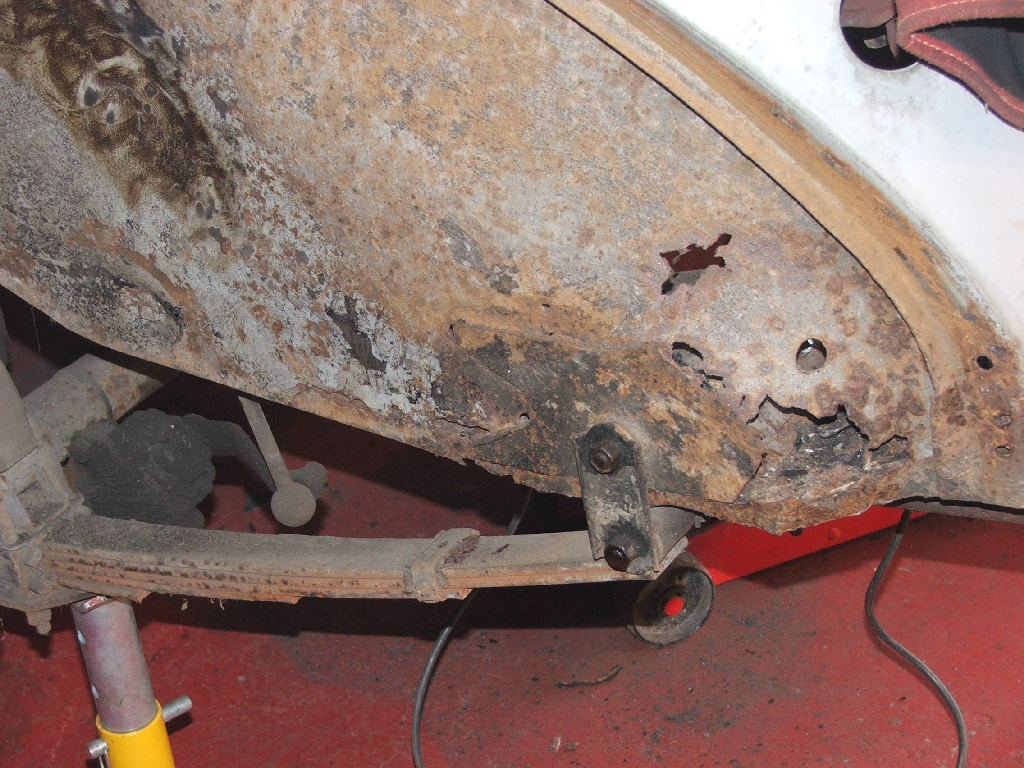
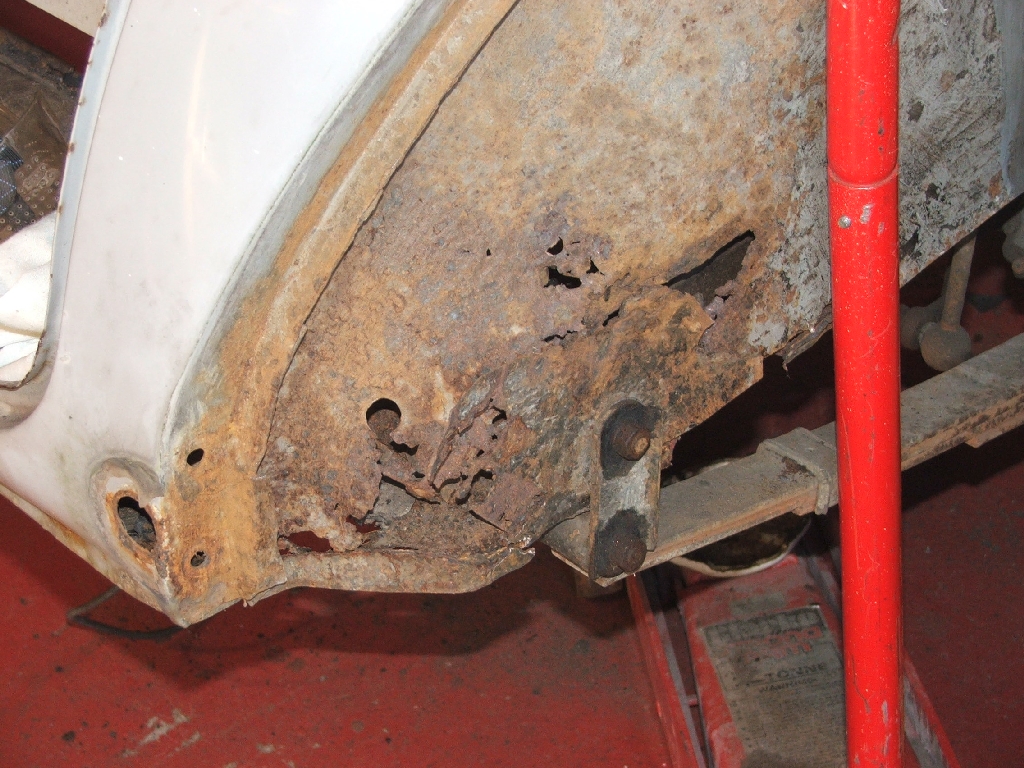
The corners of the wheel arches seem to be the worst bits, but nothing seems too nasty to deal with.

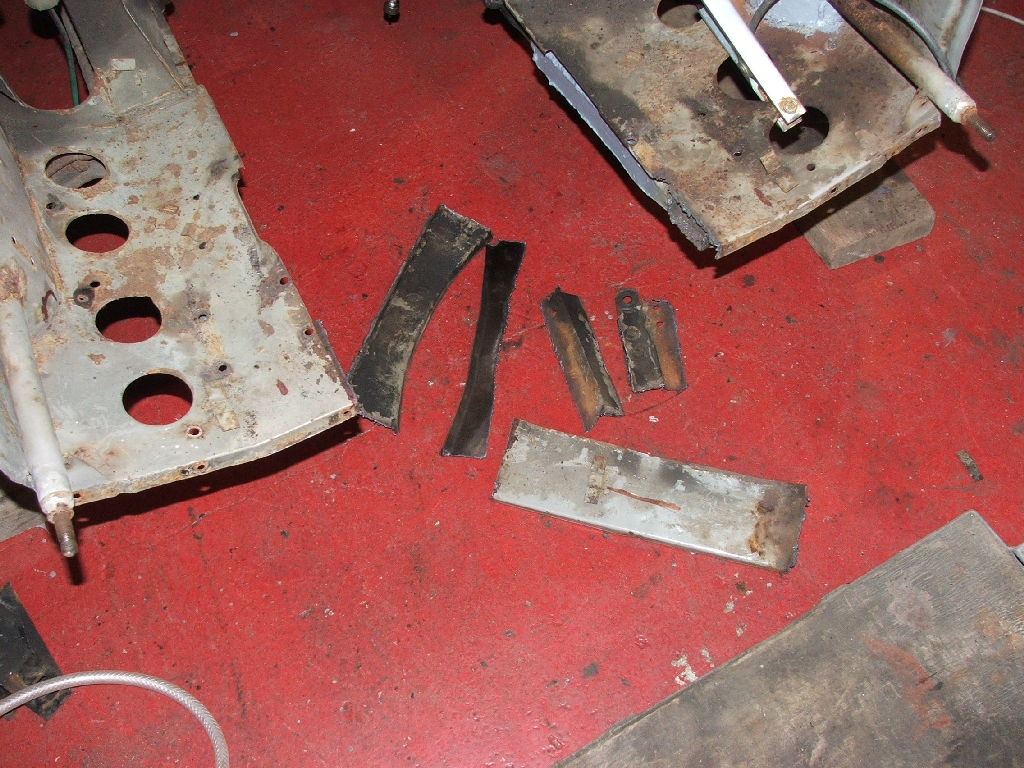
Mr Plasma-Cutter seems to do a splendid job of surgical removal, with far less death and destruction than the angry grinder or air chisel !!!
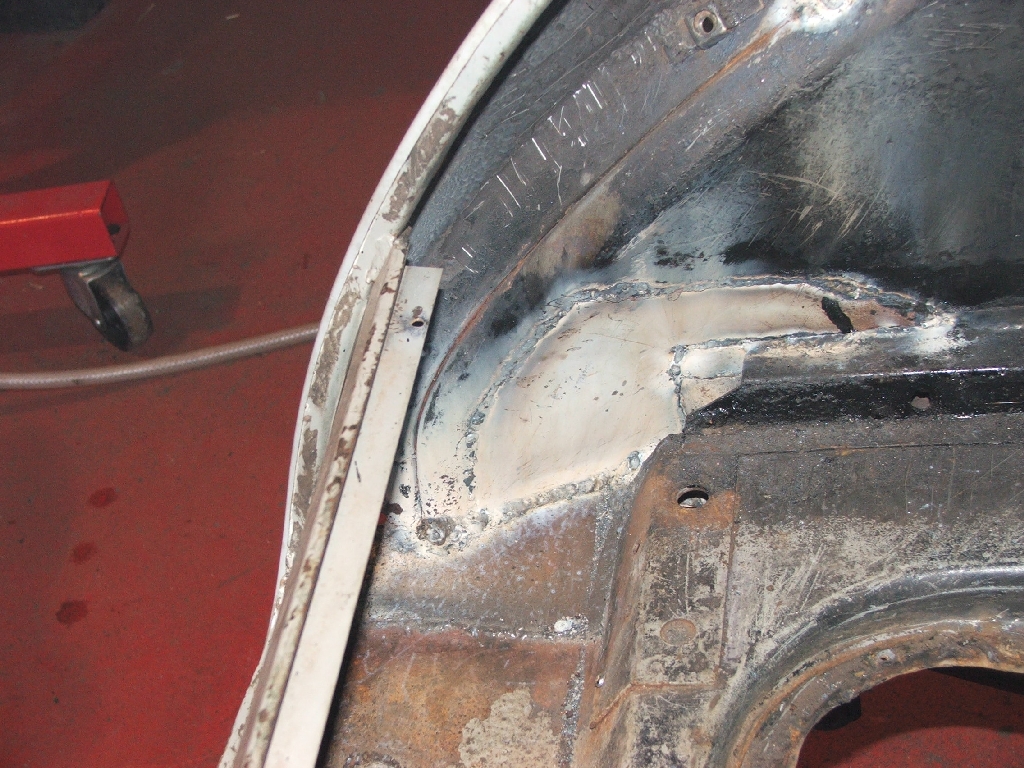
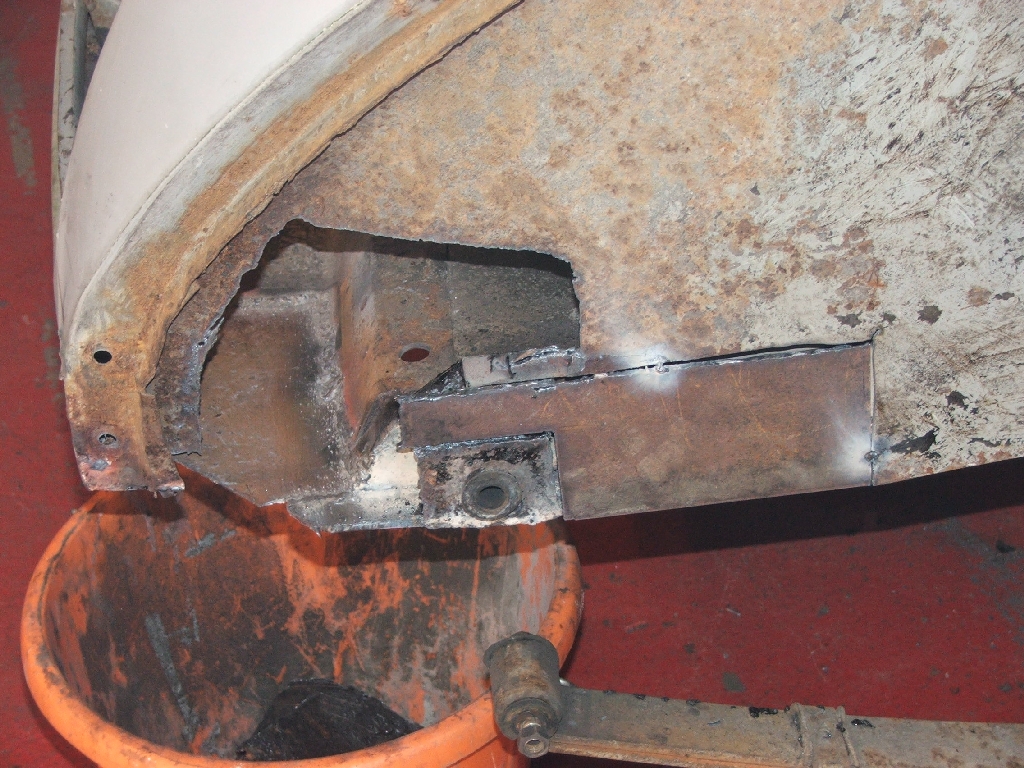
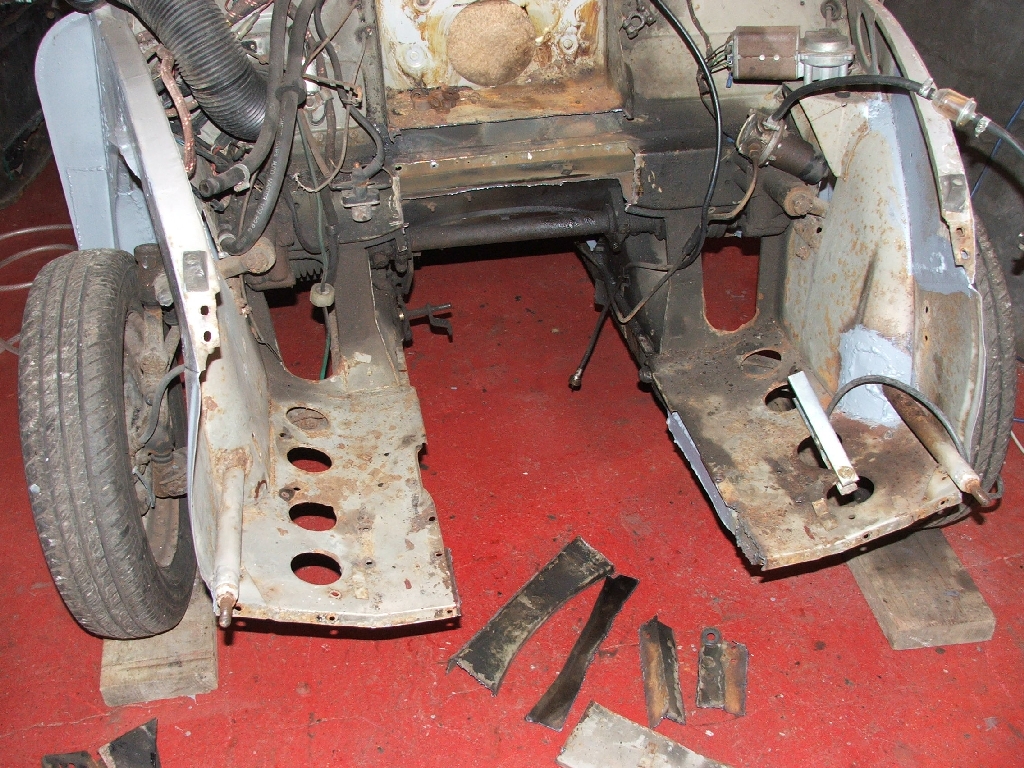
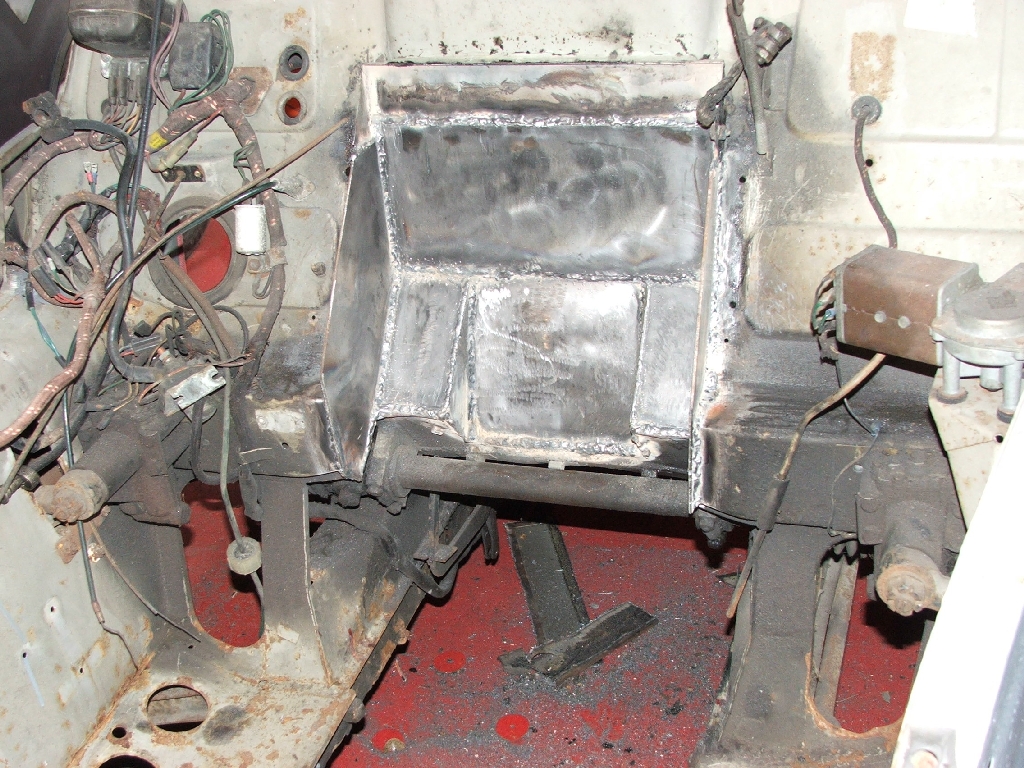
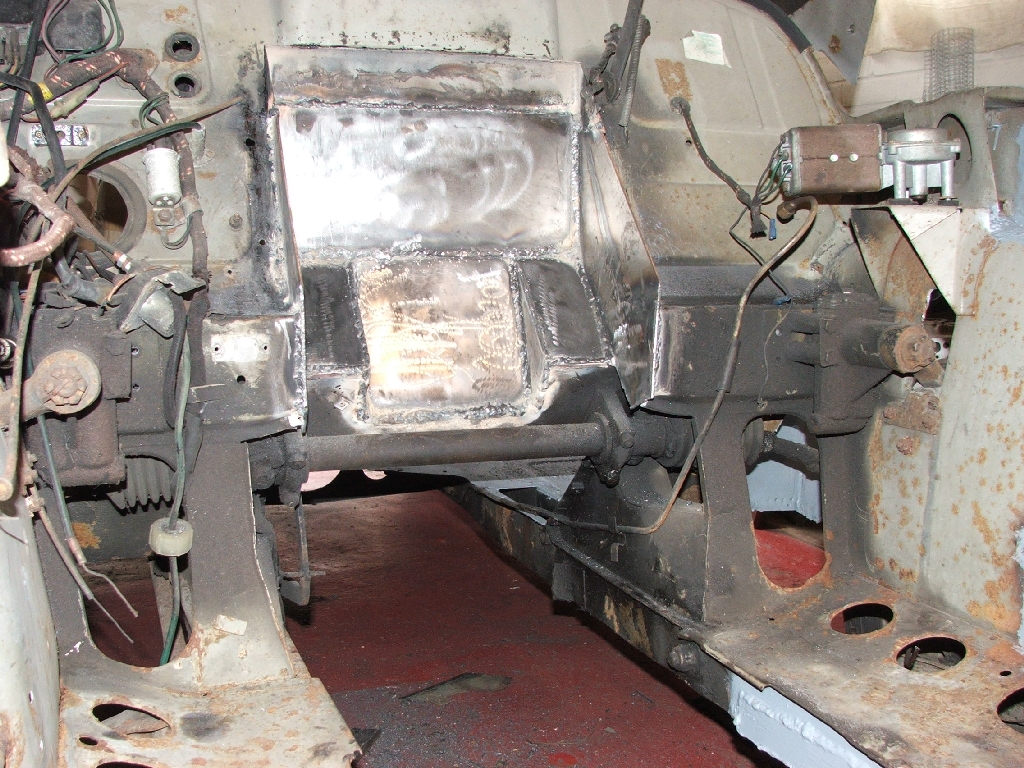
Also popped the engine out to get better access to the front chassis legs.
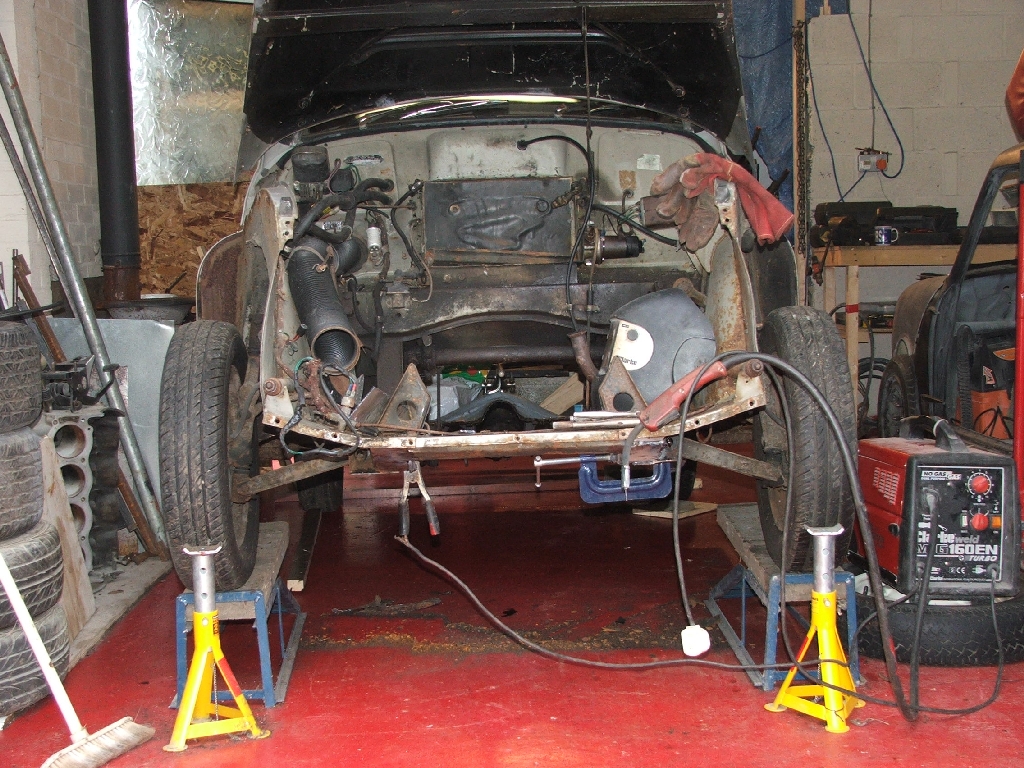
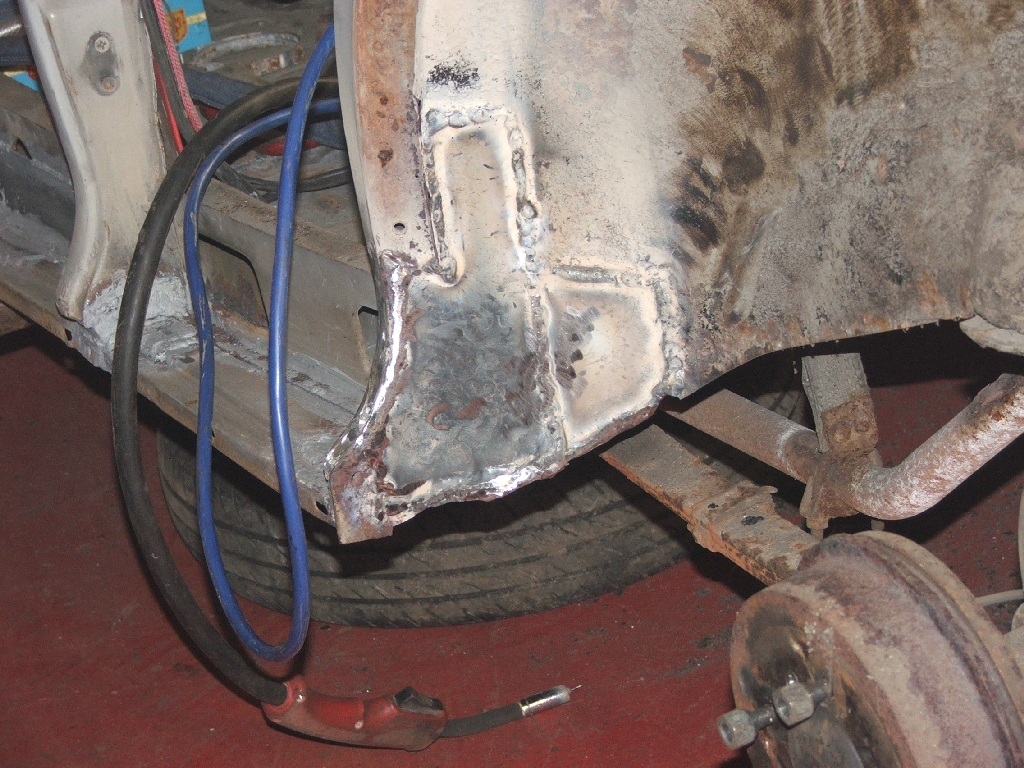
Chopped out the rot by the tie bar mount and started rebuilding with some battleship 3mm steel plate. This will make solid jacking points for the front, and give somewhere decent for new engine mounts to be tied into...

Jan 26/27
Starting to glue a few bits of steel into the holes...
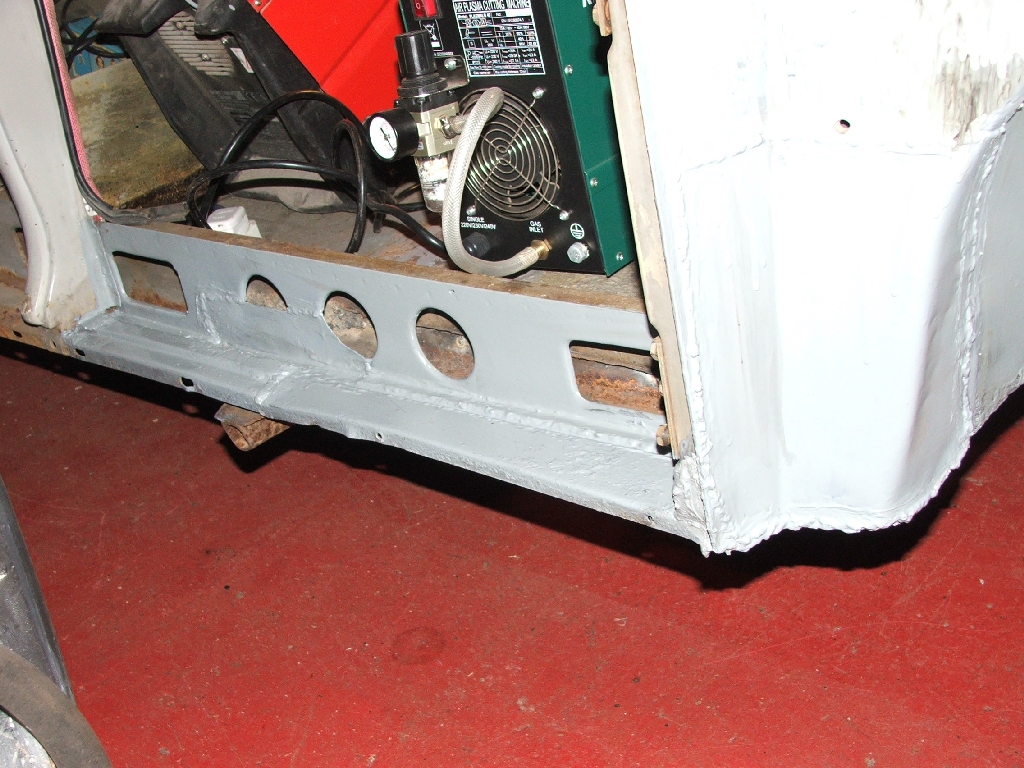
Feb 2/3
Bit more welding and a little bit of seam sealing and rough priming.

Engine is slowly coming together too more pics and stuff here ... 4age build
Feb 9/10
Hard to believe I know, but there was a little more welding and painting to do on William...
Have got to the rear arches now, so there's not too much left to do.
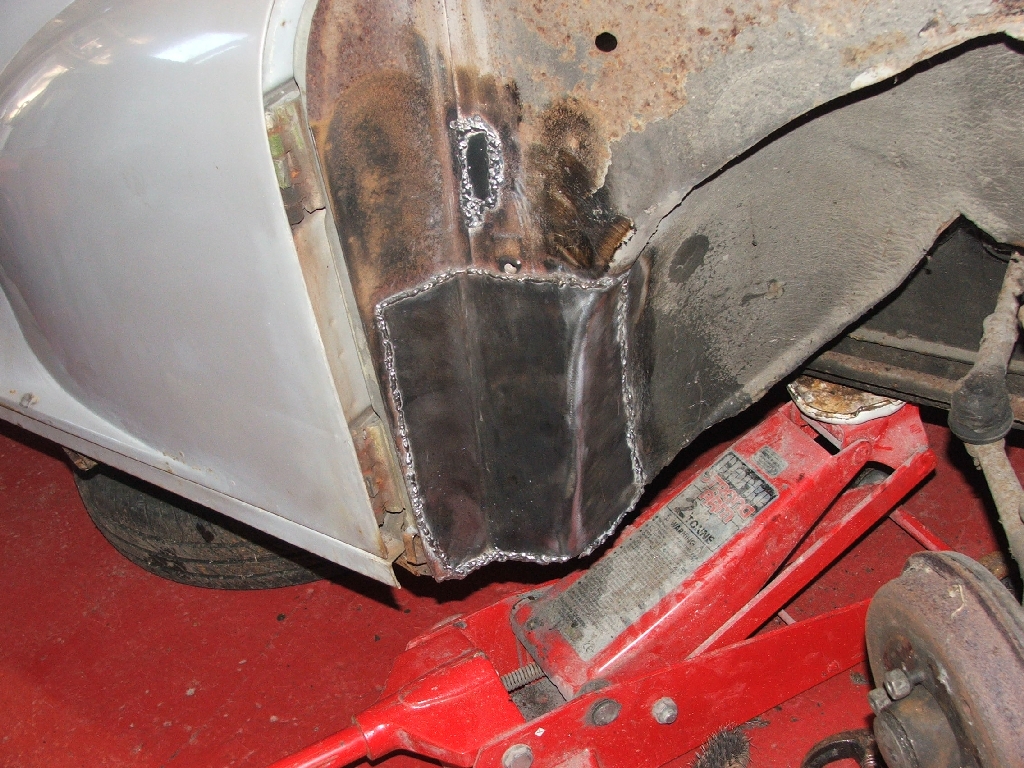
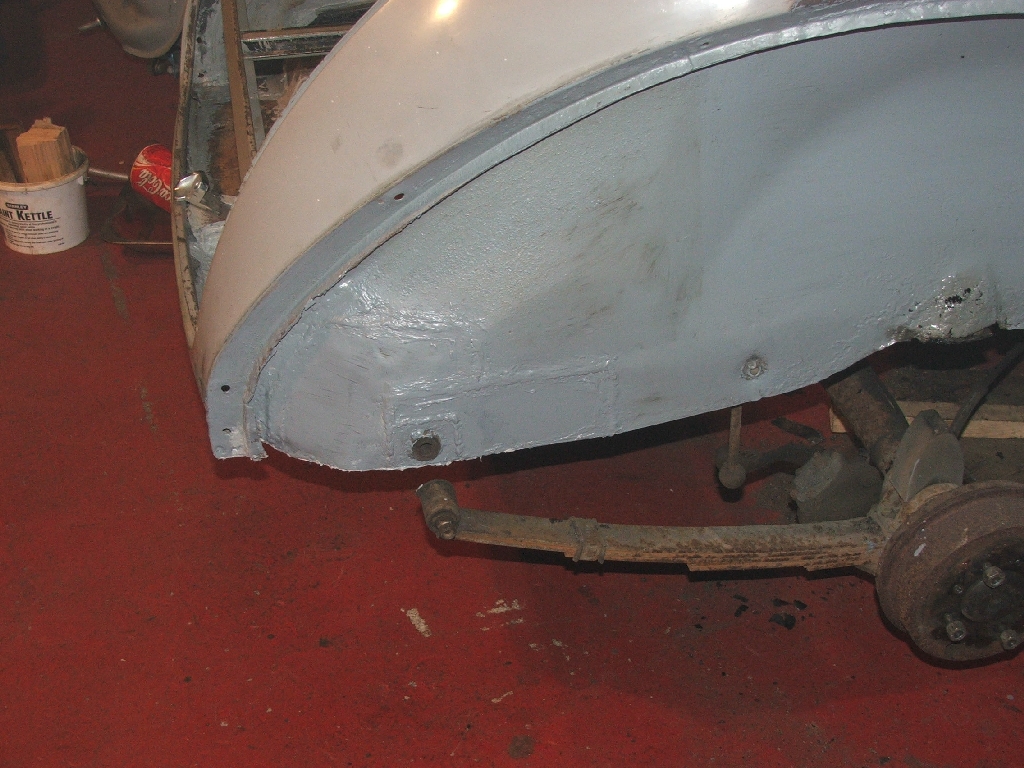
Front corners are solid now.
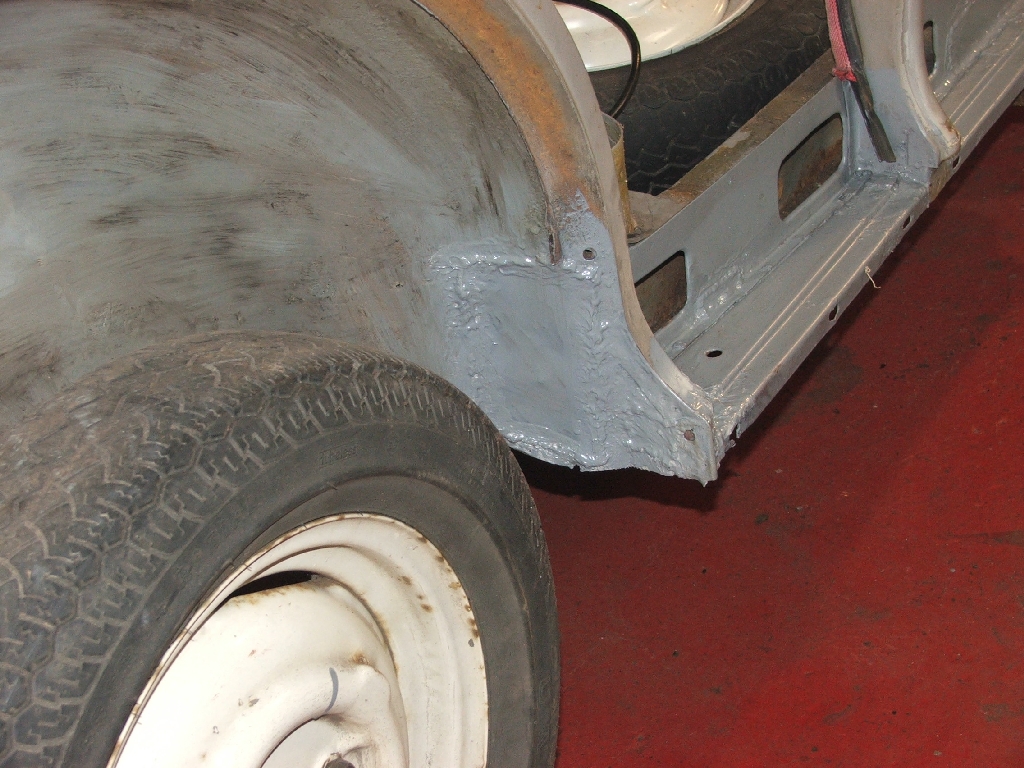
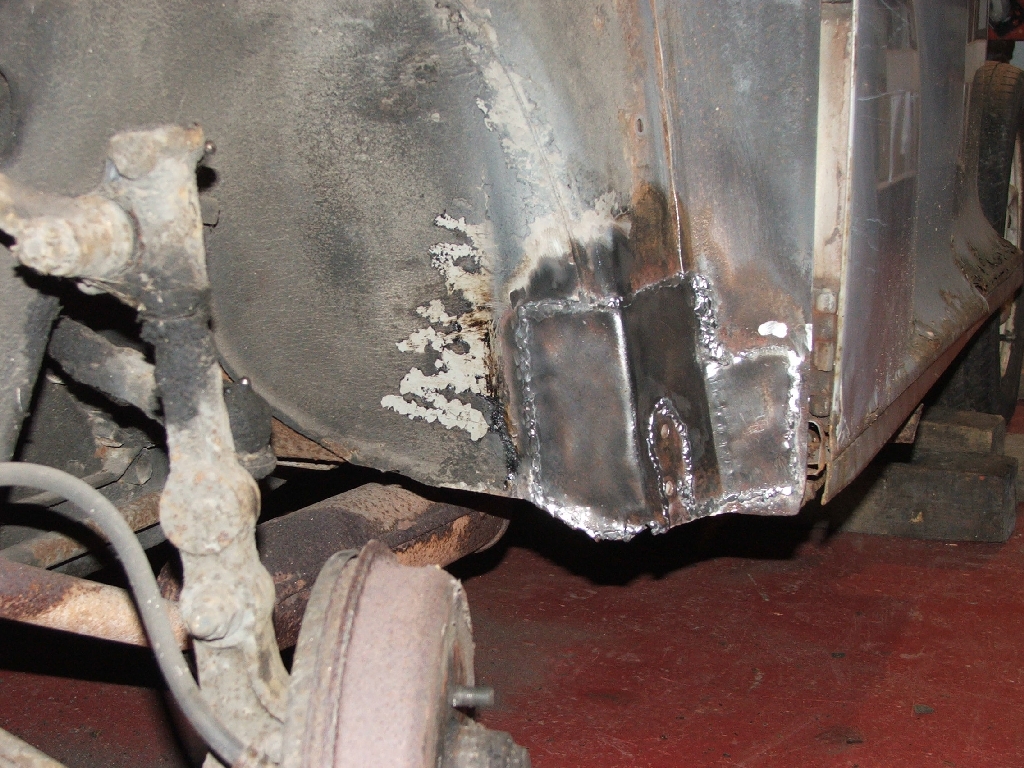
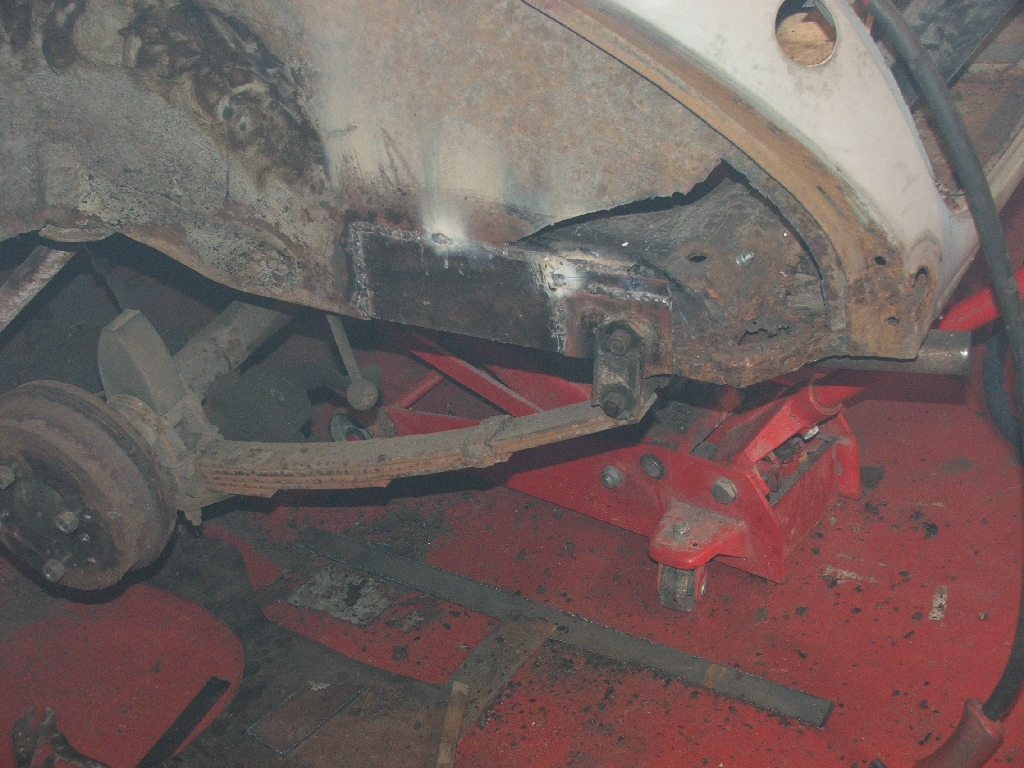
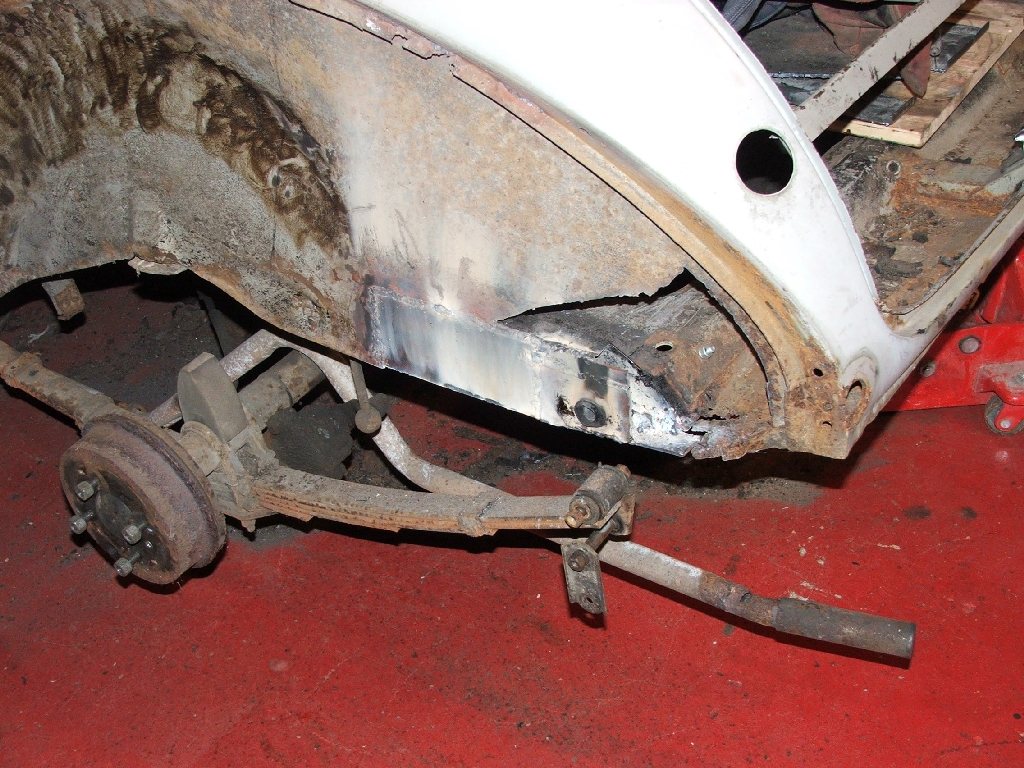
Started on the first rear corner...
Chopped out the scabby stuff leaving a small section of good metal around the hanger tube, then cut and welded some 3mm steel in to replace the side and bottom of the chassis leg.
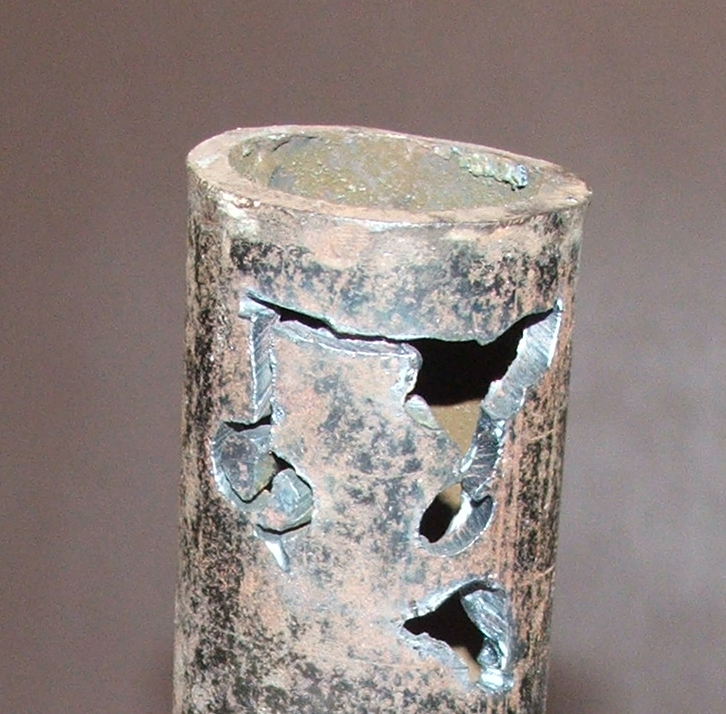
For them that's being asking about what the plasma cutter can do ...
Cuts 1mm steel quite delicately

And seems to do quite a good job on an off cut of roll cage tube too !
Feb 16/17
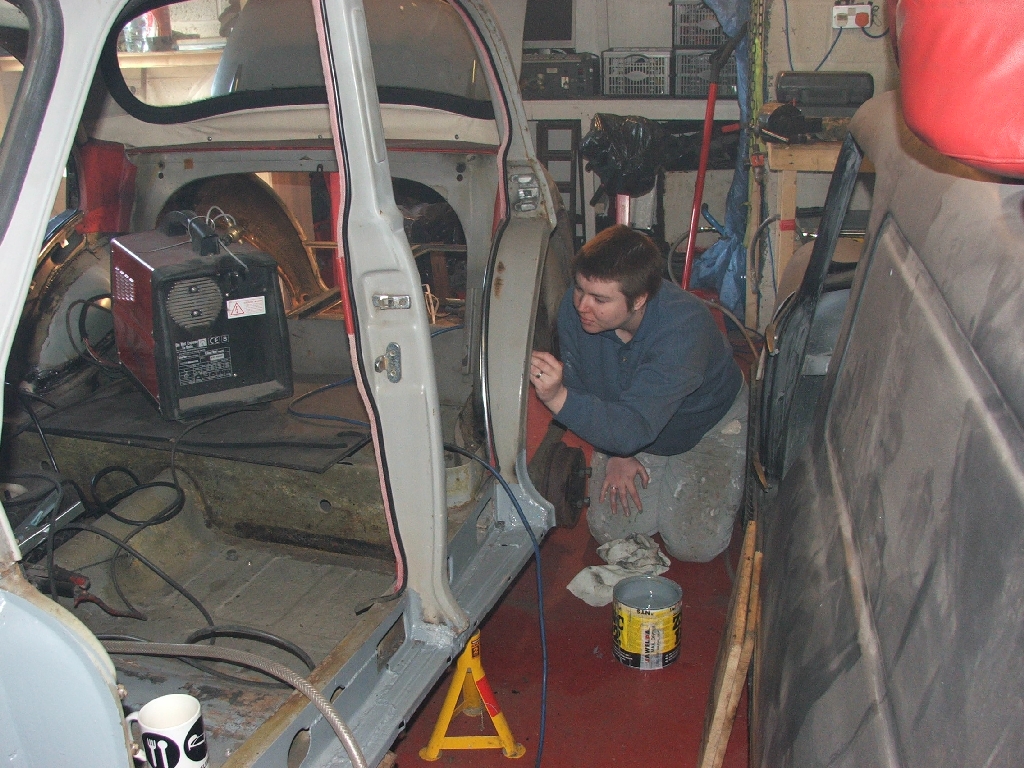
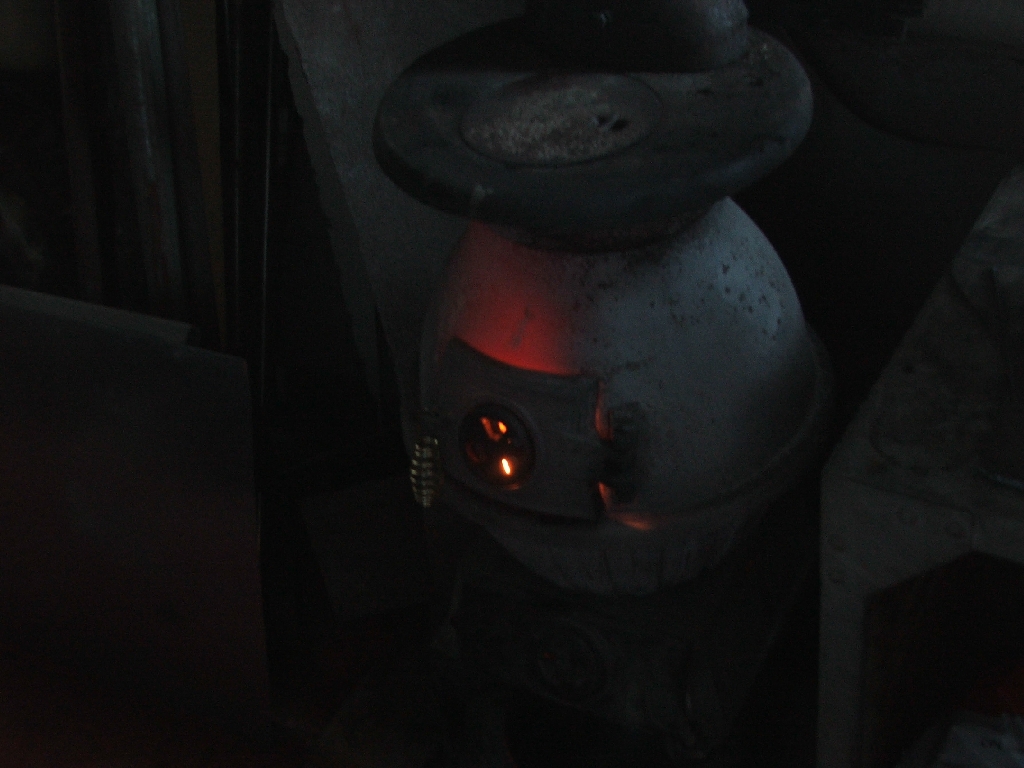
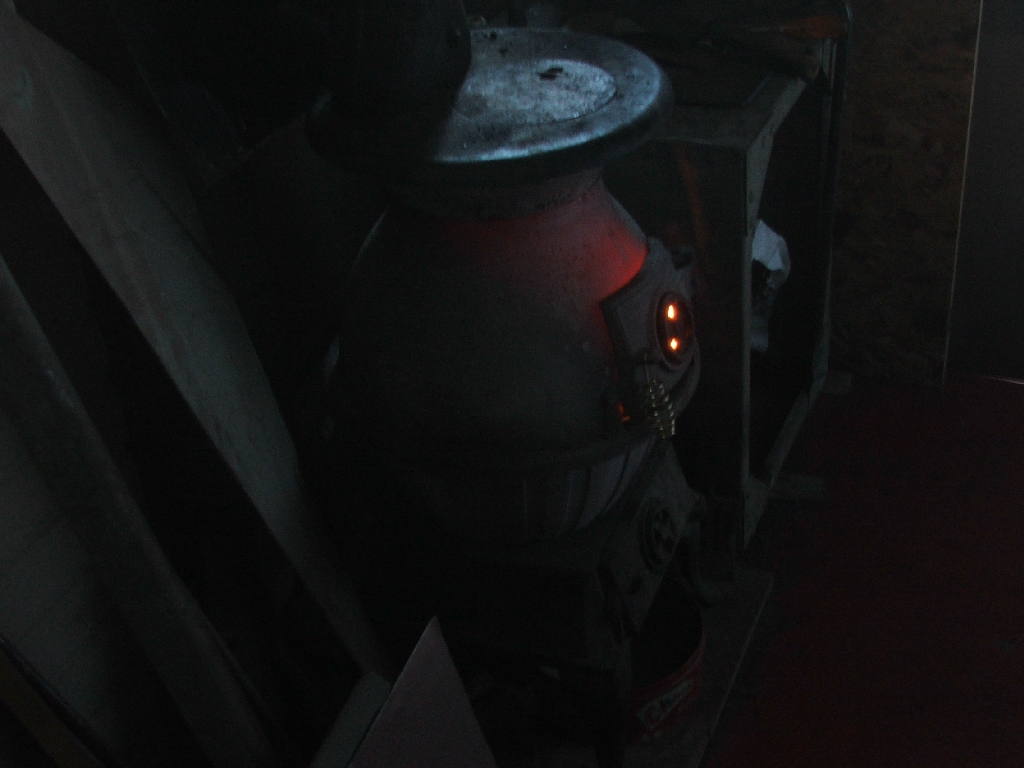
First task - get the stove on !
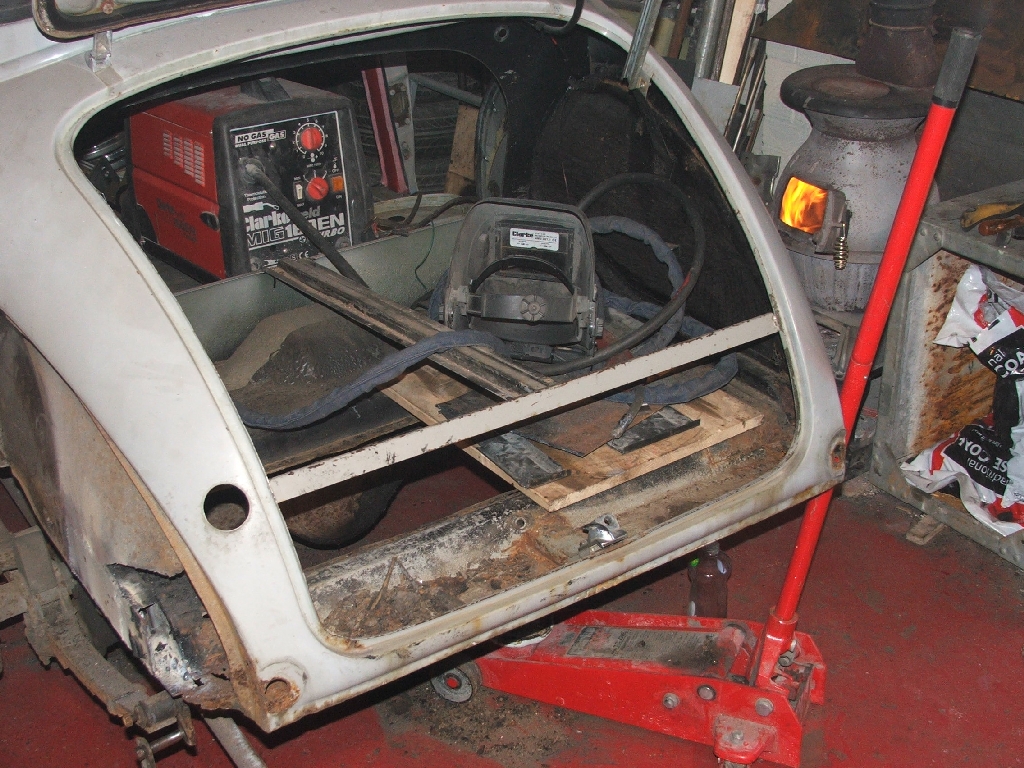

Then finish the rear passenger arch...
And start chopping bits from the drivers side .


Meanwhile Elaine has been busy with the seam sealer and paint.

Gluing bits back in.


Um, more paint!
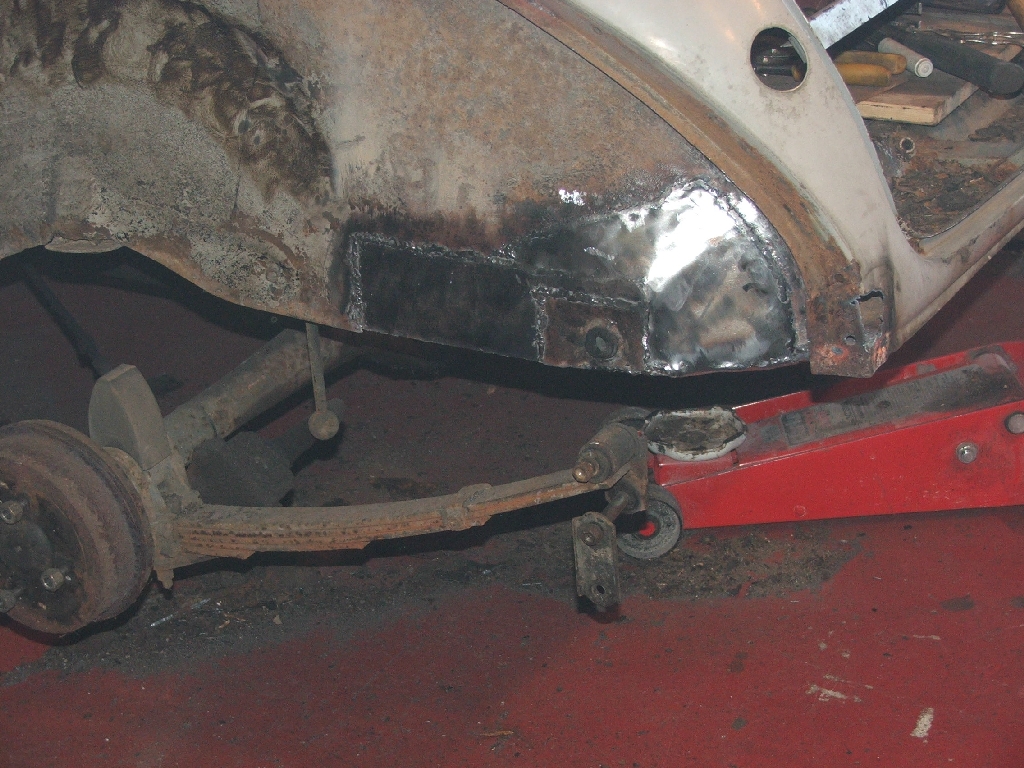
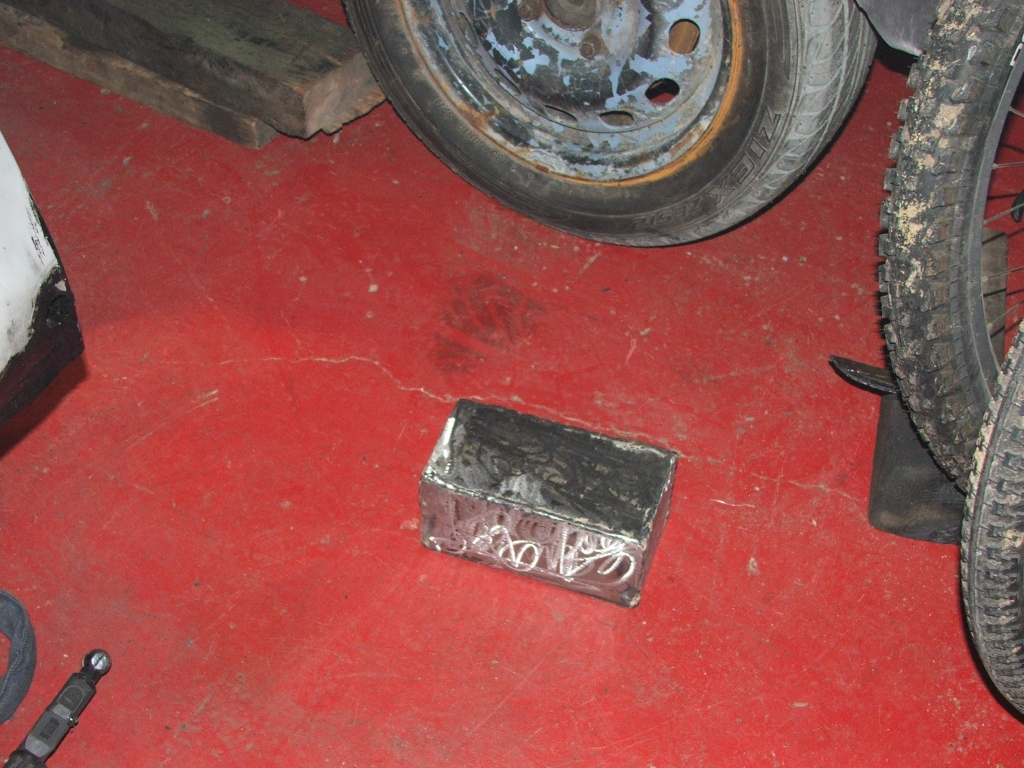
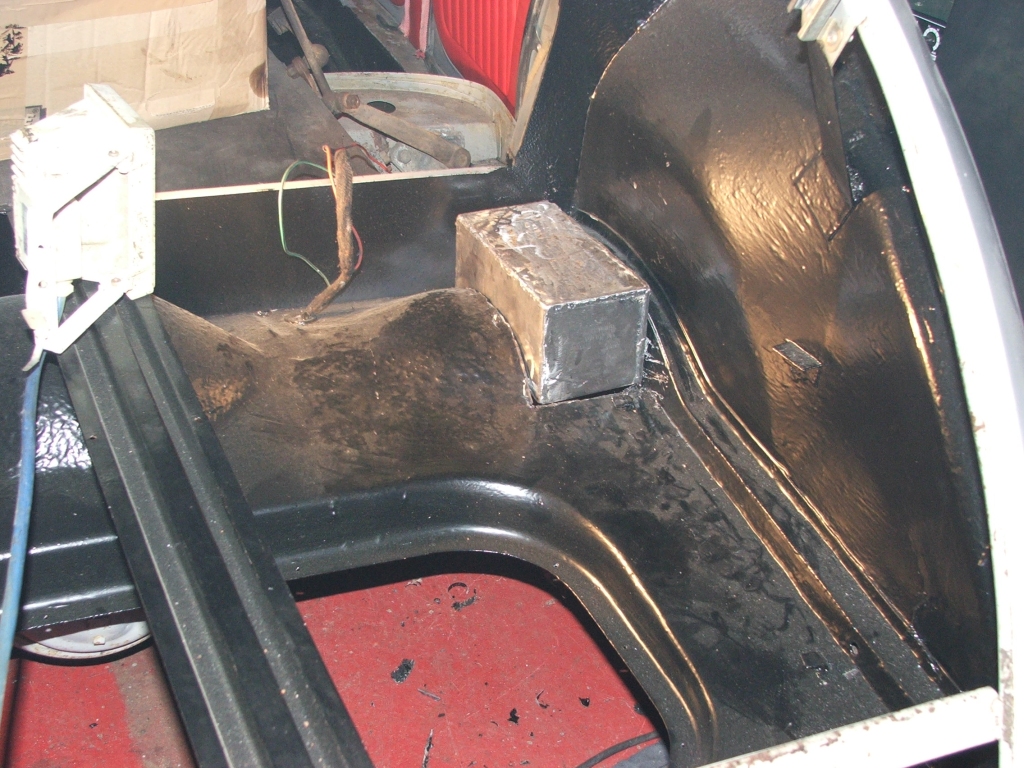
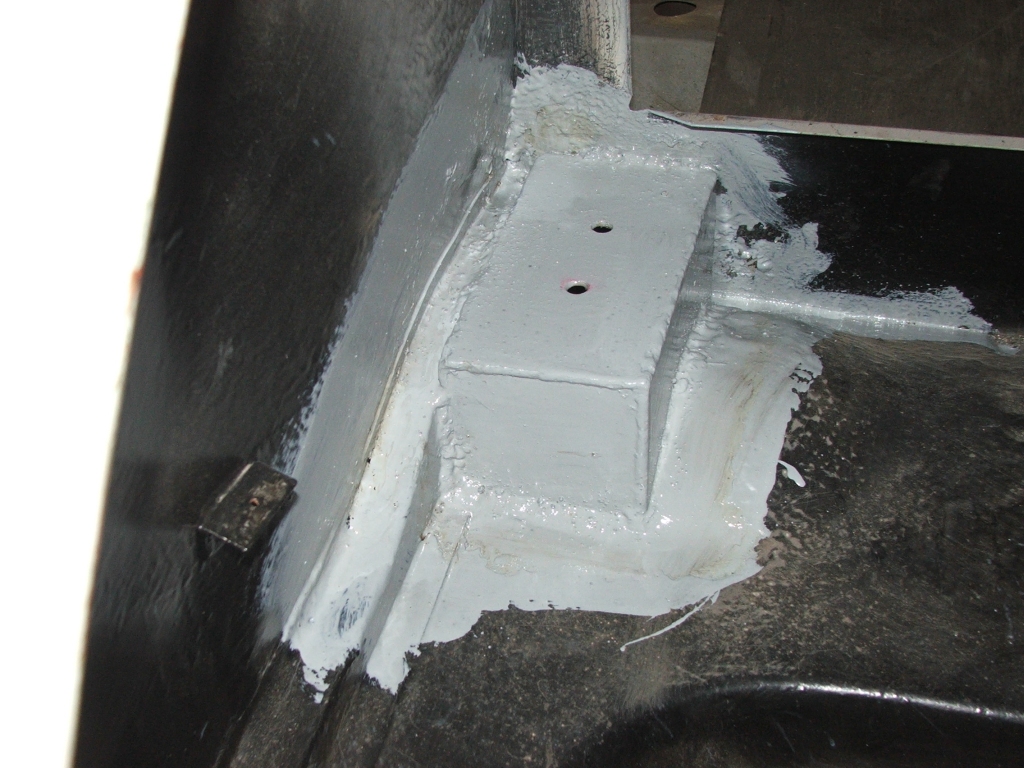
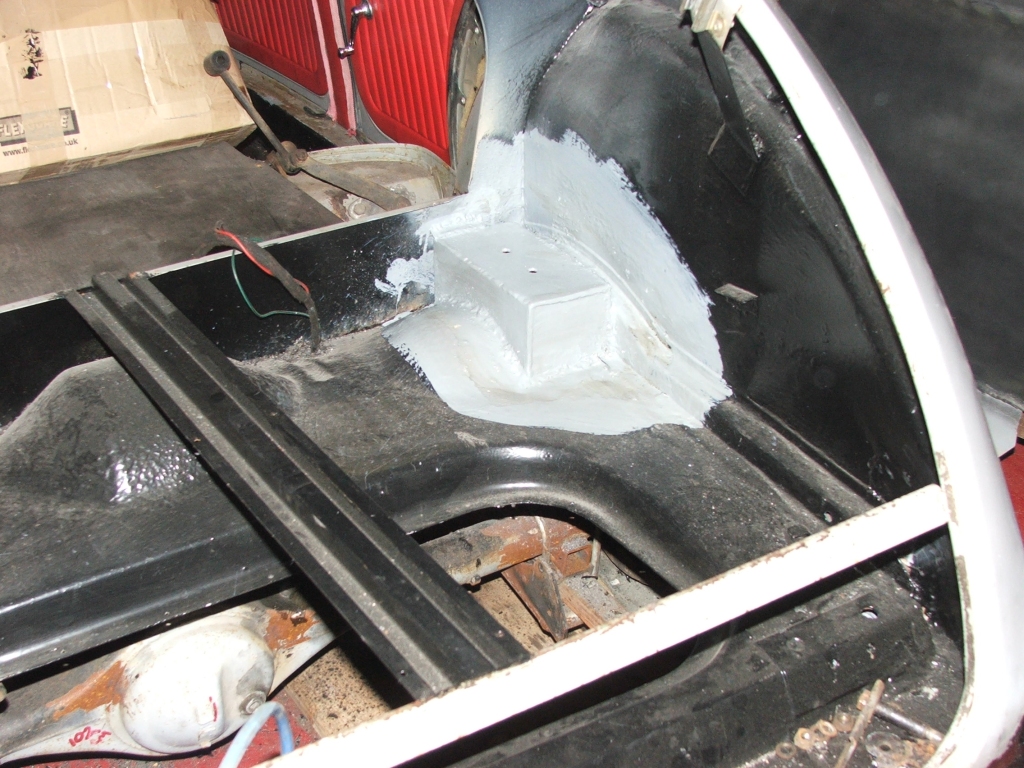
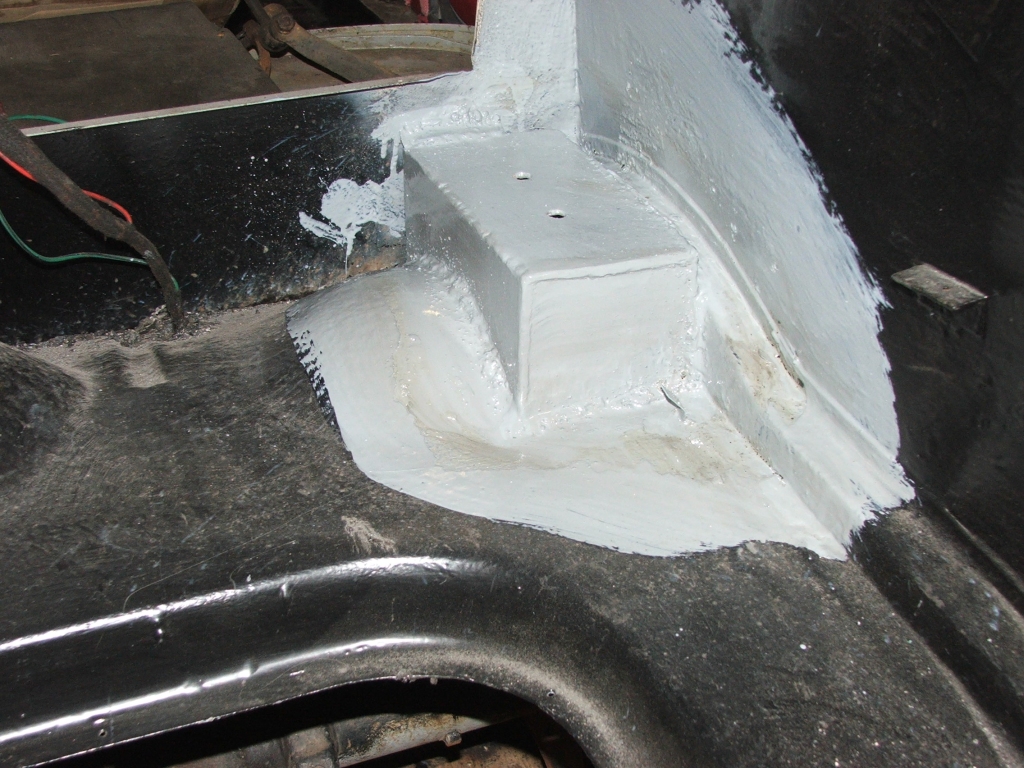
Also found the middle of the boot edge was a bit scabby, so chopped out the middle and let in a nice chunk of the 3mm steel with a bit of box stuck on to make a handy locating thing for the trolley jack.
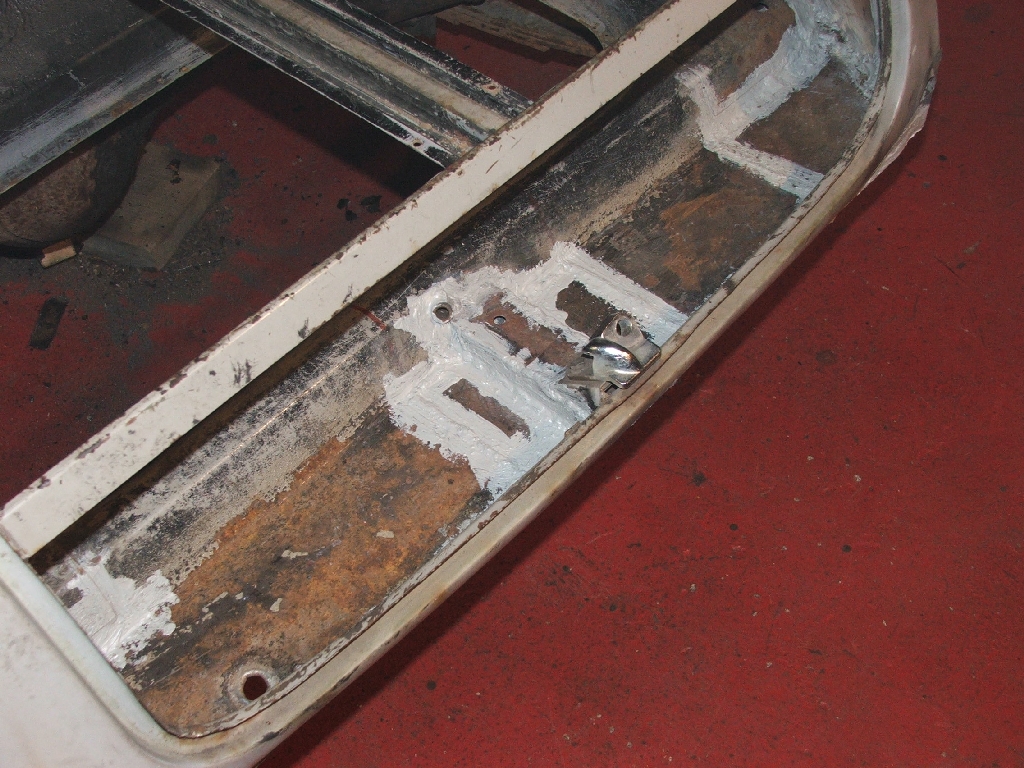
Finally chopped out some squareish holes which will be turreted for telescopic shocks - or possibly coilovers.
That's it for Sat - beer time !!!
Sunday morning - stove providing some token heat - well ok, it looks like it will melt :)
More painting by Elaine means primer, primer everywhere !!!


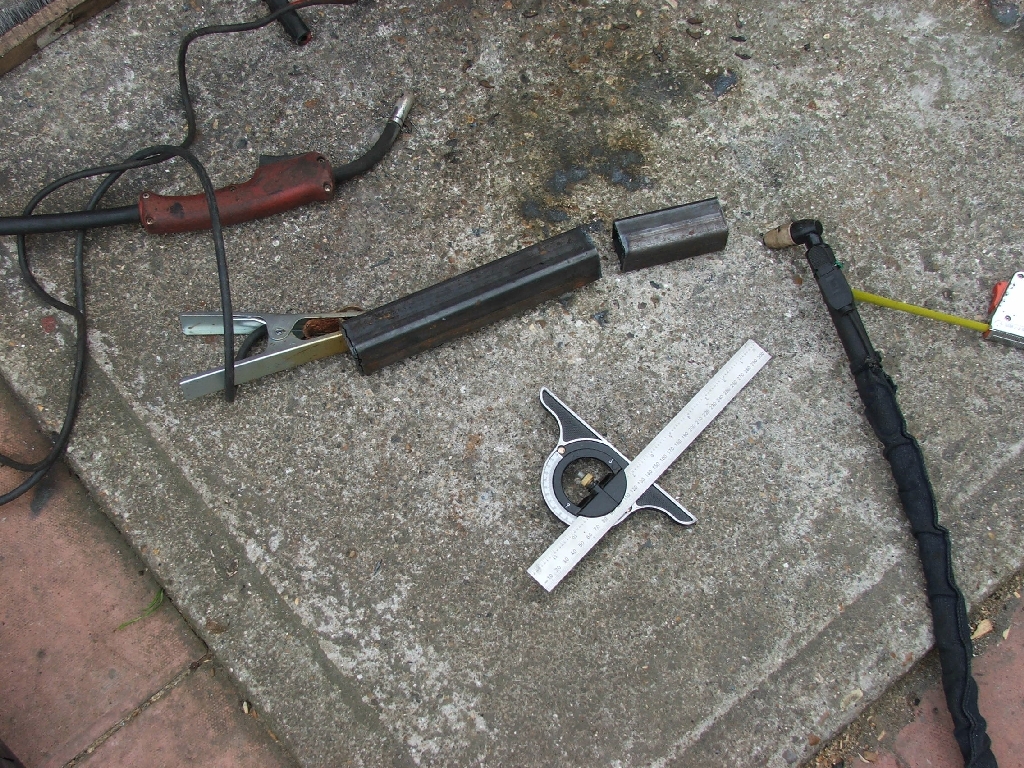
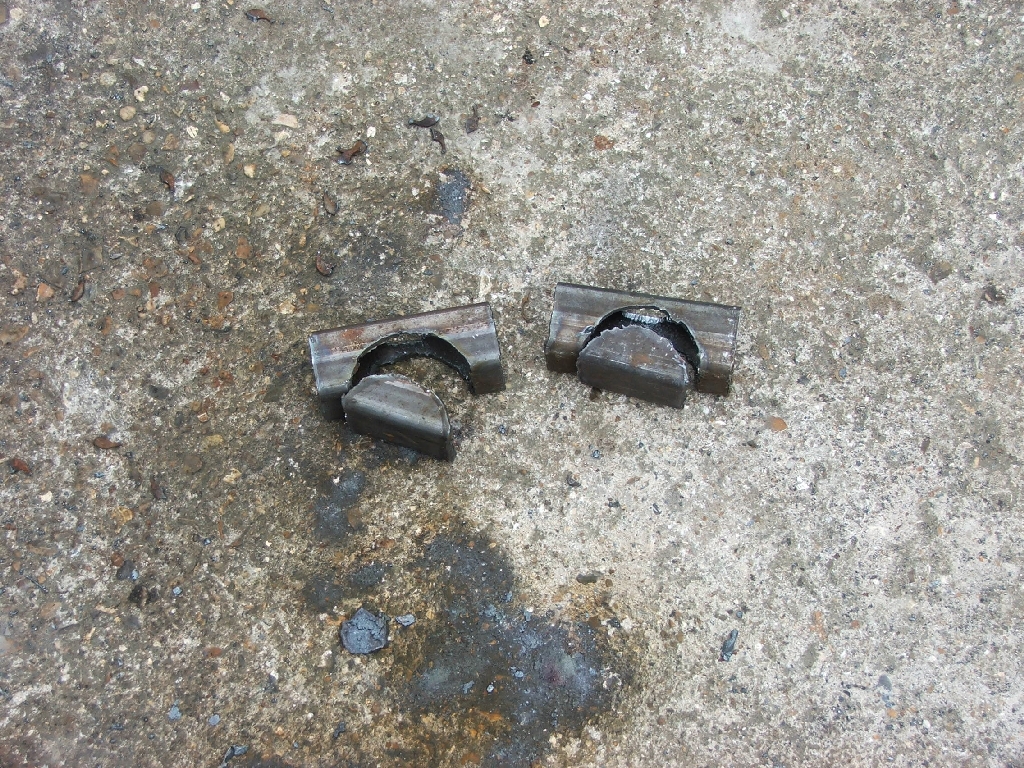
Meanwhile I got busy chopping the spare brackets off of the replacement axle.
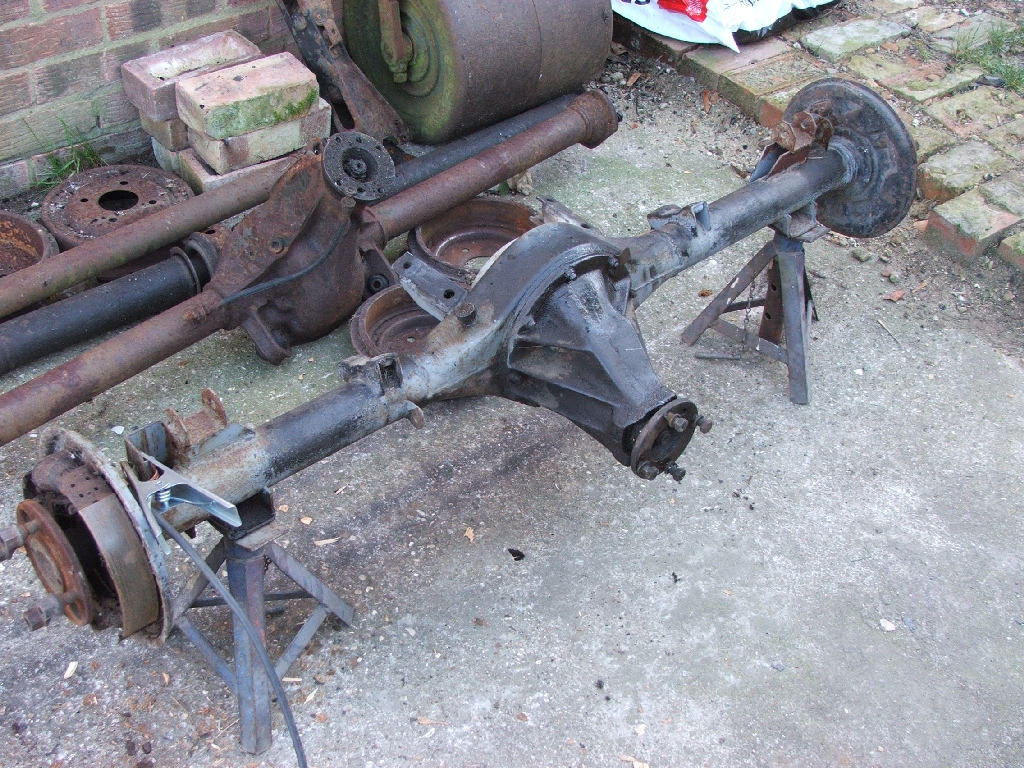
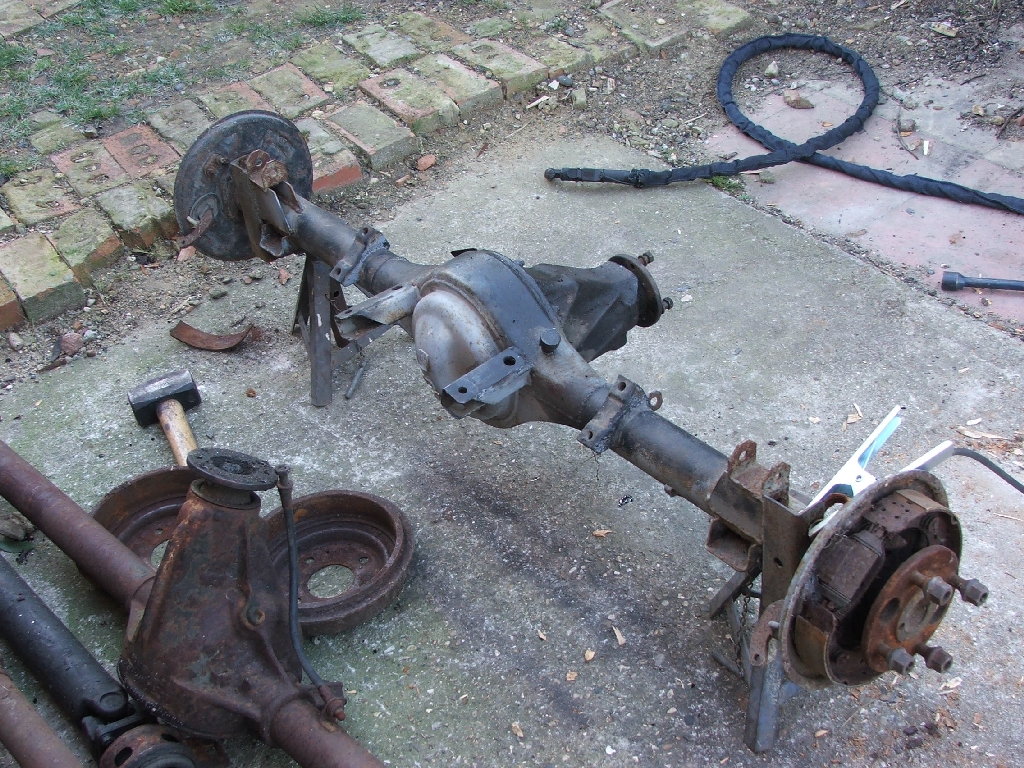
Mostly cut off with the plasma, then just needed a tickle with the grinder to make it all smooth.

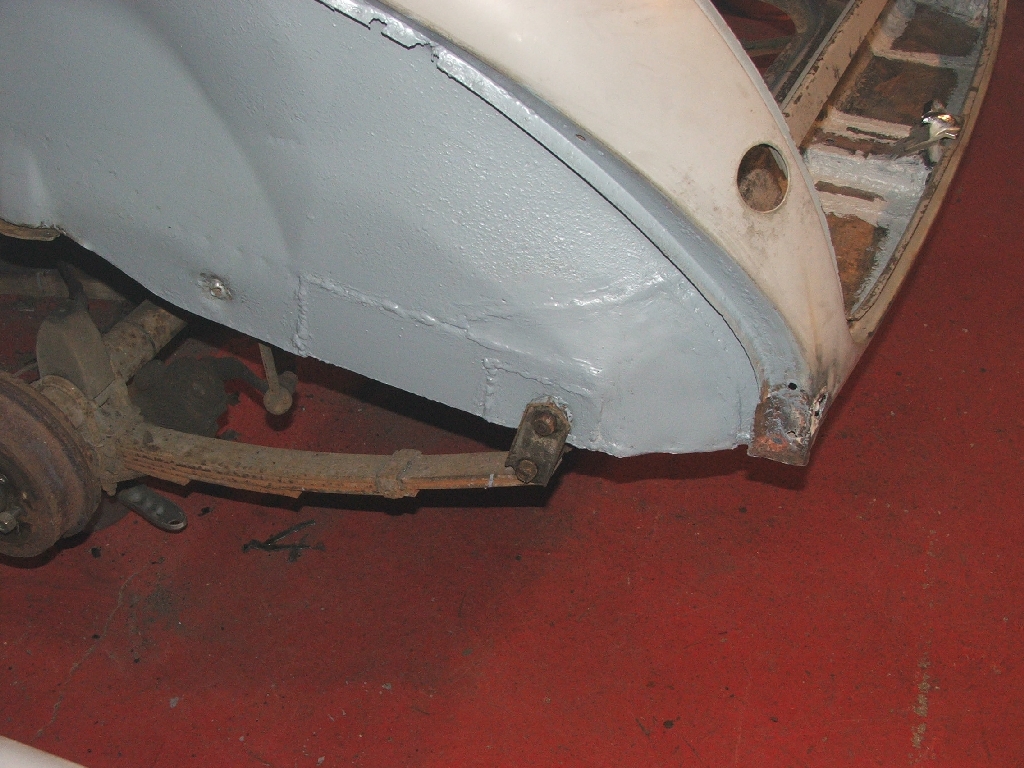
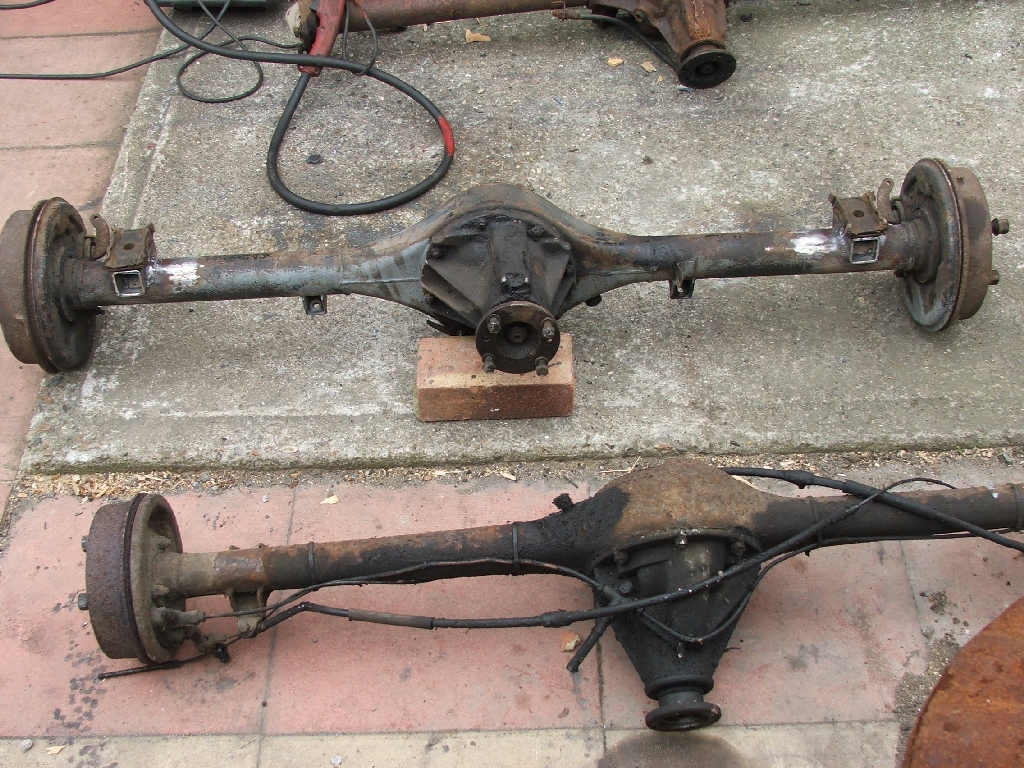
After with a bit of wrestling the old bolts finally succumbed and the new axle was rolled under for a trial fit. All looks OK, just needs U bolts and bracketery to hold it all together !
Feb 23/24
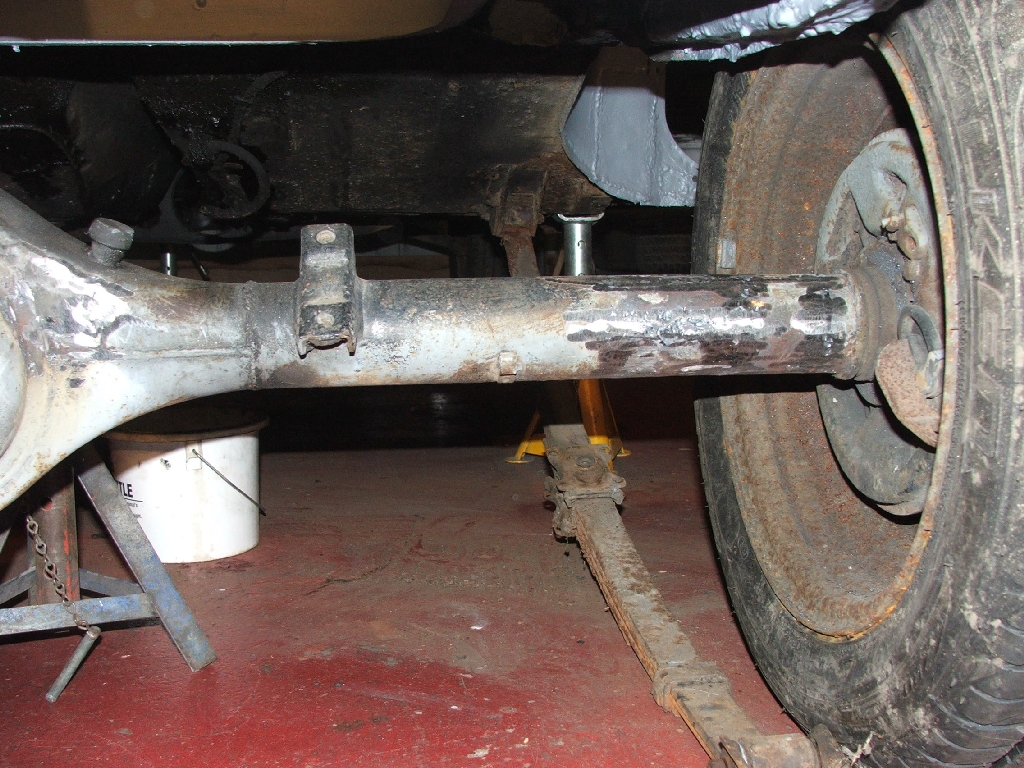
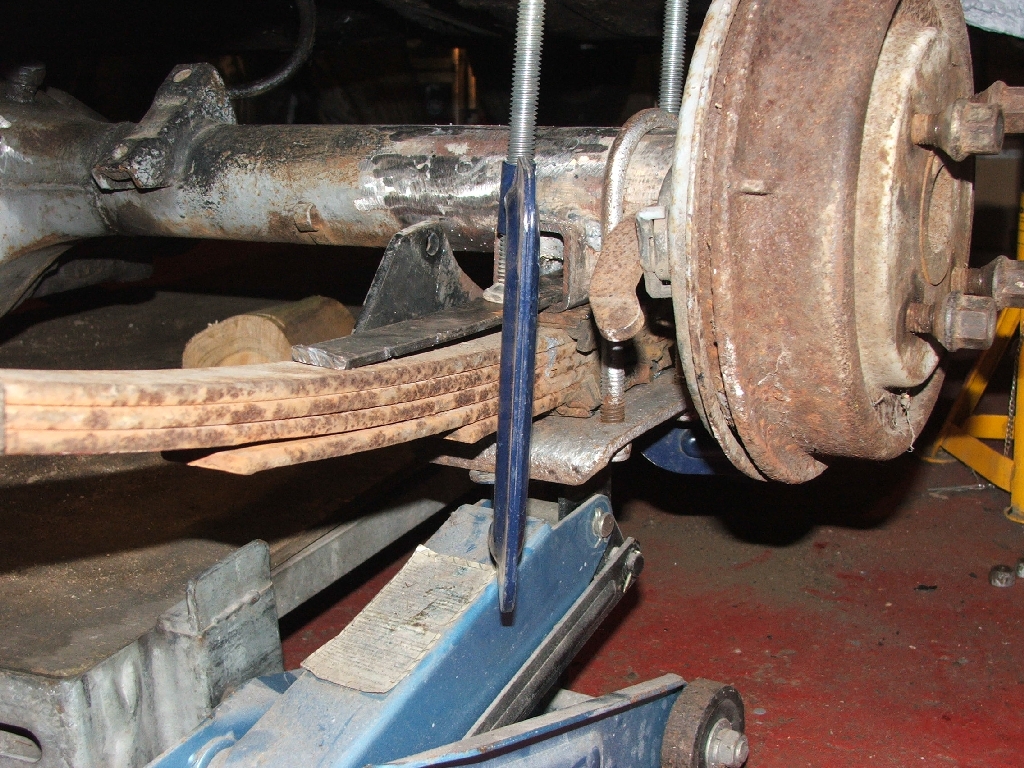
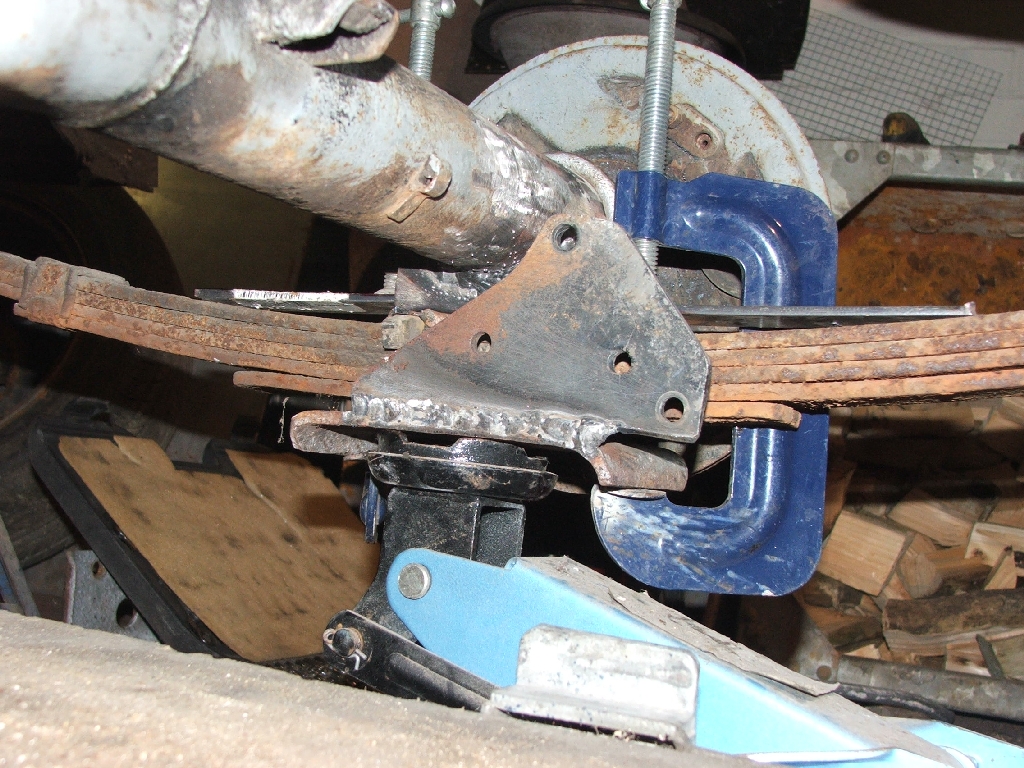
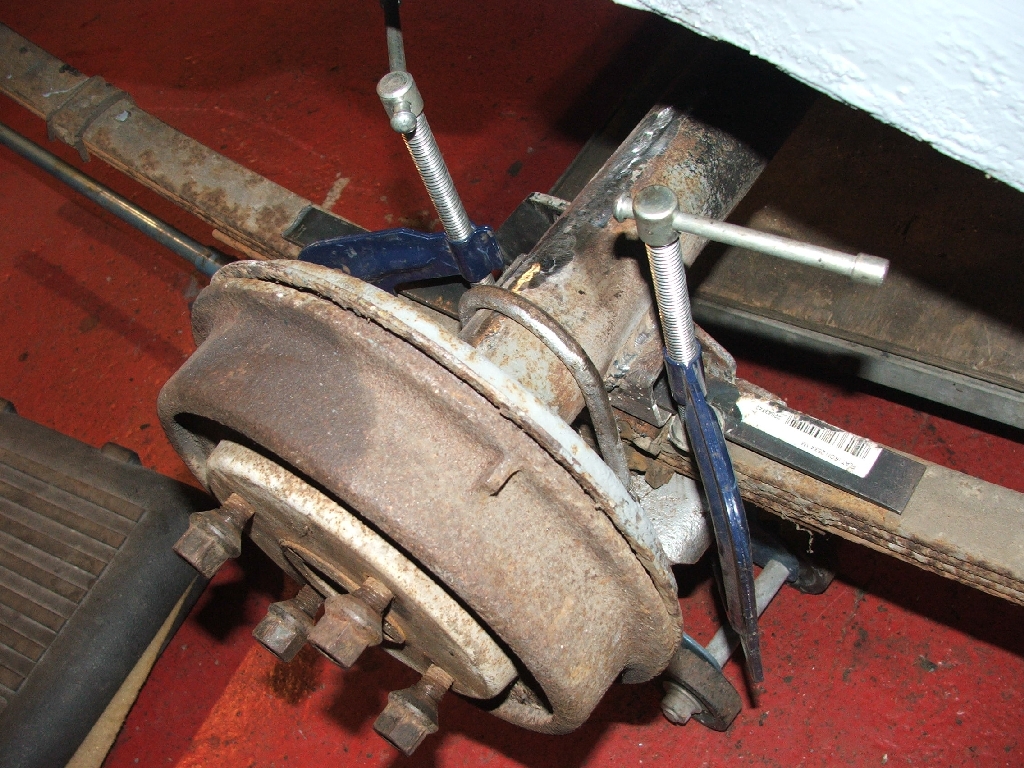
Axle bracketery...
Take yer Minor U bolt bracket shock mount things, and a couple of Ford ones.
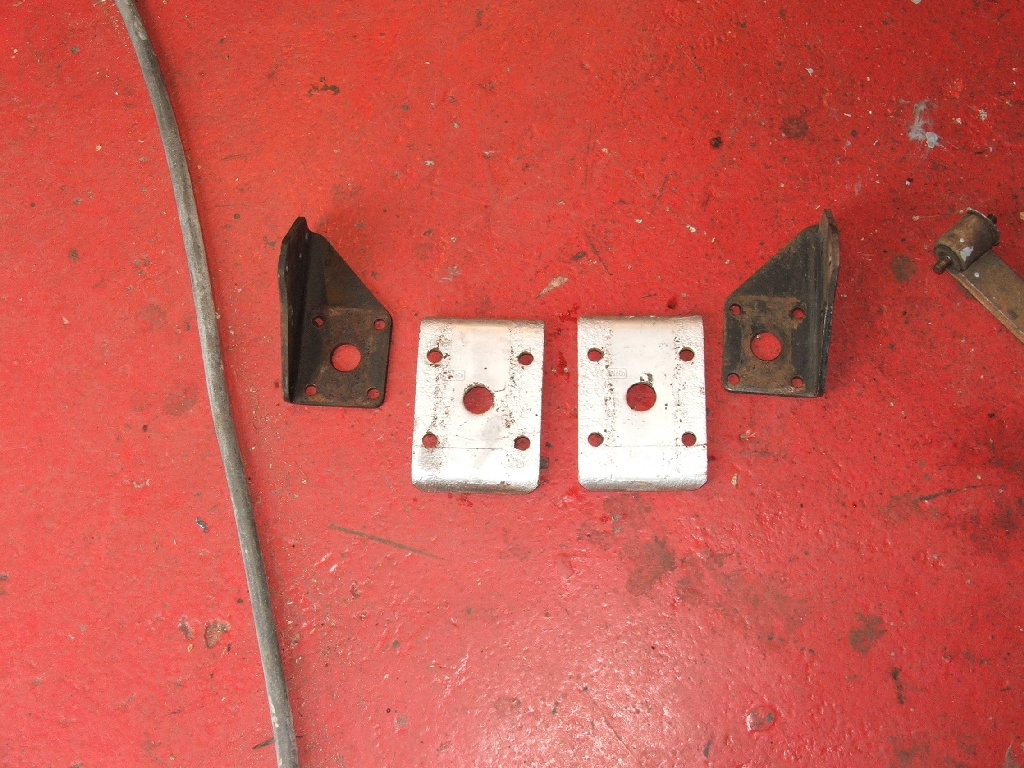
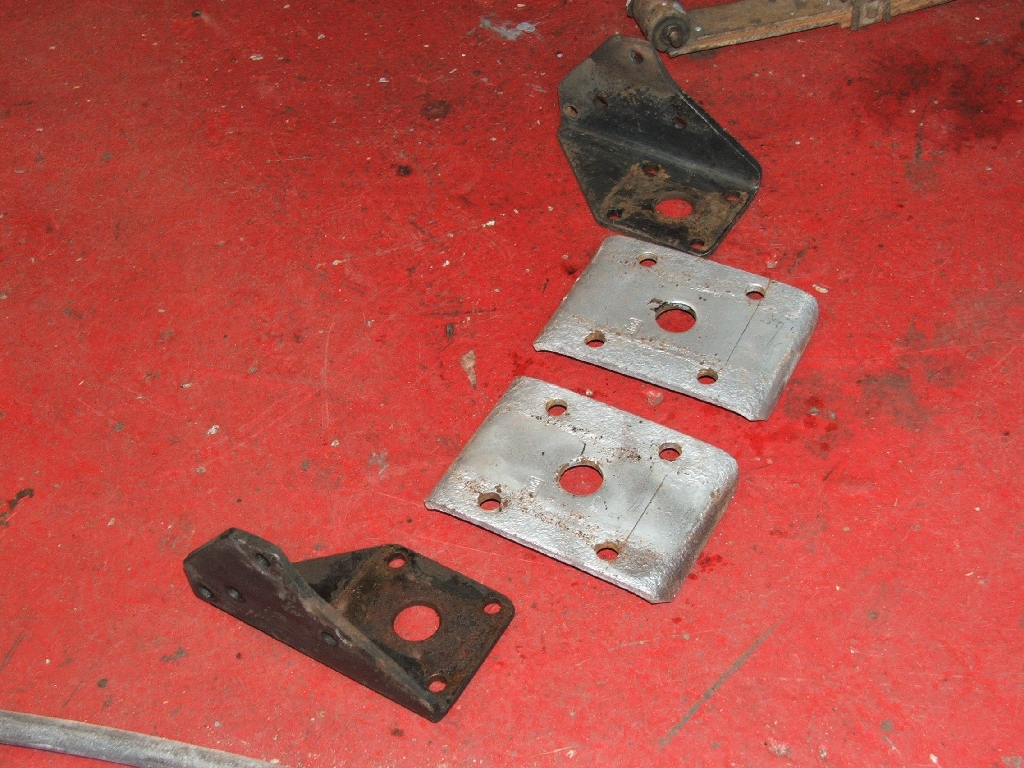
Apply a little chopping,
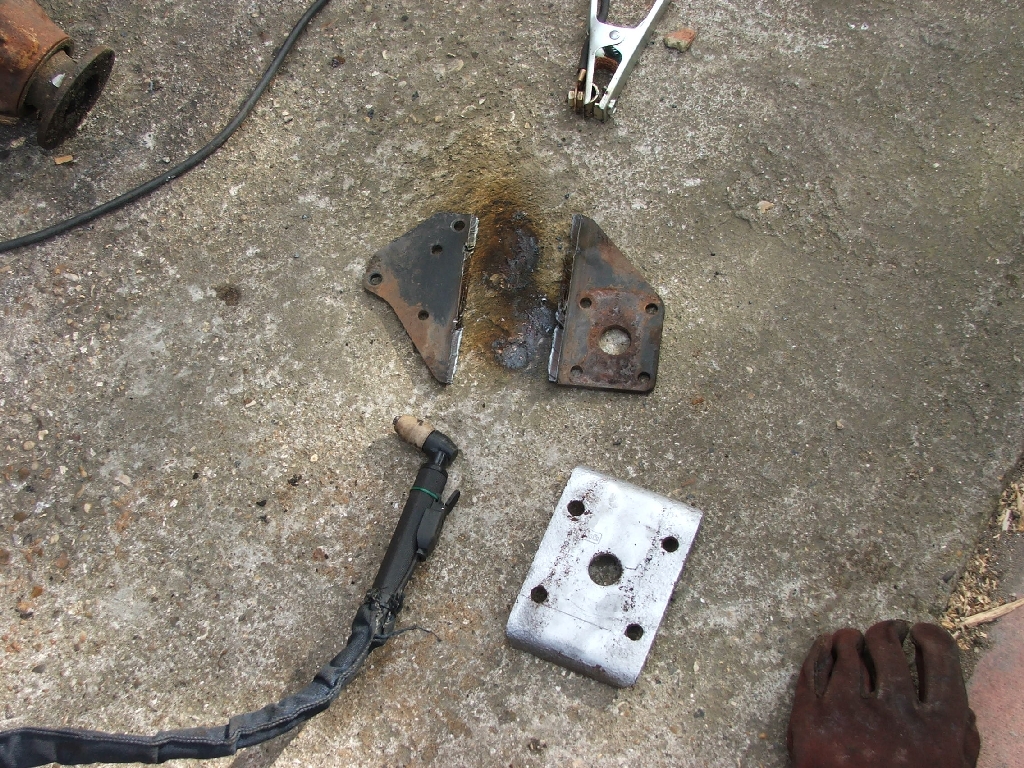
And a little welding
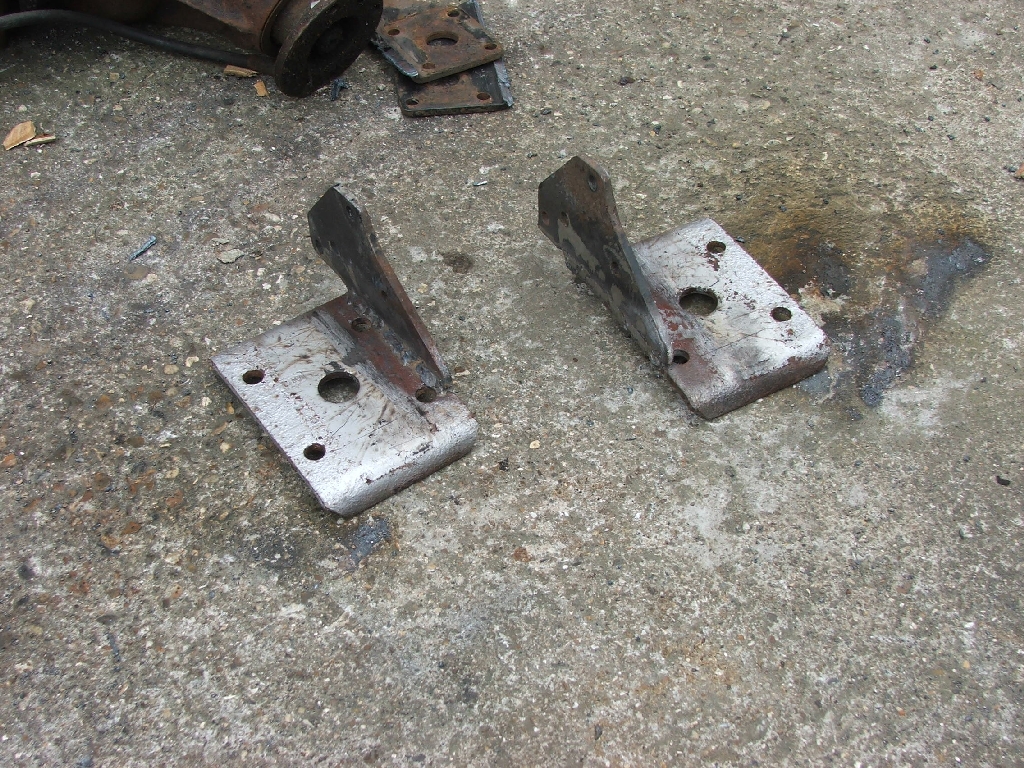

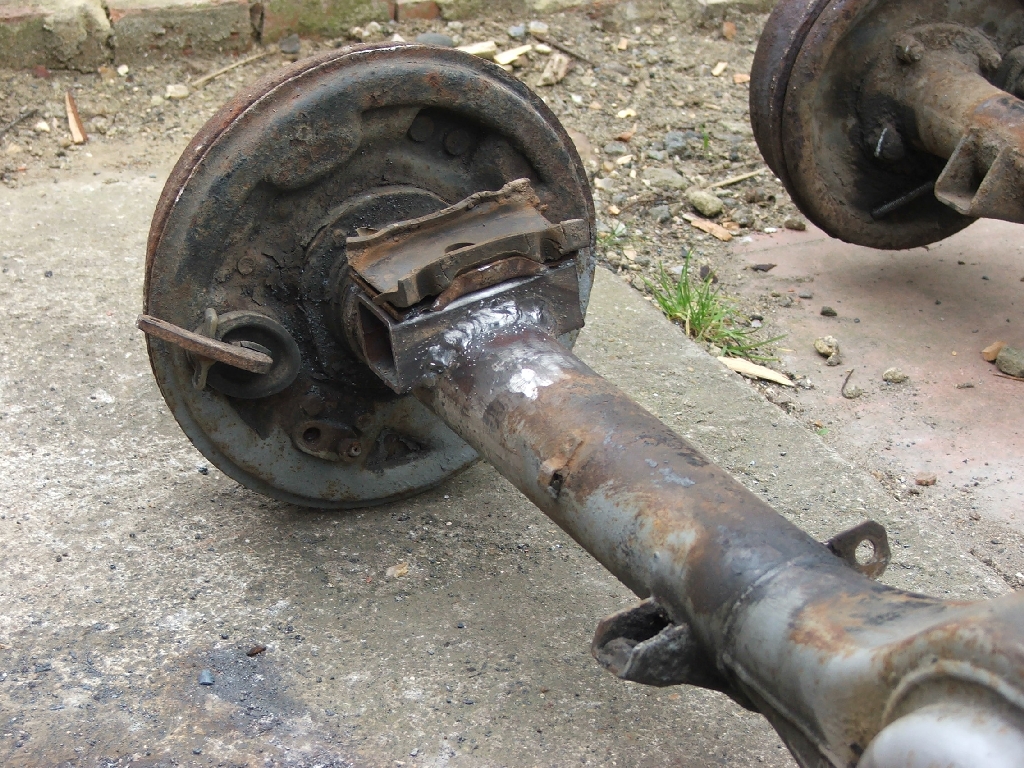
Then roughly cut some bits to go on the axle tube,

Tidy the shape and glue them on after some careful measurement and general eyeballing.
Then find that you need to employ a cunning arrangement of clamps to squash the rubbers to make getting the u bolt nuts on really easy.
Um, then you just pop the wheels on.
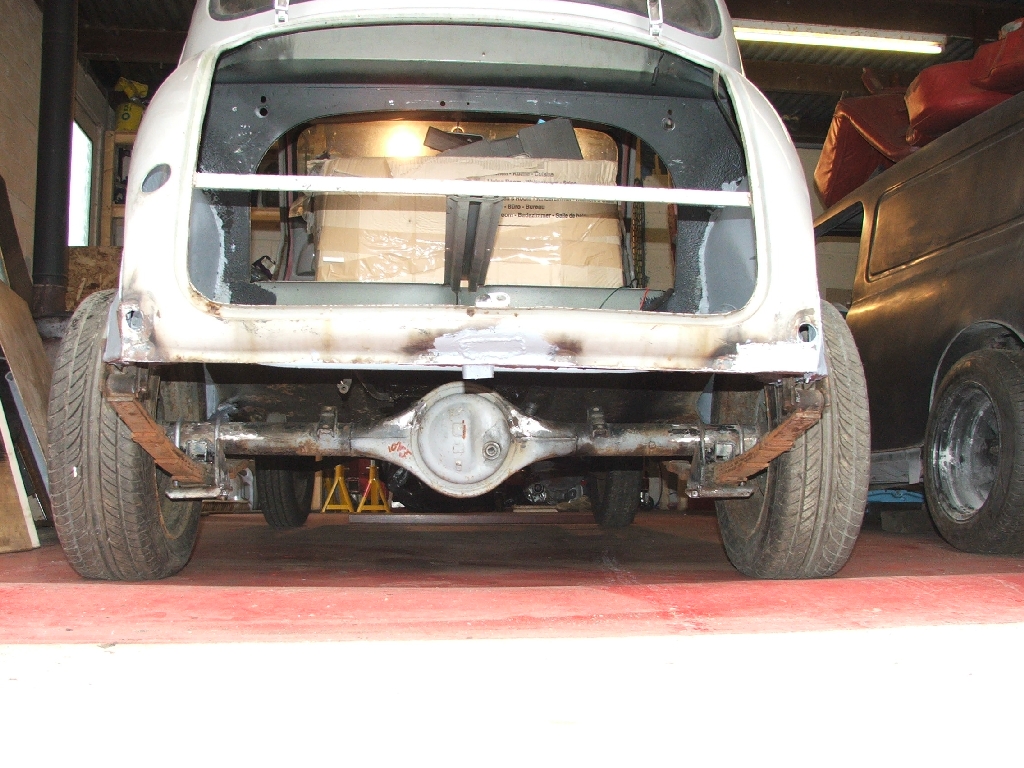
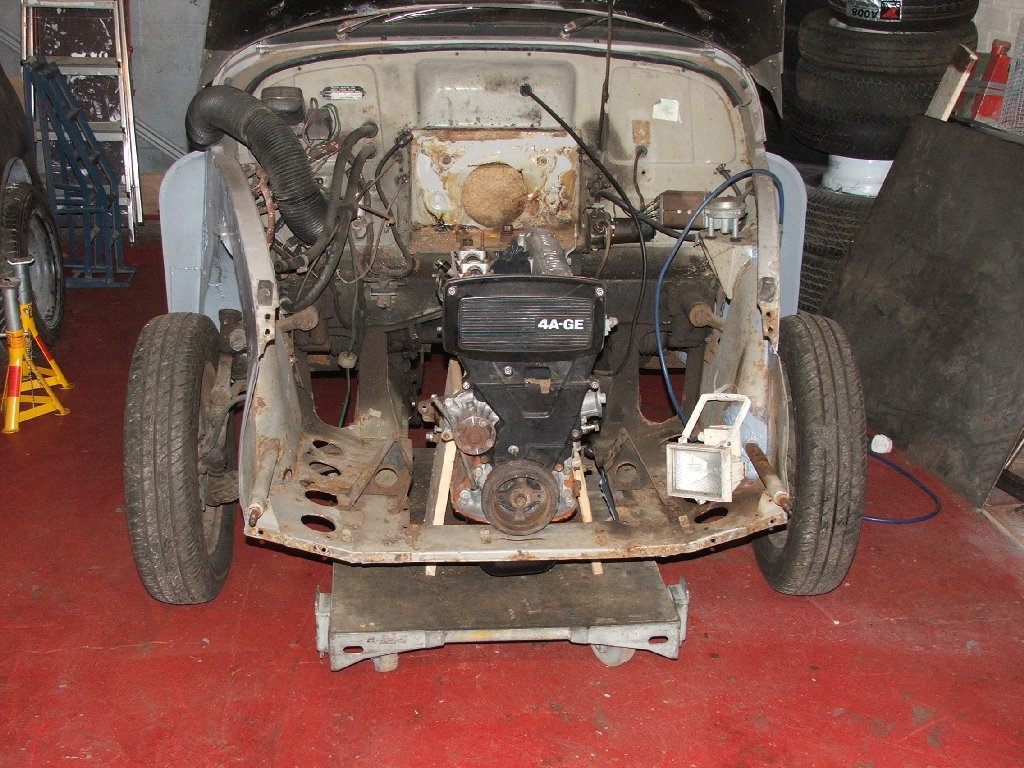
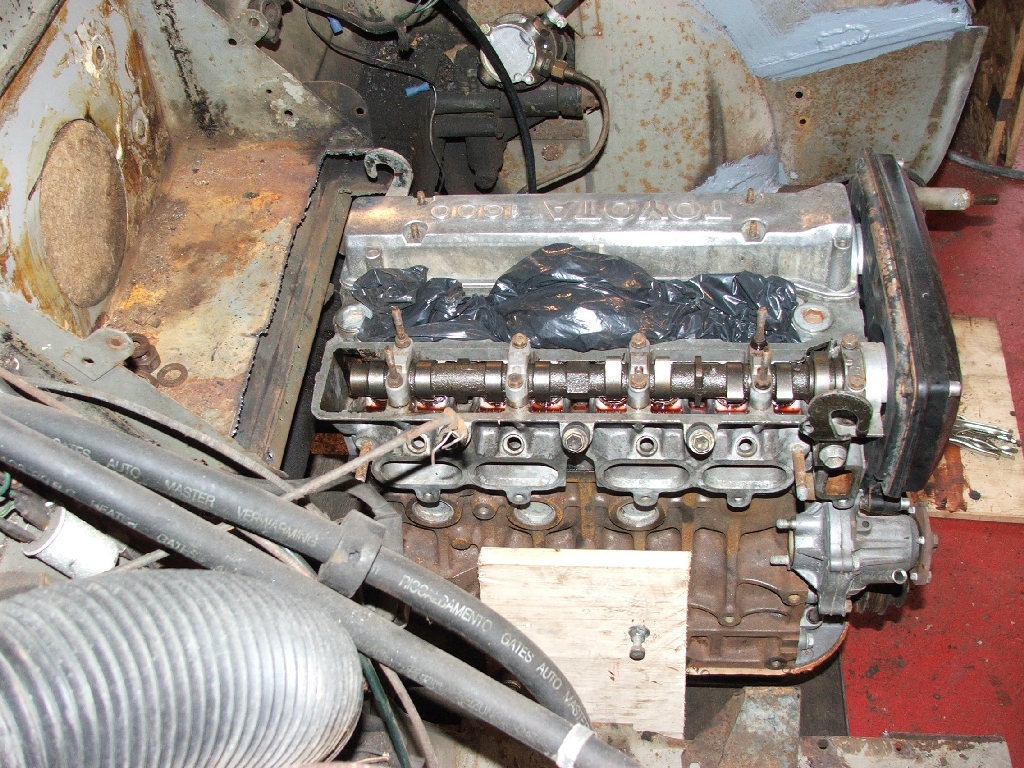
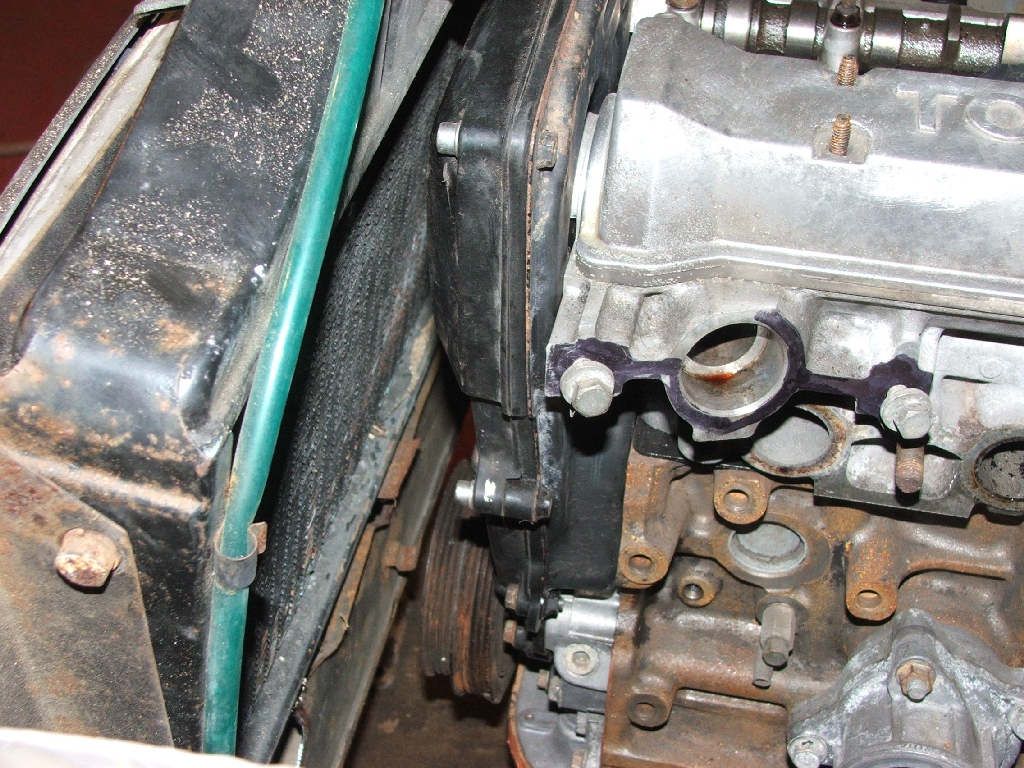
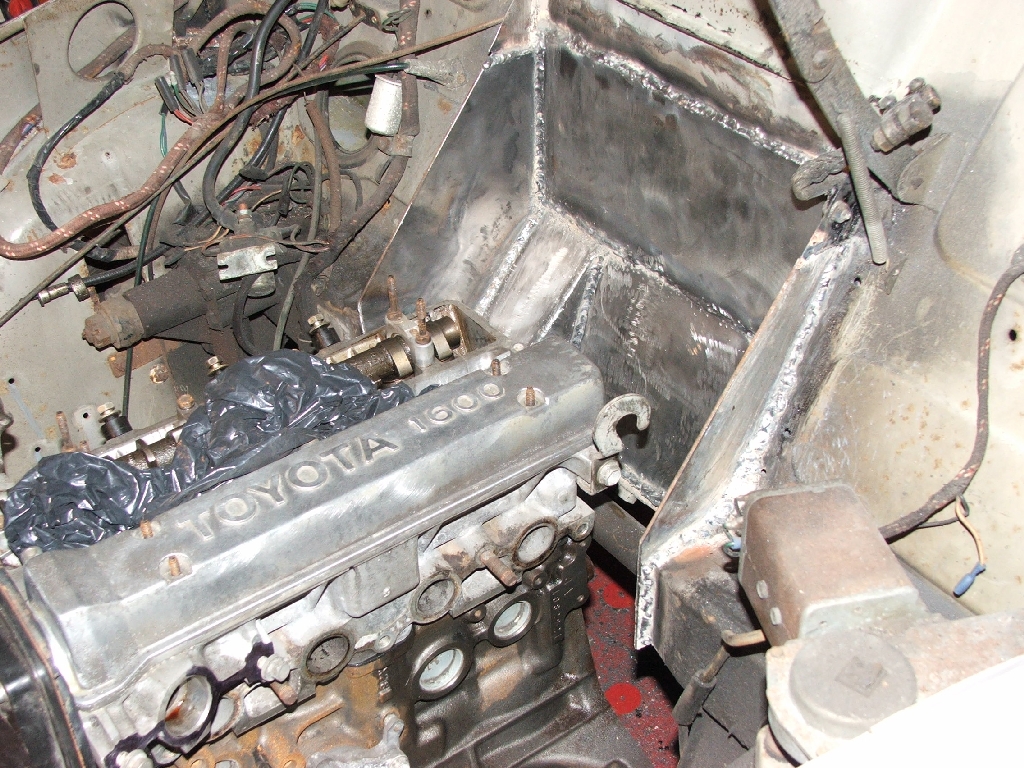
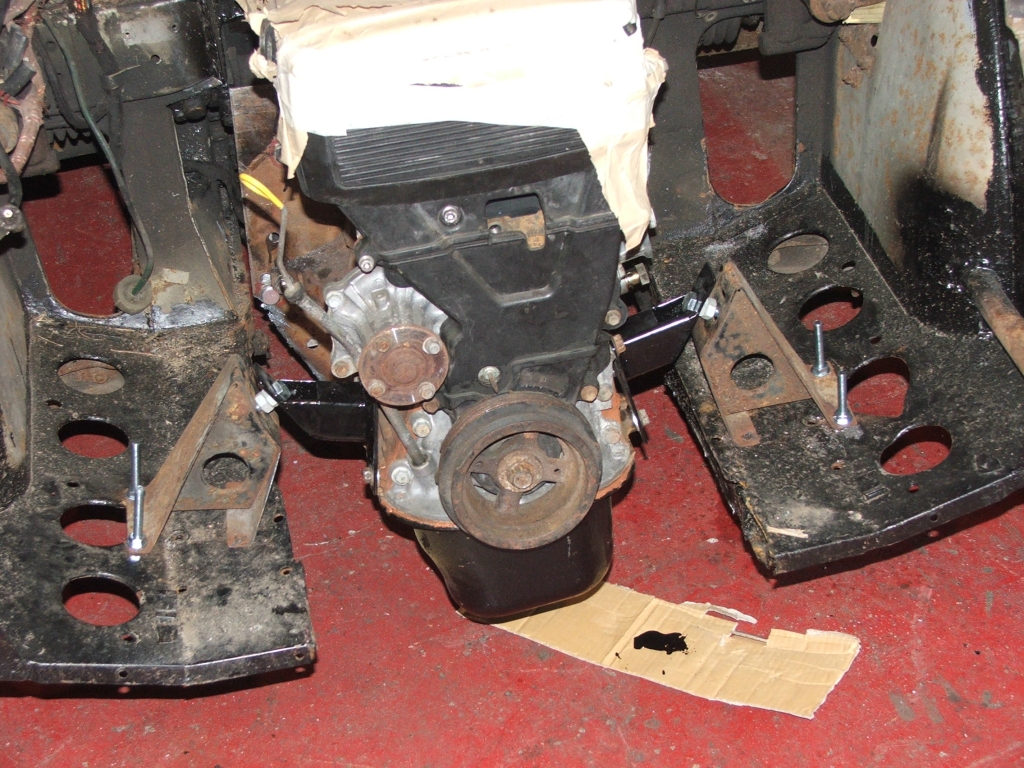
With the axle on and turned round in the garage, it seemed rude not to just try a quick test fit of the engine - just to see the space issues etc...
Doesn't look too bad...
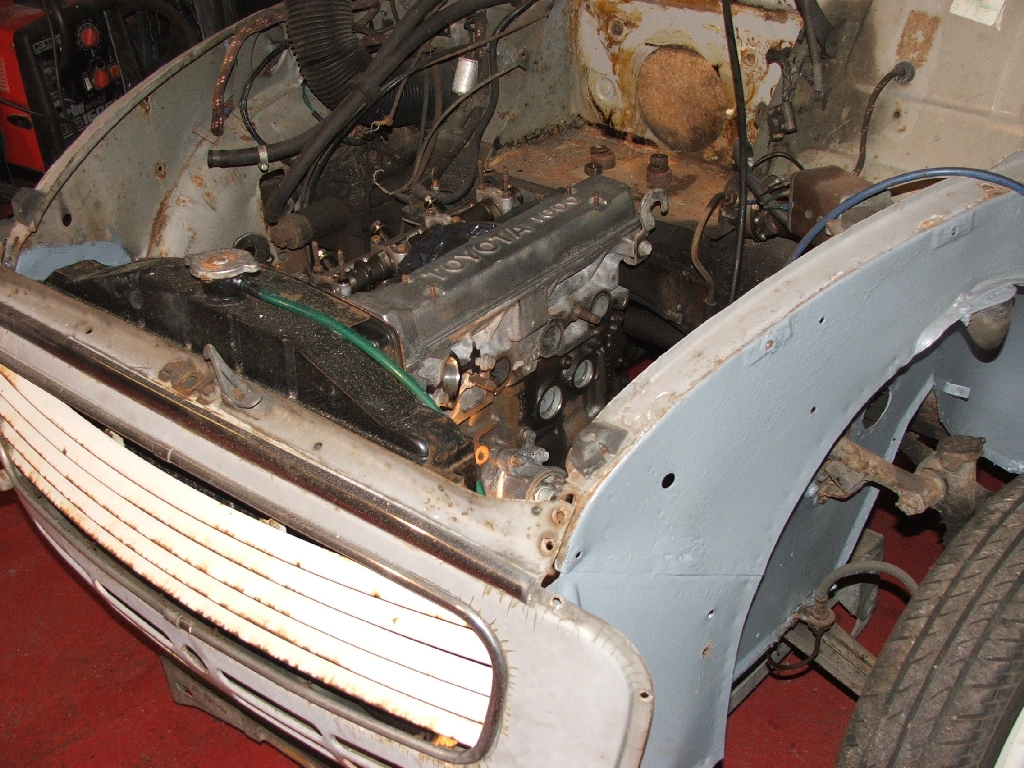
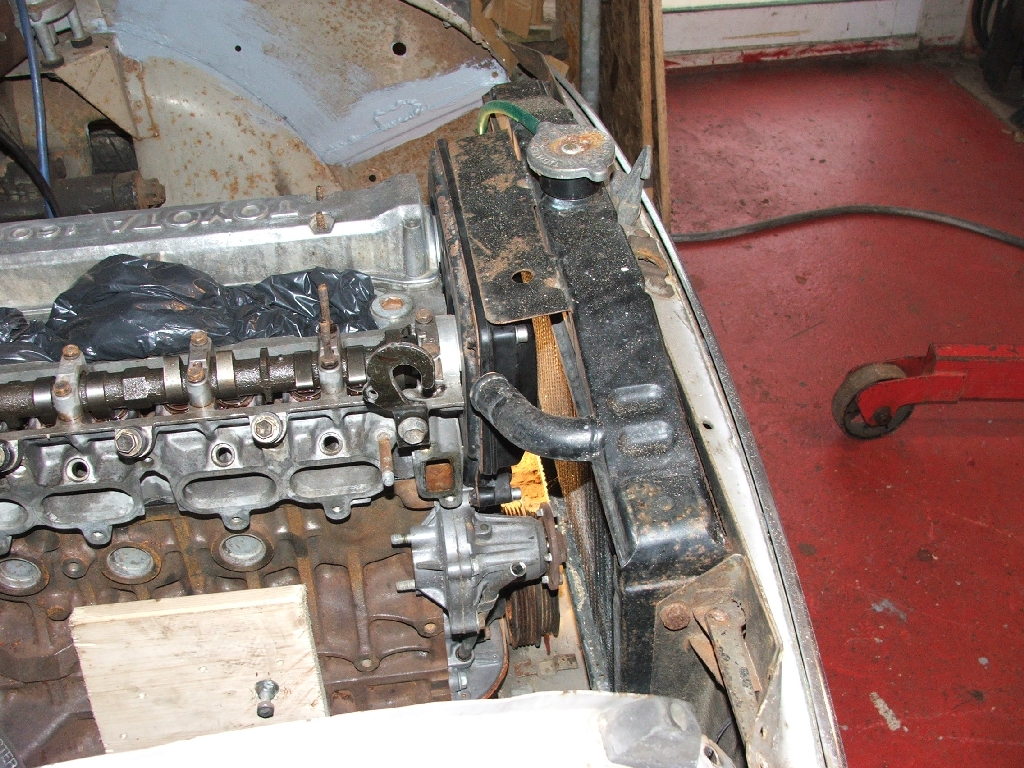
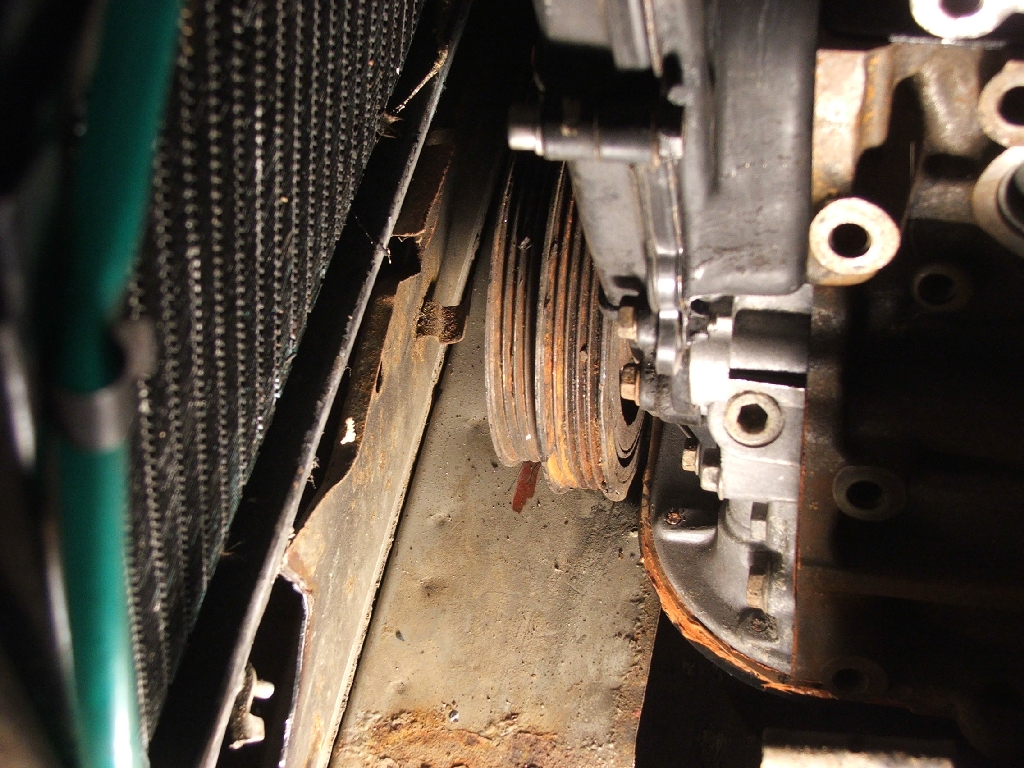
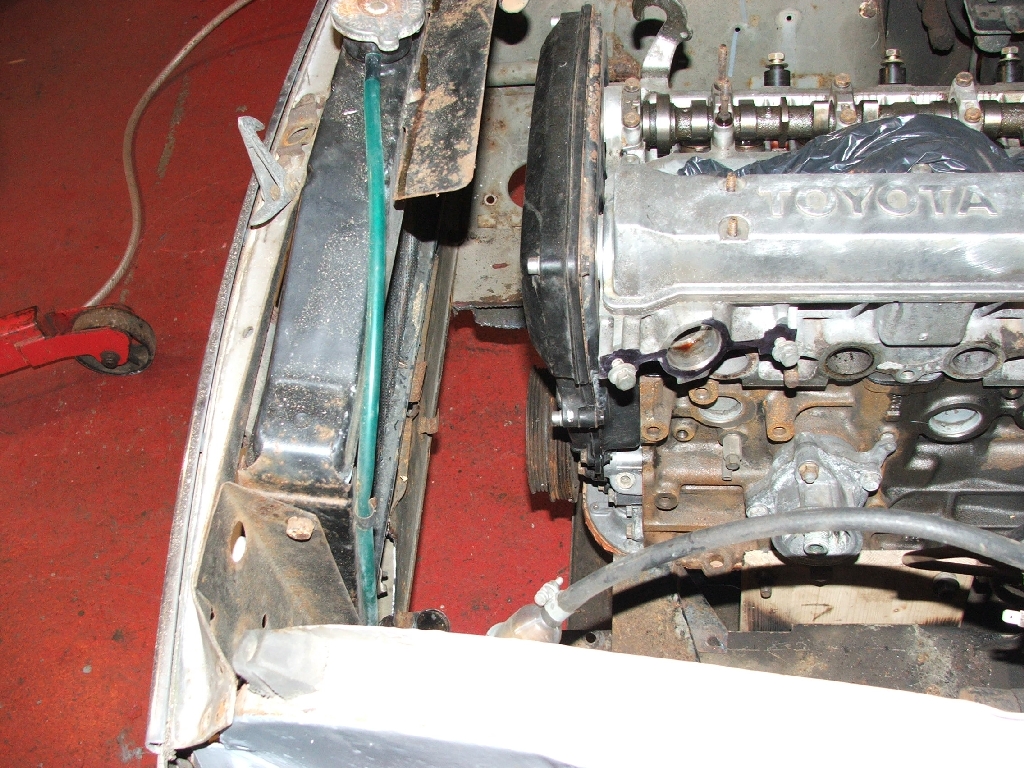
Just clears the radiator with a gap to the bulkhead., but it could do with a bit more room for convienience.

It's possible the wooden engine mounts need a rethink, and I am not sure on the speed rating of the bread trolley wheels...
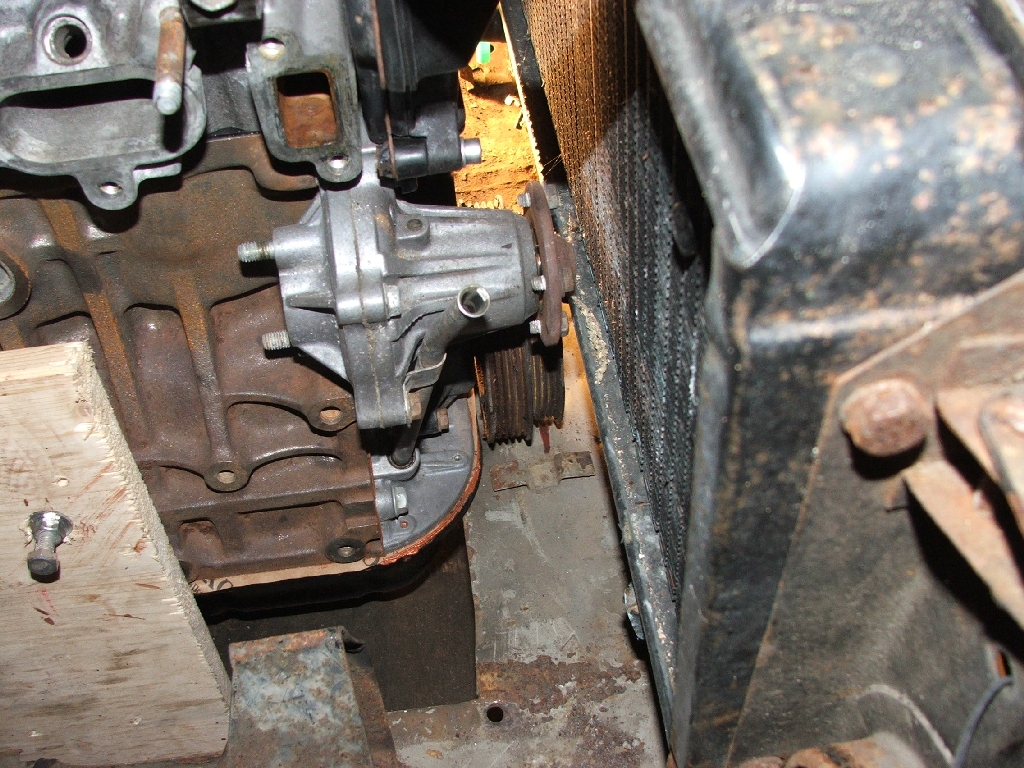
With a bit of fettling the bottom of the radiator can shift forward an inch or so to give the pulley a bit more space.
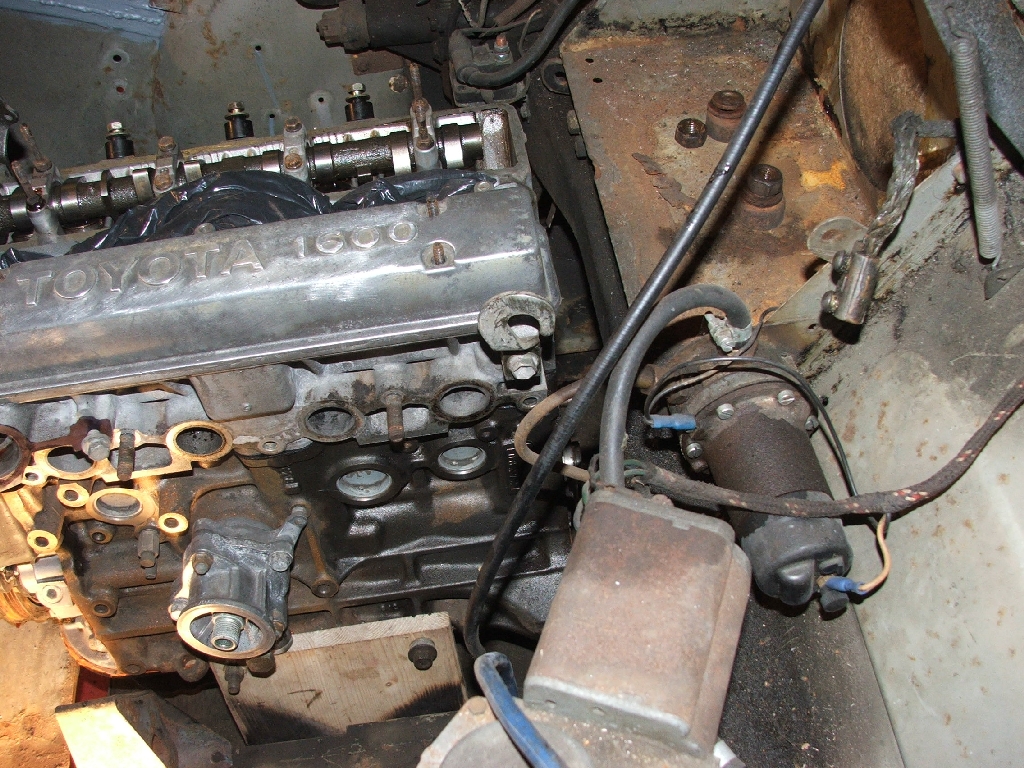
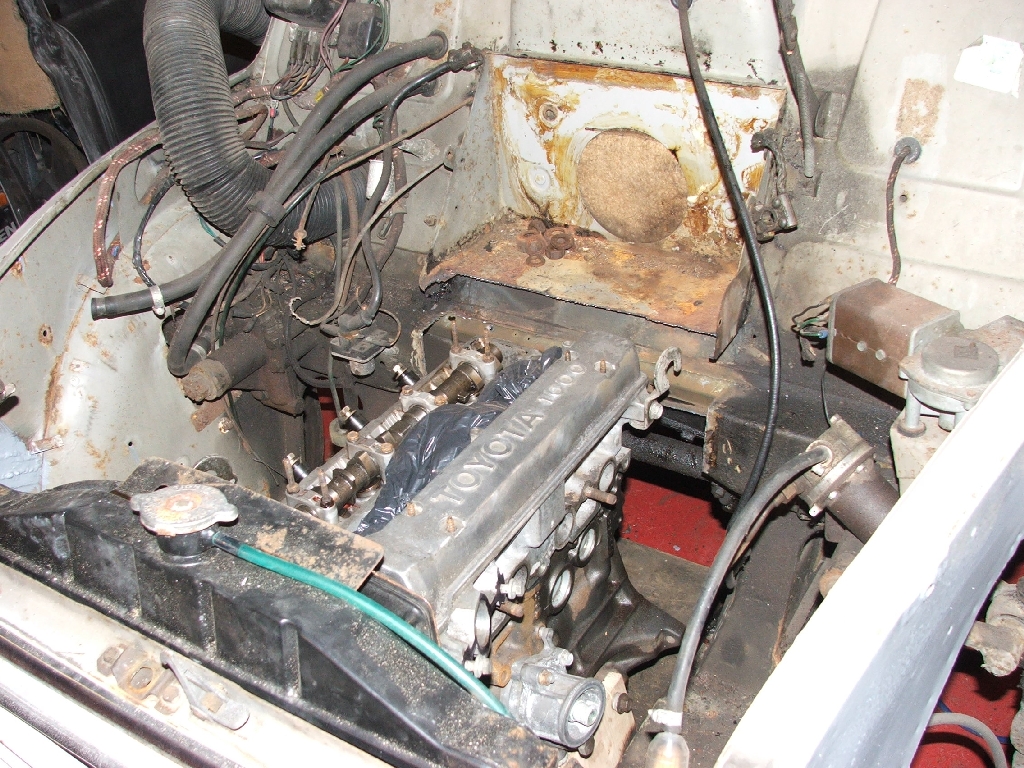
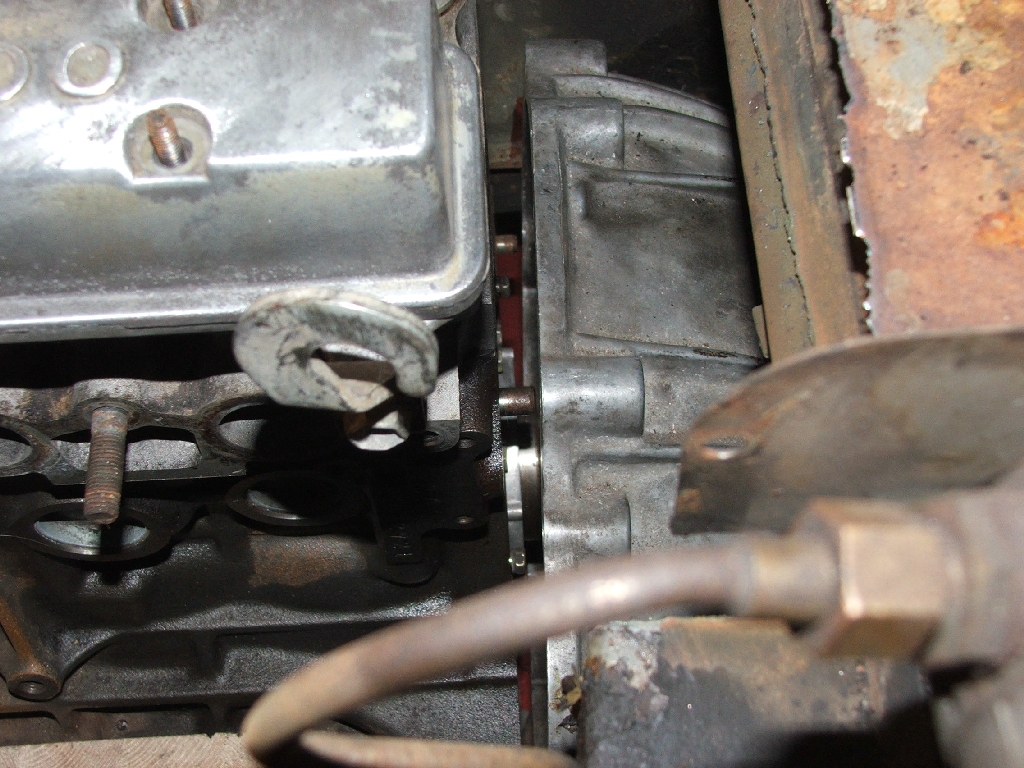
Then to see what other room can be made...
Front bit will be dropped a couple of inches to get the engine lower
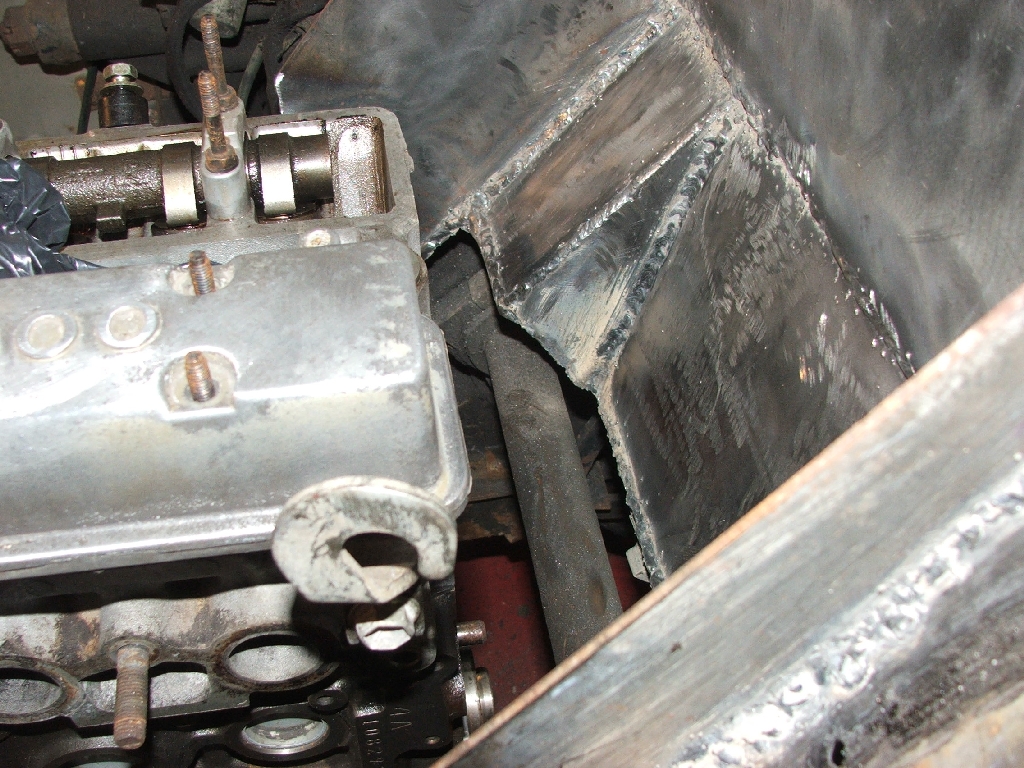
First cuts to the bulkhead give a little more space at the rear.

Seems to give a bit more scope for wiggling things about, and looks like a slim leccy fan will fit in too.

Looks like it may be possible to leave the battery in place, or maybe just lift it an inch.
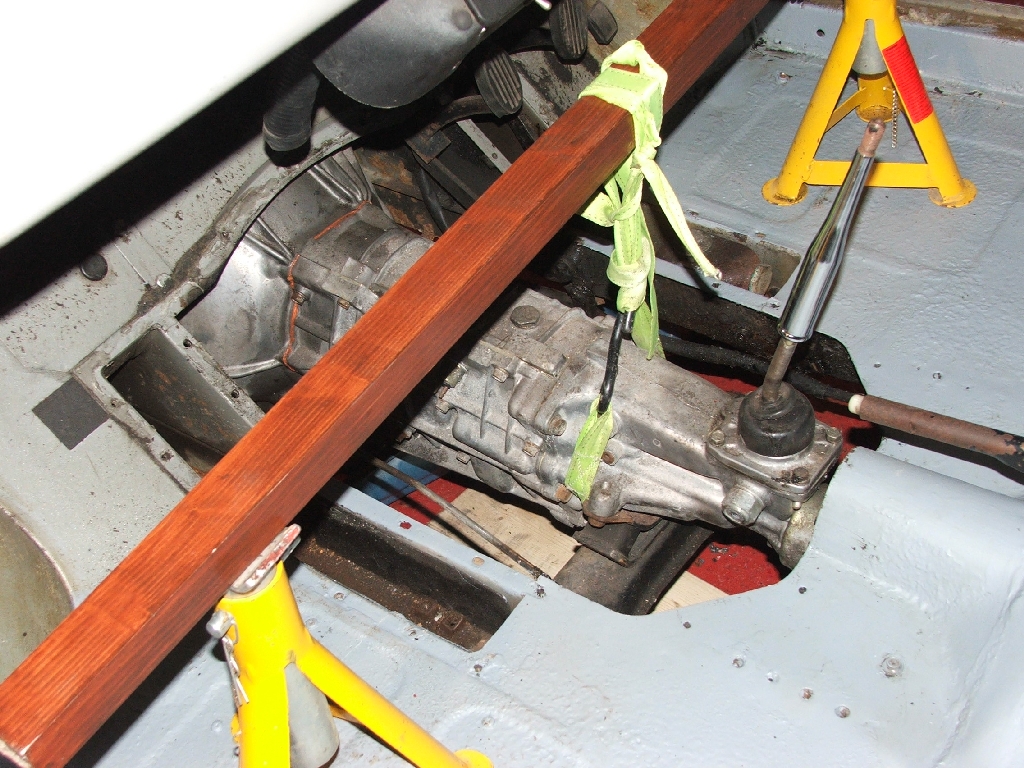
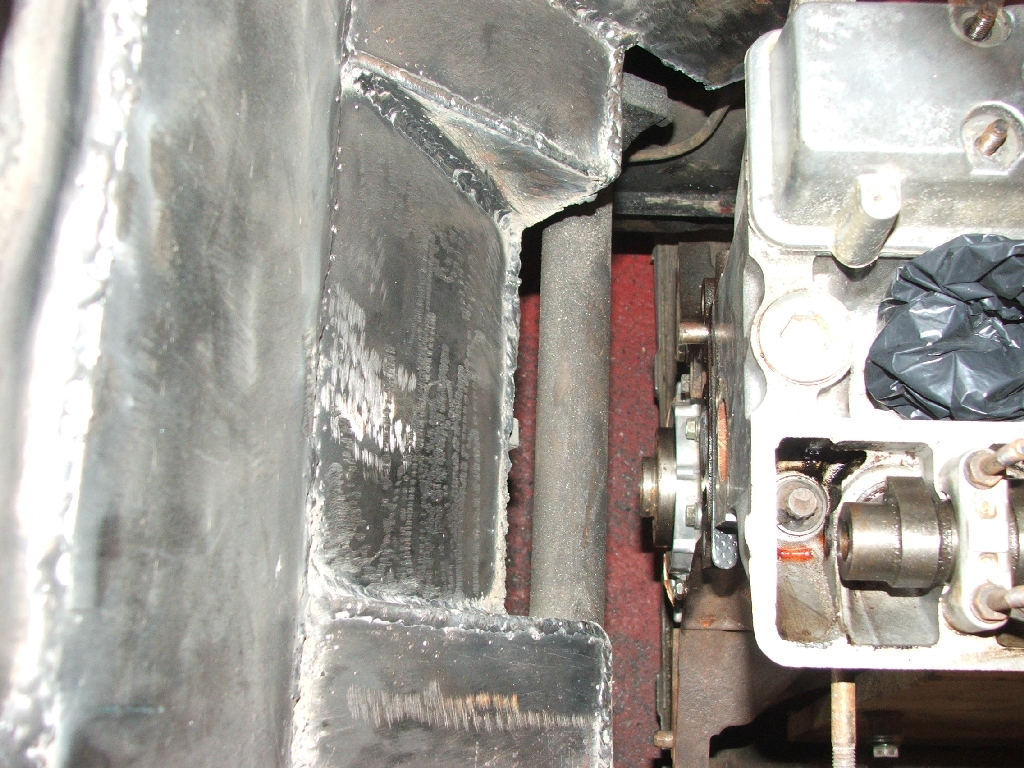
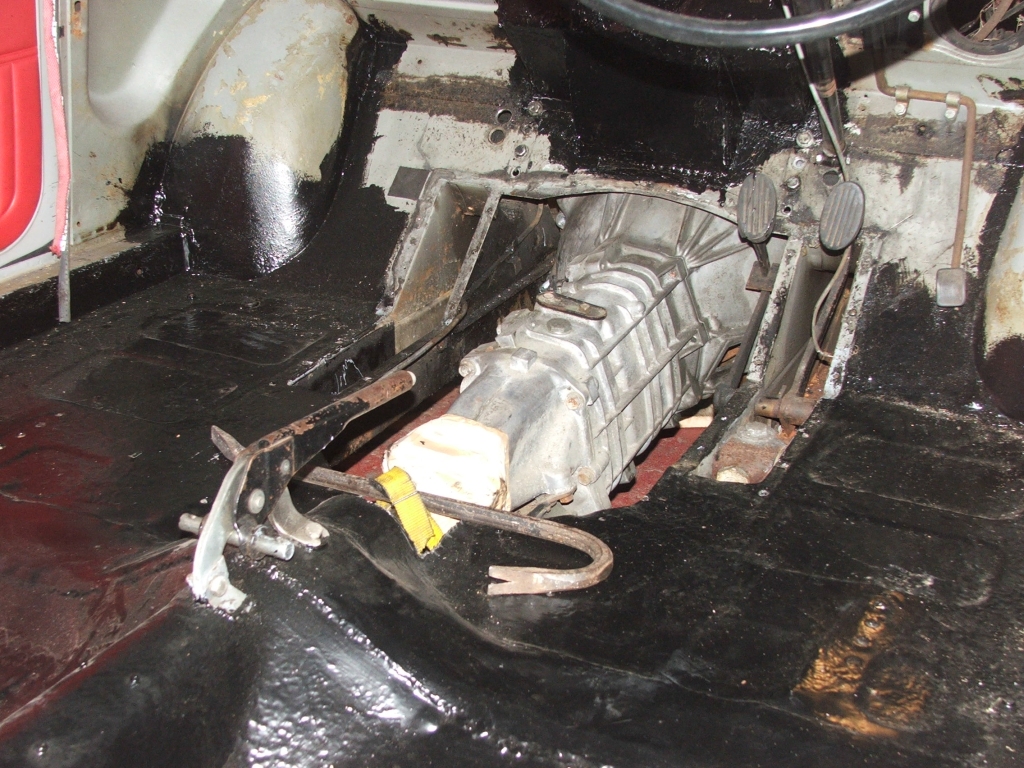
Having marked where the back edge of the block would go, I poked the gearbox in the 'ole to see what nightmares that would bring ...
The box is jacked up until the ribs hit the steering rack, but with a bit 'fettling' - well, ok cutting a hole on the bellhousing like the Moggy box, then I think I can get another 20 mm of movement either back - or up

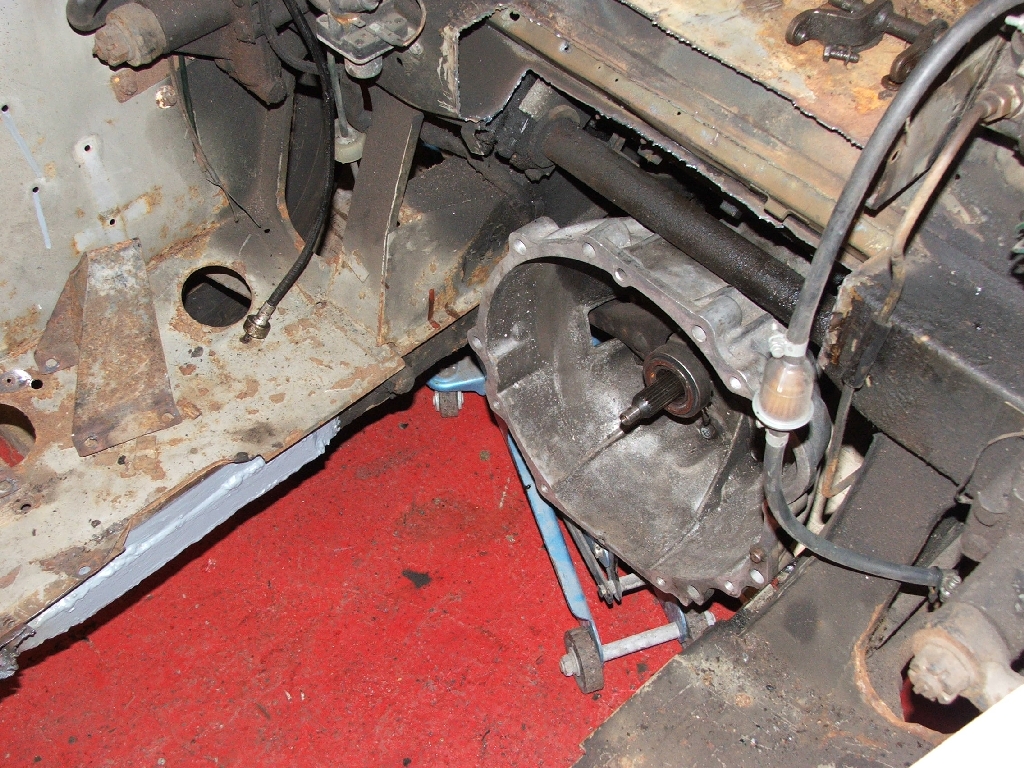
With the engine pushed as far forward as would be safe to mount it, there's still 10-15mm gap to the box, so there's slack adding up all over (which is a good thing, coz it means the engine can be wiggled to find the best position. With Doris and Ed, it was more a case of wedge it into the hole and weld it where it touches...!
Position of the stick and the rest of the box all looks promising too. Hmm, it might just work...
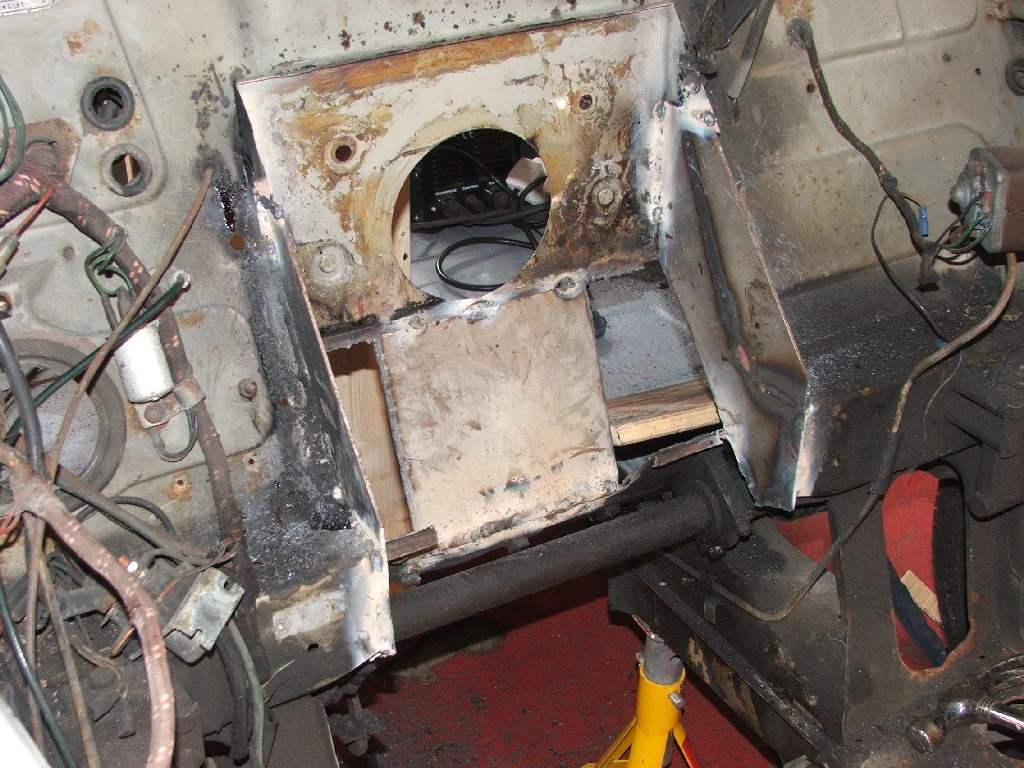
Mar 1/2
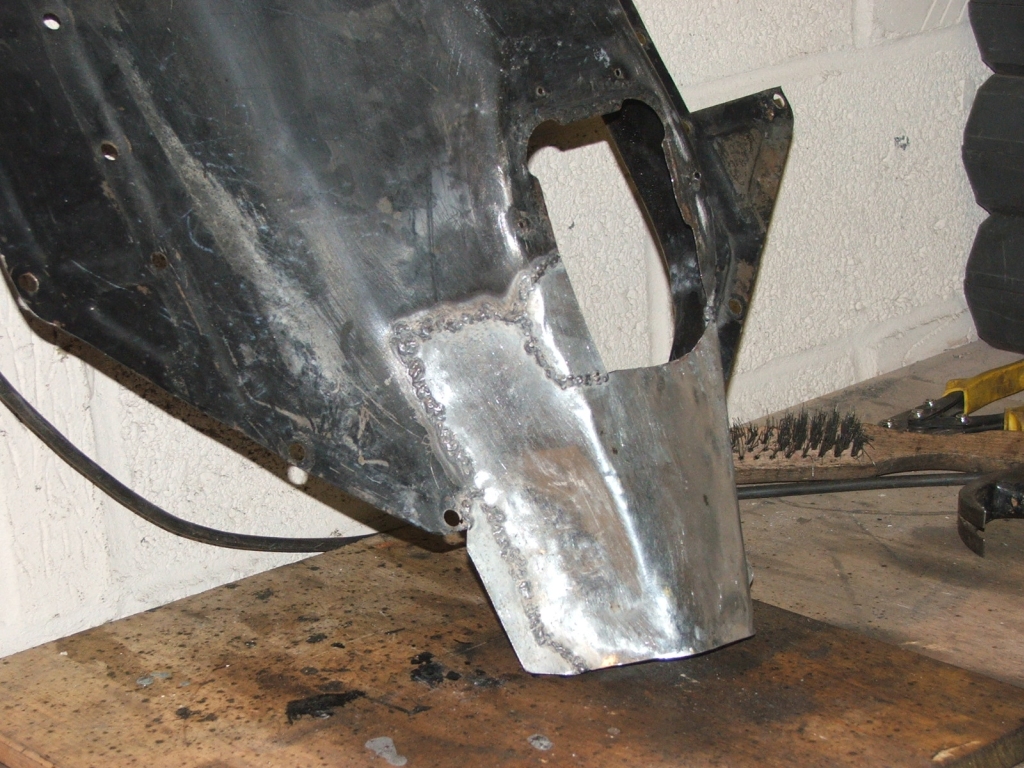
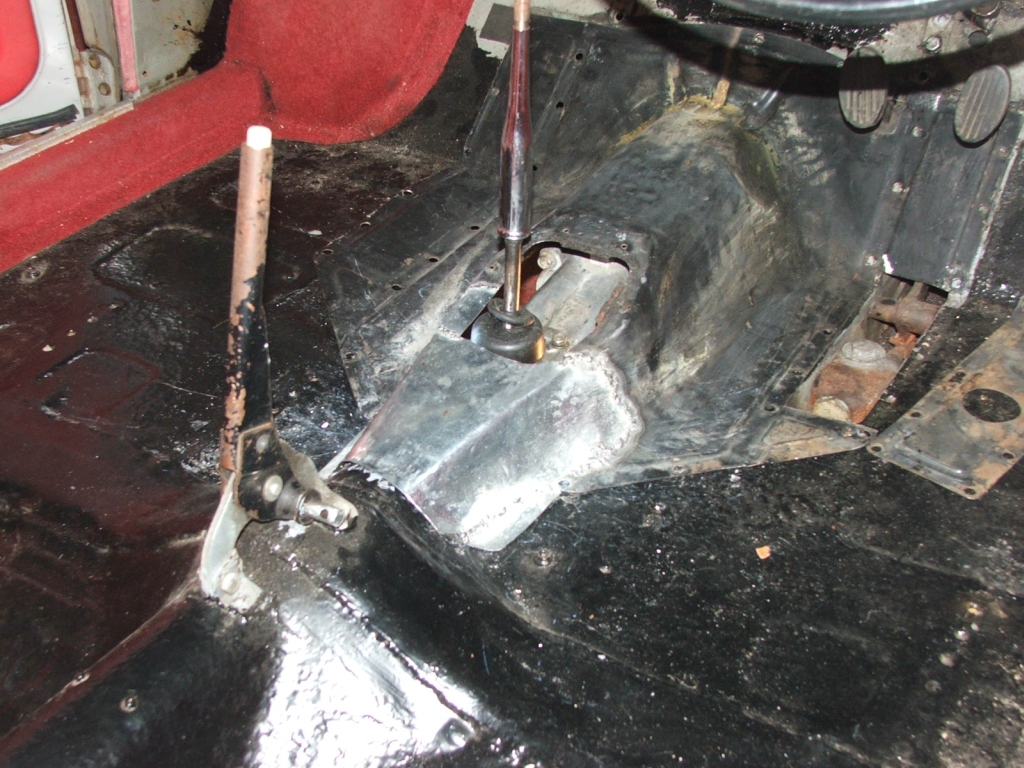
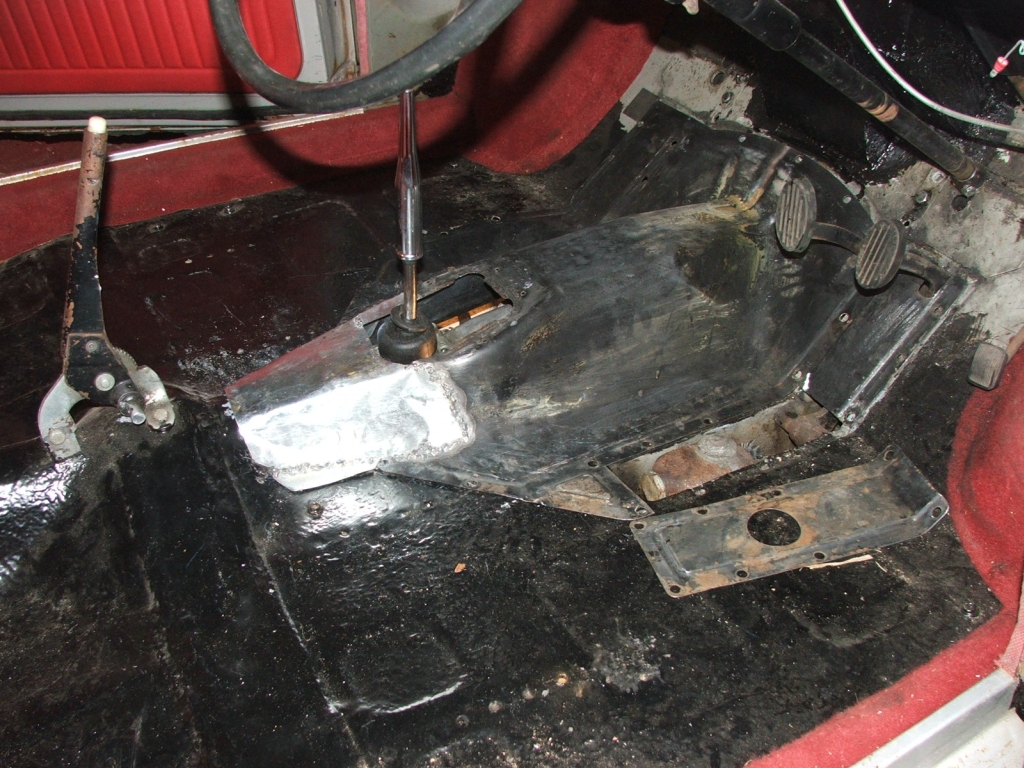
Bulkhead mods.
With the shell supported on stands and an an archaic screw jack keeping things in place, it seemed safe to chop out a bit more of the bulkhead to give the engine a couple of mm or so...
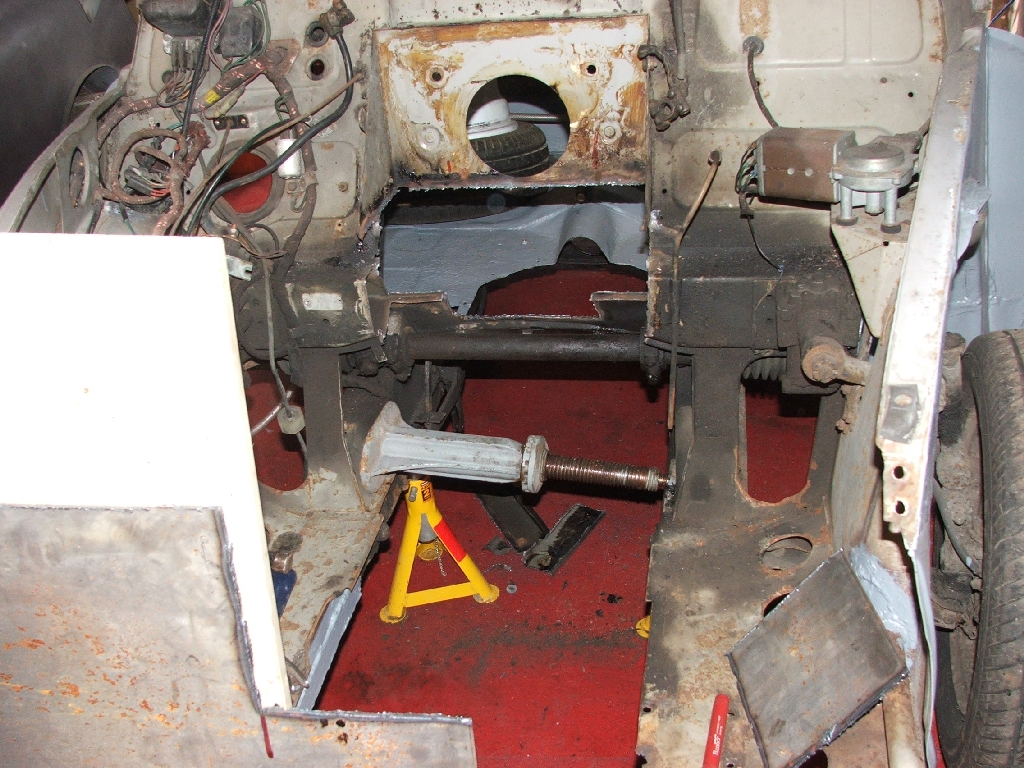
A slab of the infamous 3mm steel with the first square lump knocked out.
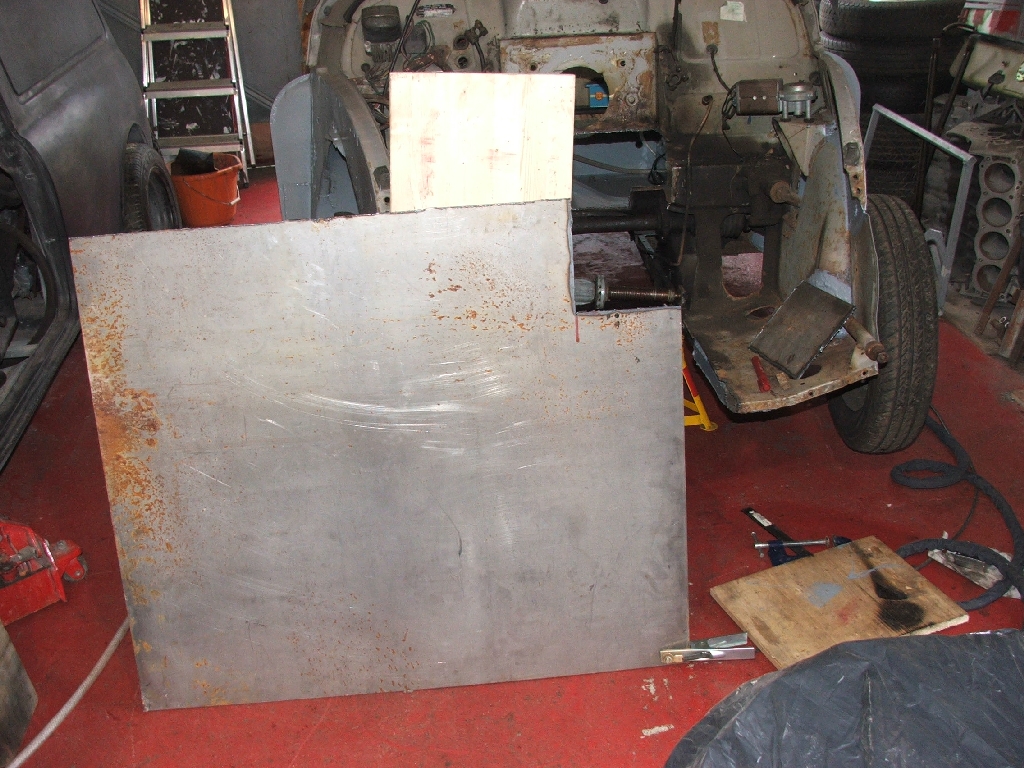
Which fills the first bit of the hole. It would have been nice to have kept it all at that depth, but I didn't want to make the 'clutch foot space' feel restricted. Then really had to make it symmetrical...
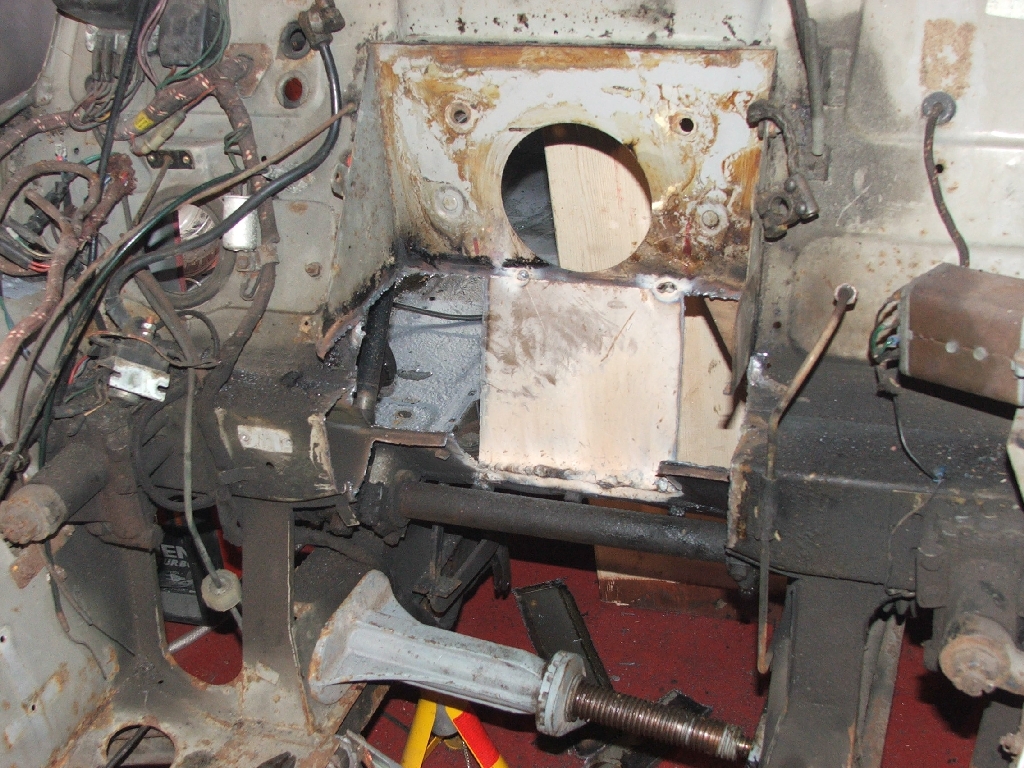
Here's the side bits marked out for cutting from a simple cardboard template.

Seam welded in place.
Couple of small rectangles fill some more gaps.
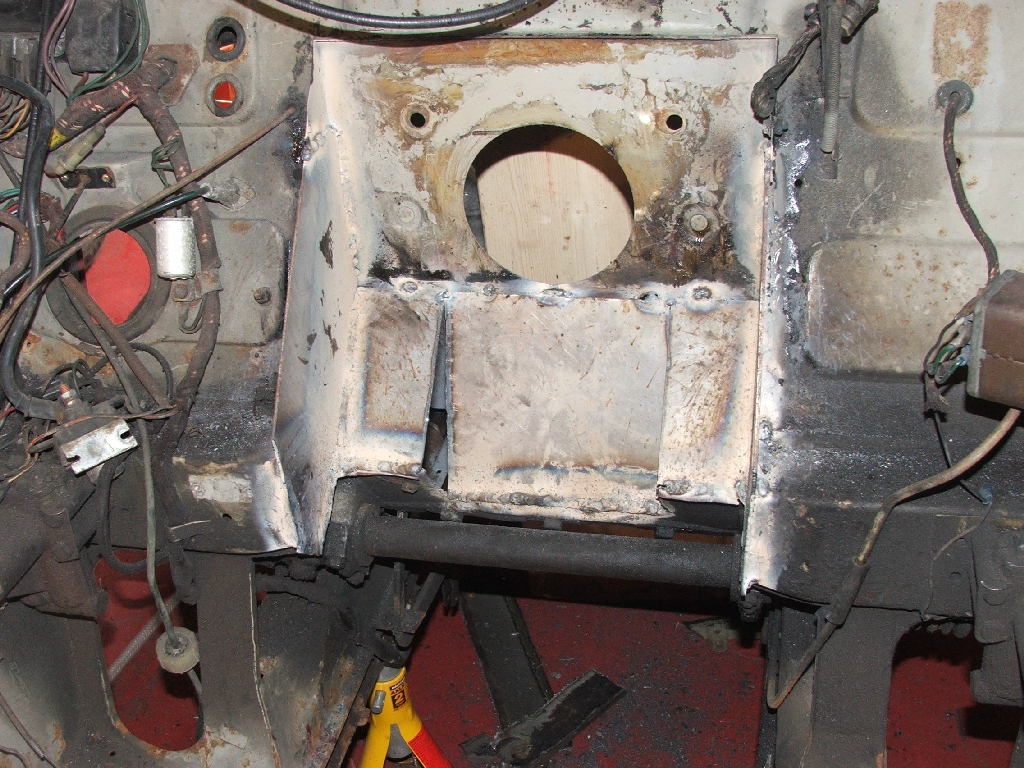
Just a couple of small triangles finish the bottom section.
Welds seem fairly adequate, but quite splattery from the gasless wire.
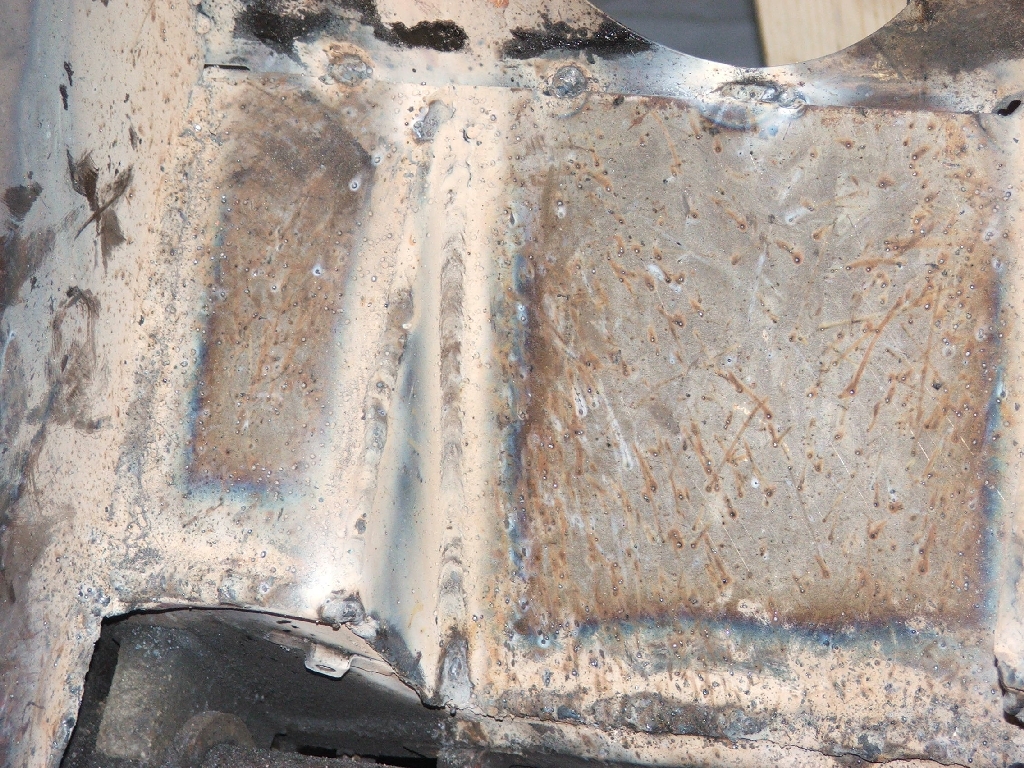
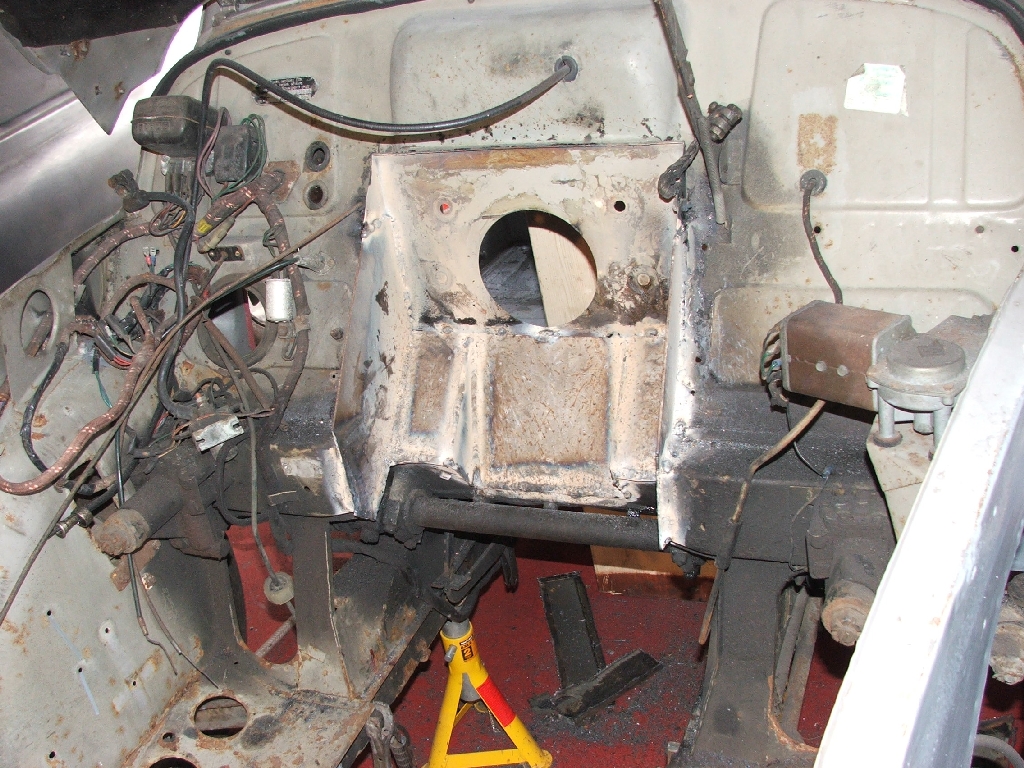
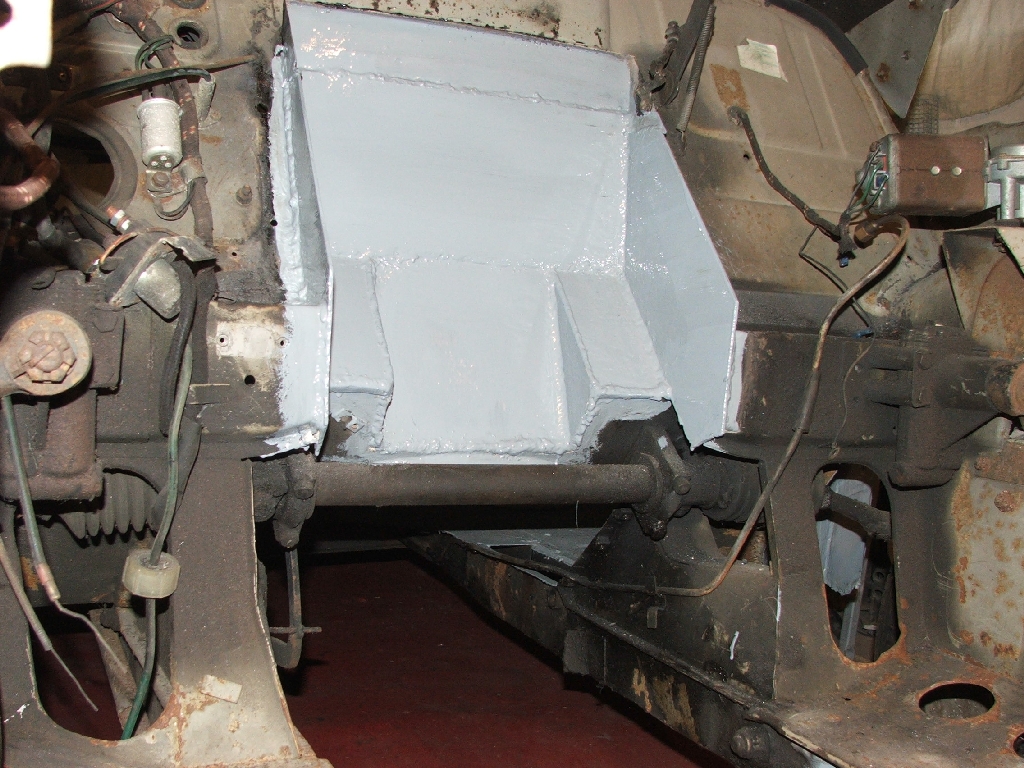
But with the last section in place and a gentle tickle with the grinder, then a wire wheel, it doesn't look toooo shabby!
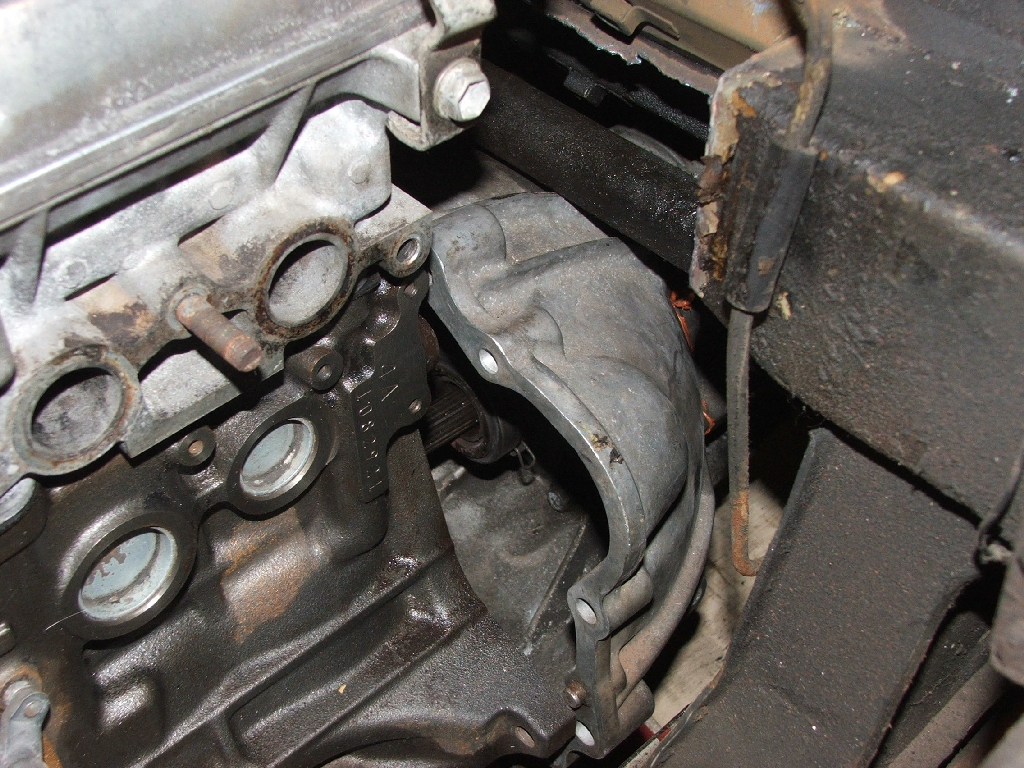
Lots of space behind the engine.
Job done after a quick lick of primer.
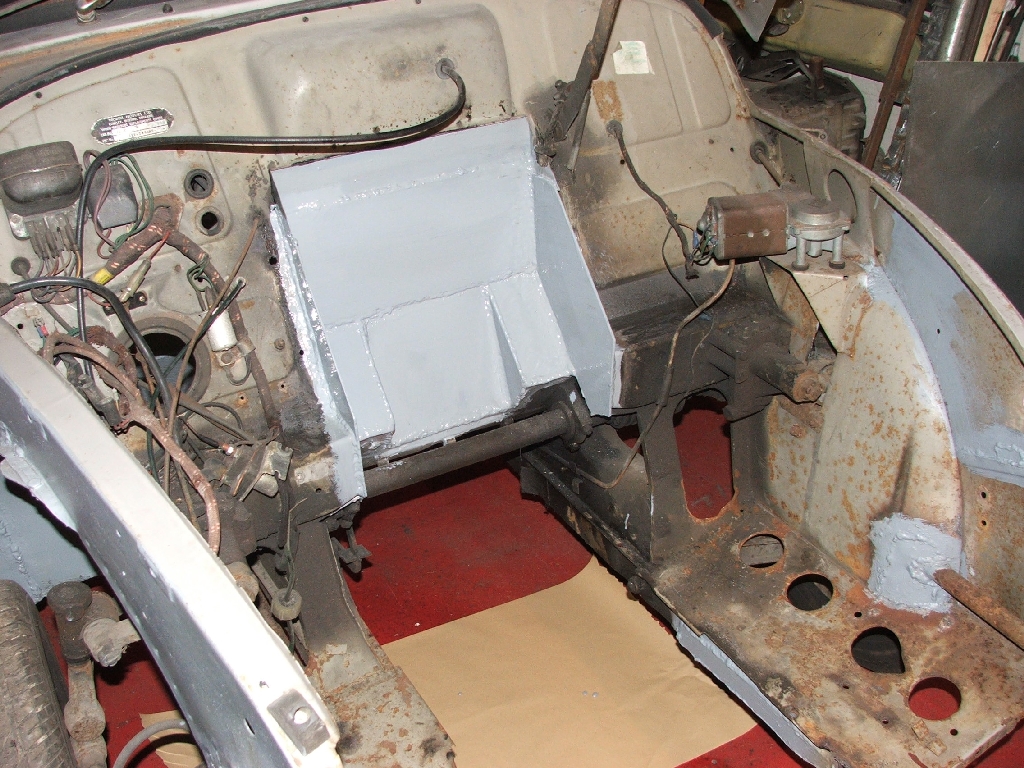
When the engine mounts are sorted, then a bit more of the 3mm will be used to replace the battery shelf - to keep it looking somewhere normal at a quick glance, but not sure the exact height yet.
May 24th - June 1st
After a bit of time off for other things, back to a bit of Mog bashing .
Time to cobble together an adapter to fit the Toyota box to the 4AGE (yes I know there's a bellhousing available for this box - but finding one is the issue!!!)
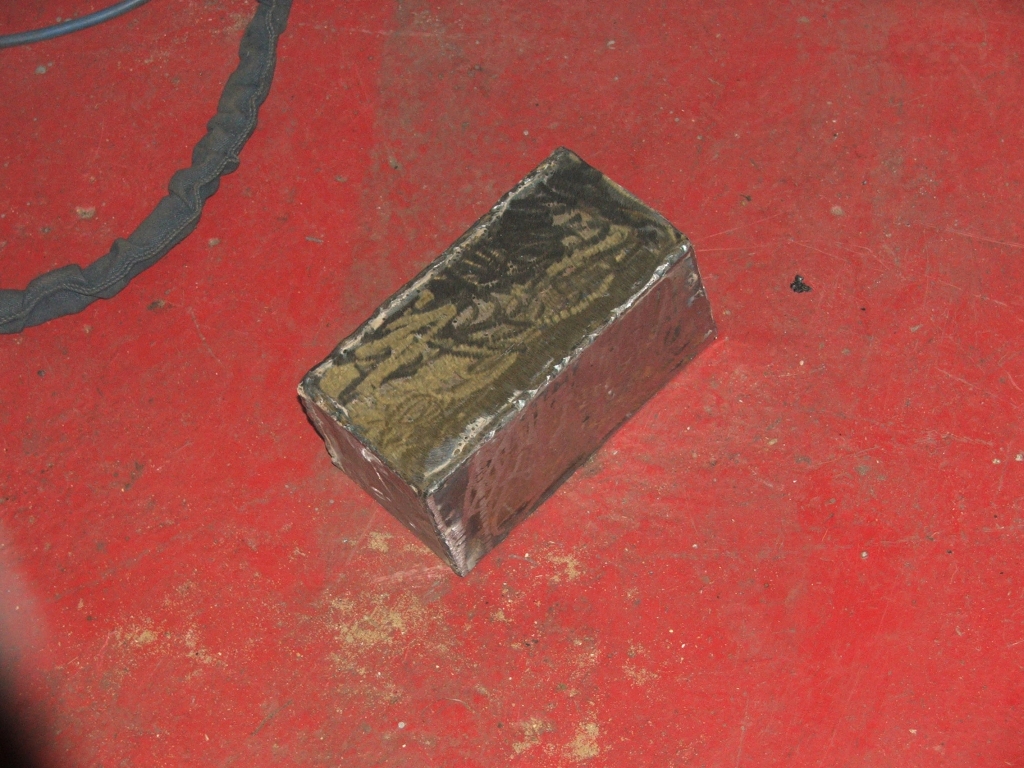
First, make a center hole in the lump o thick steel, and find a suitable 'thing' to on the input shaft to keep it all in place.
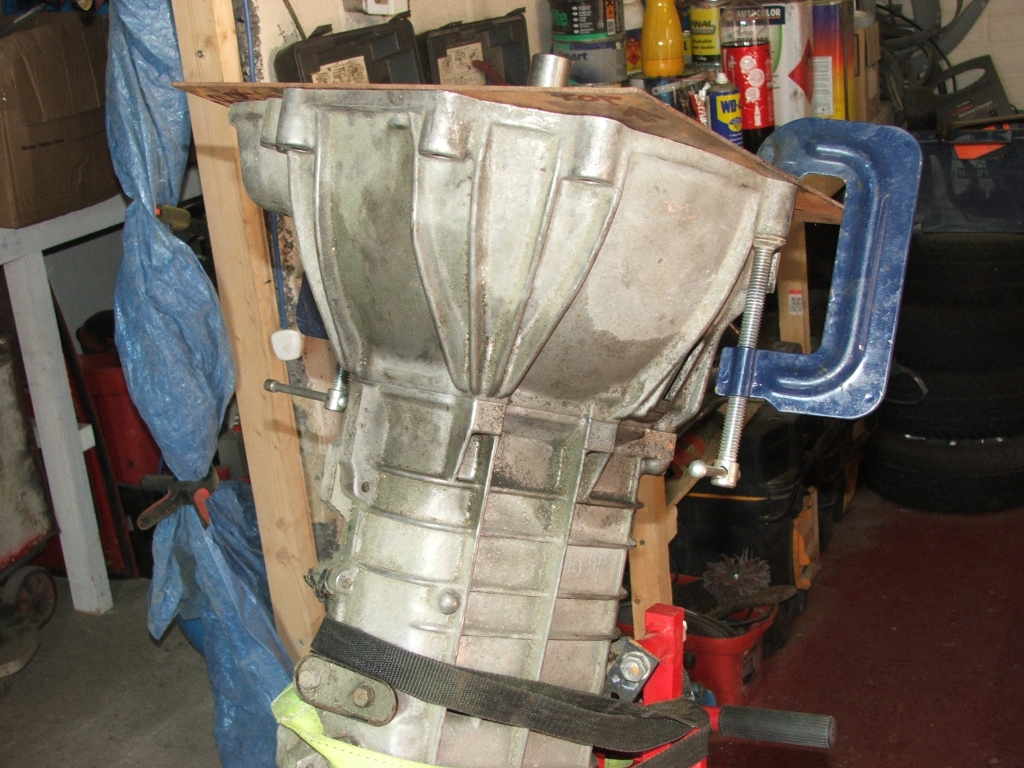
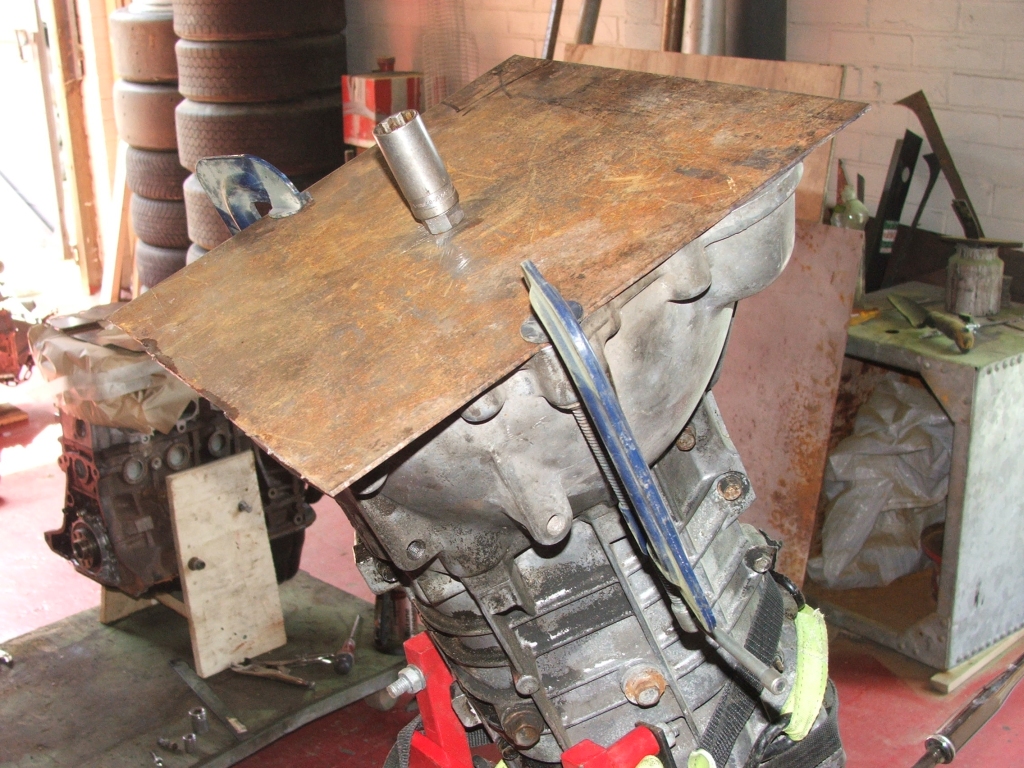
Then mark the oles for the gearbox bolts.Then using the same center but a different 'thing' you can stick the plate on the end of the crank and mark the engine oles. Drill em, and chop out the middle, then slap it all on the back o the engine..


Then you can work out out where the bellhousing needs to be notched to miss the engine bolts.
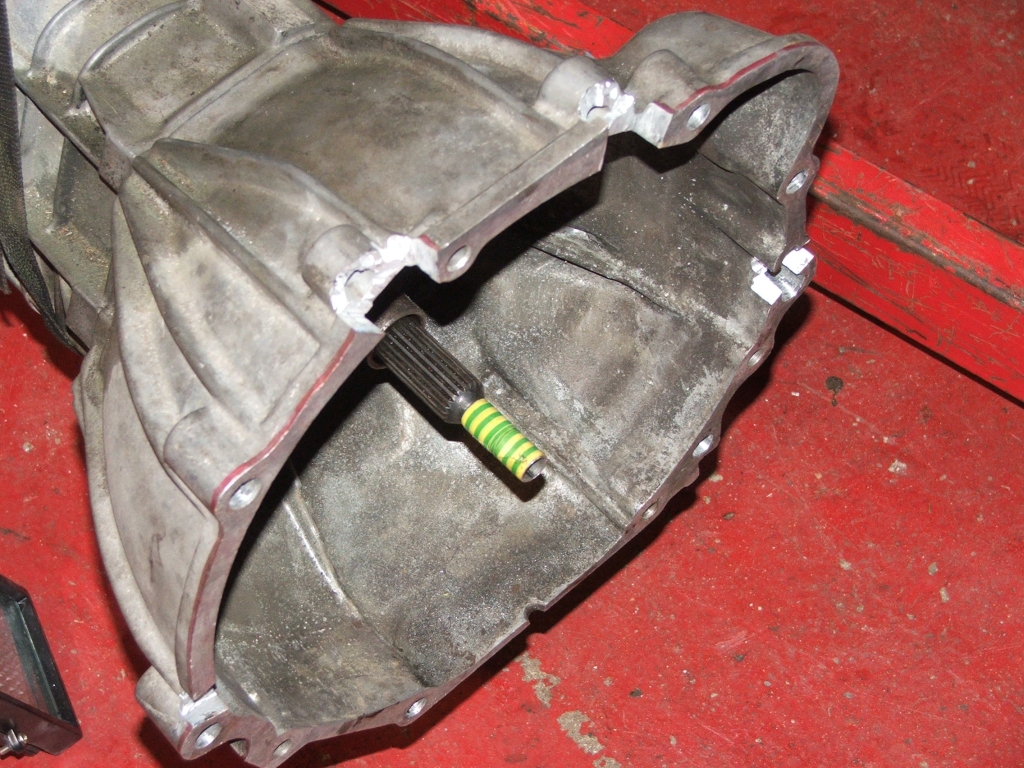

And if all is well, the input shaft slips neatly into the bearing in the crank tail and you can bolt it all together !

Having done one, it was a quick job to just plug the Ford box into the crank tail and mark/drill holes for that too.
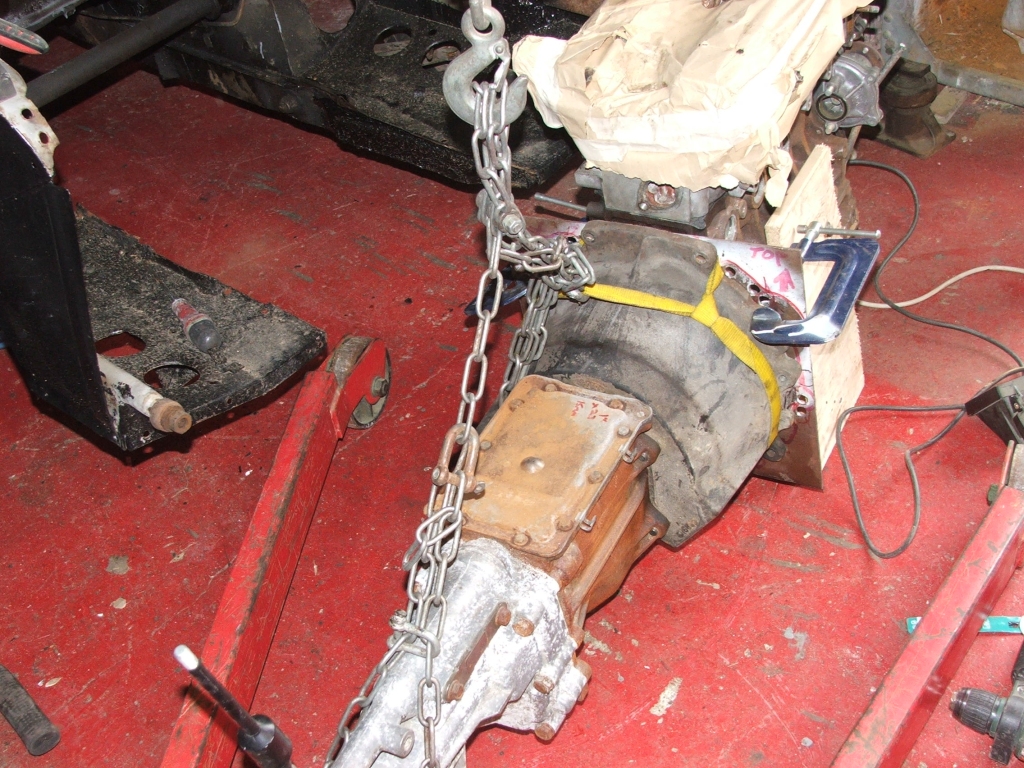

Cunning hey? One adapter plate which will take 2 flavours of gearbox !! :)
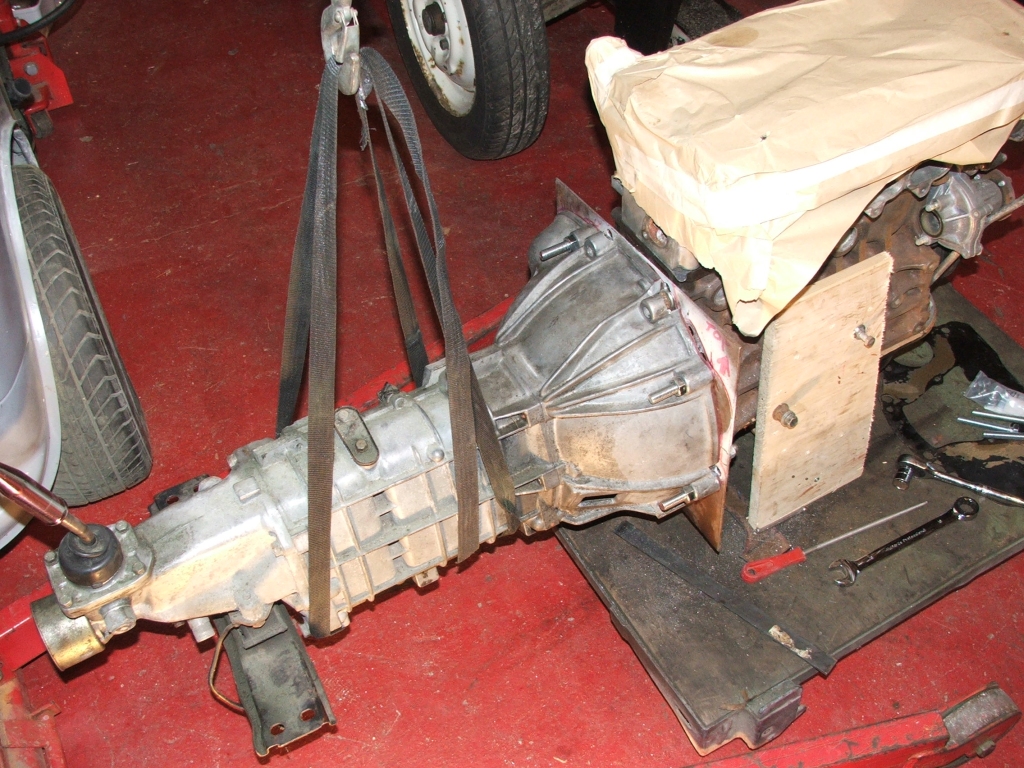
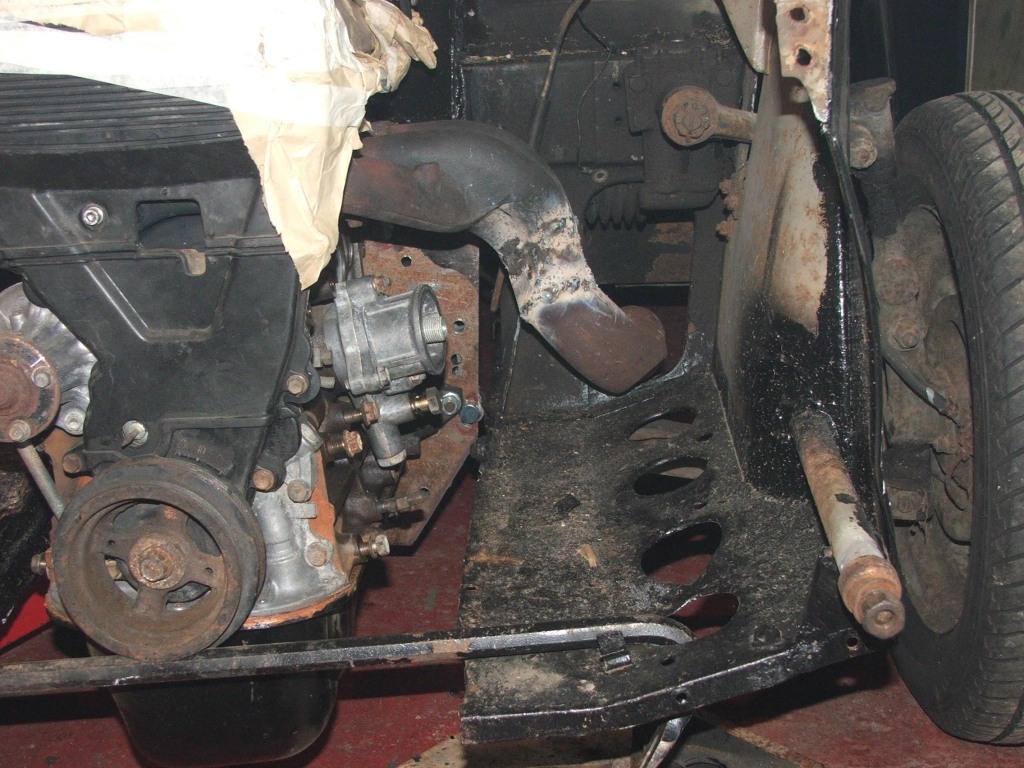
With the box and block nailed together, it can be slipped into the engine bay to see if it actually fits !
All looks pretty good, and only needed to take a small 3" nibble from the tunnel.

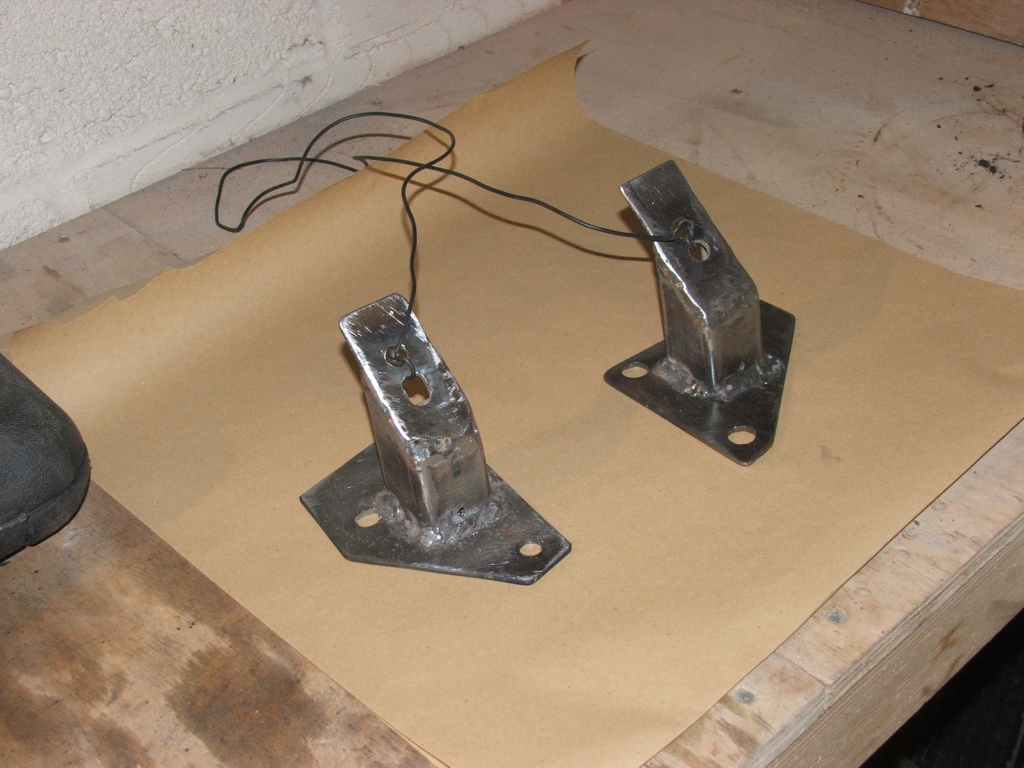
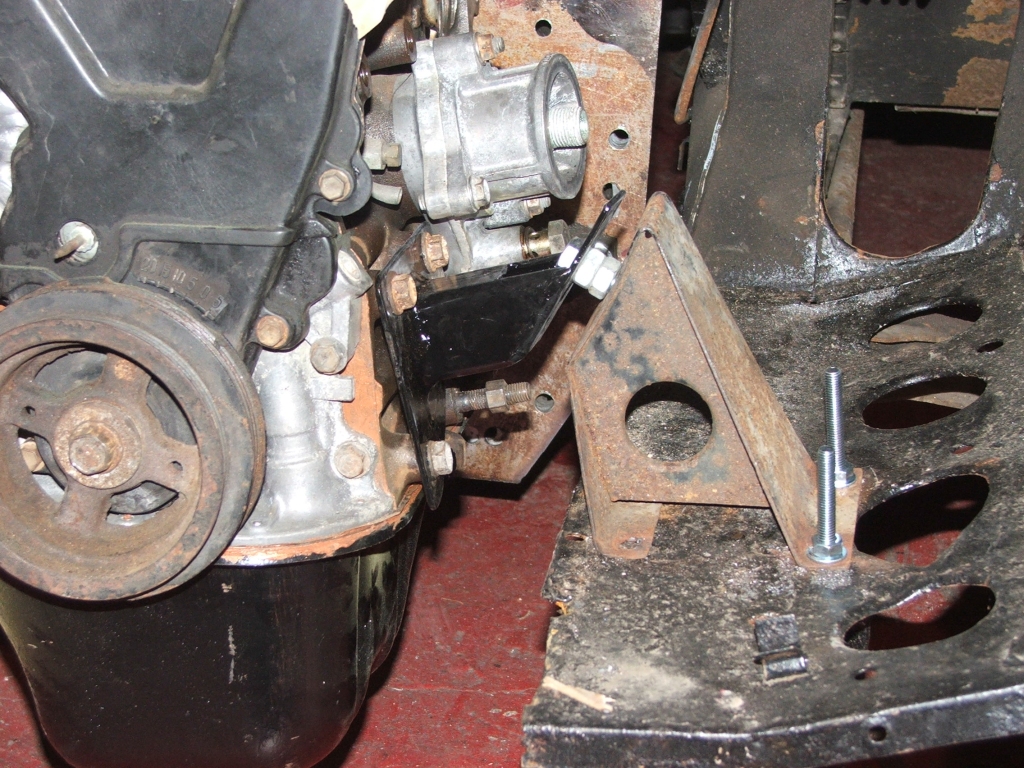
OK, the crowbars are not ideal mounts, so made some engine mount brackets.

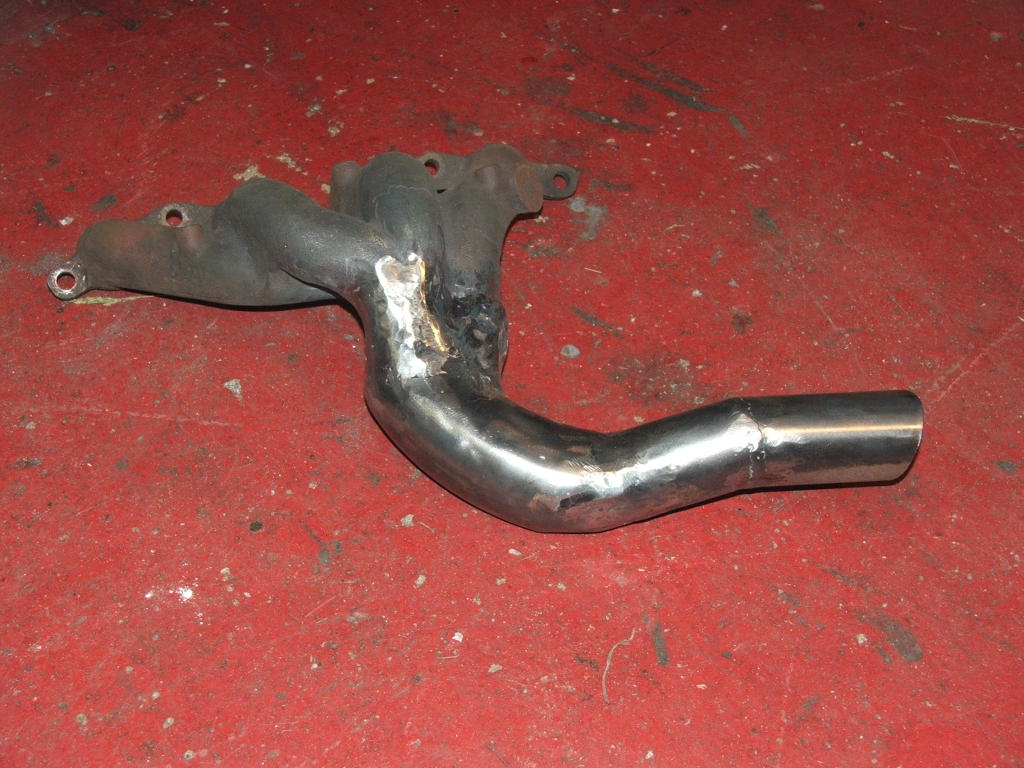
Then in an idle moment while waiting for the paint on the mounts to dry, thought a 'test' fanymold was in order...
Quick chop of the Toyota lump, meant for transverse.
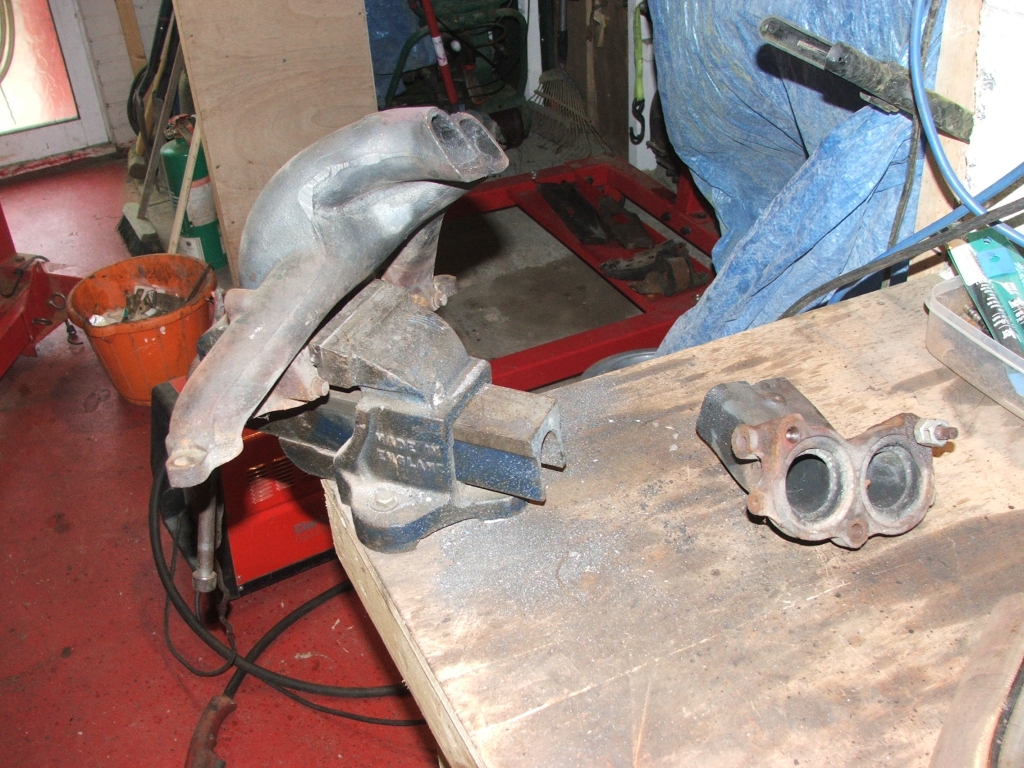
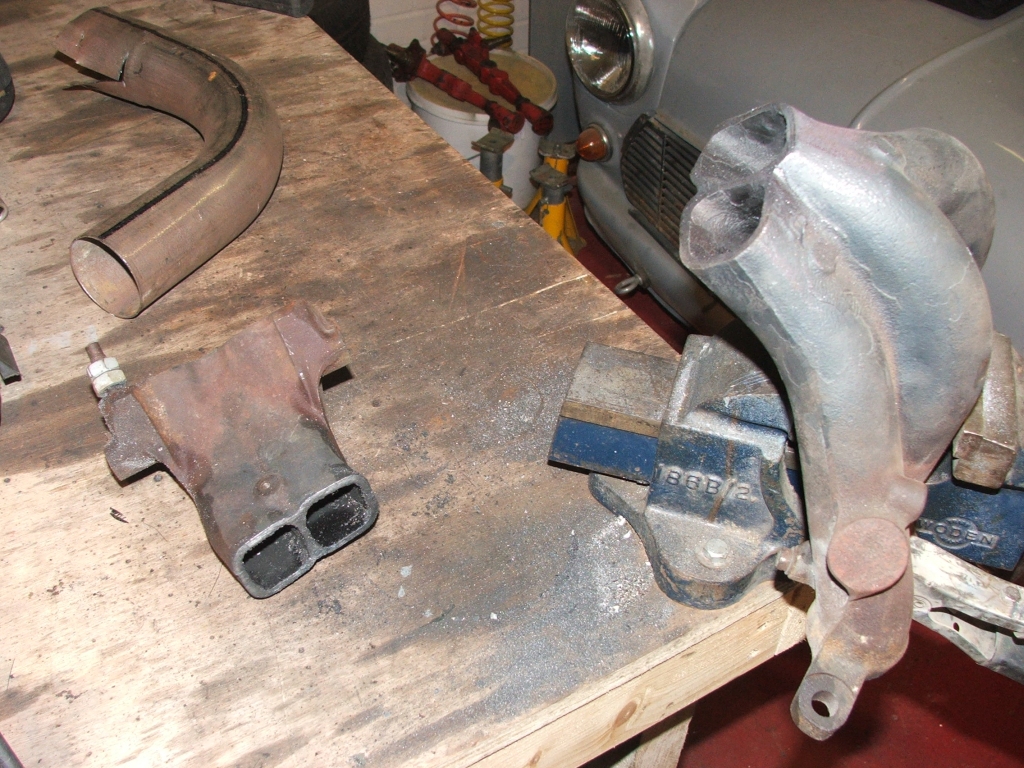
Then much cutting, bending, shaping and munging of a steel elbow (Oh ok, and some welding too) seems to have made something workable.

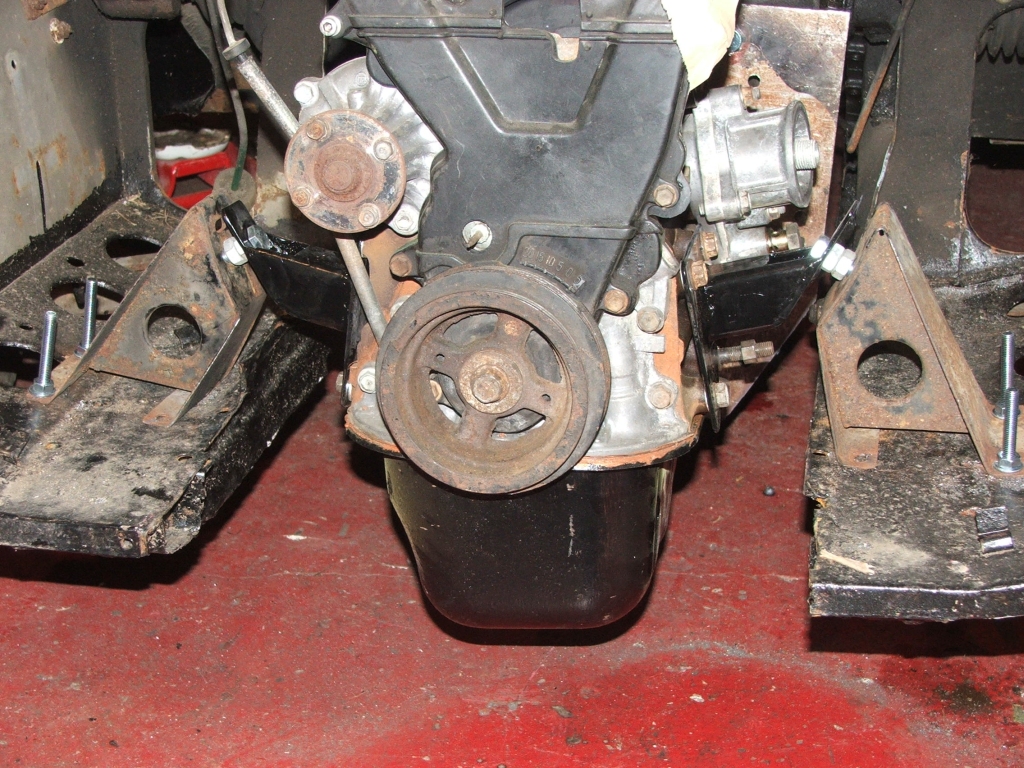
Paint dry on the mounts - well apart from the pool hiding inside one of them, so stuck them on the engine, then redrilled a couple of fixing holes for the original Moggy mounts. No rubbers, just sitting on bolts at the moment with nuts as rough spacers. All seems good though !

June 3rd
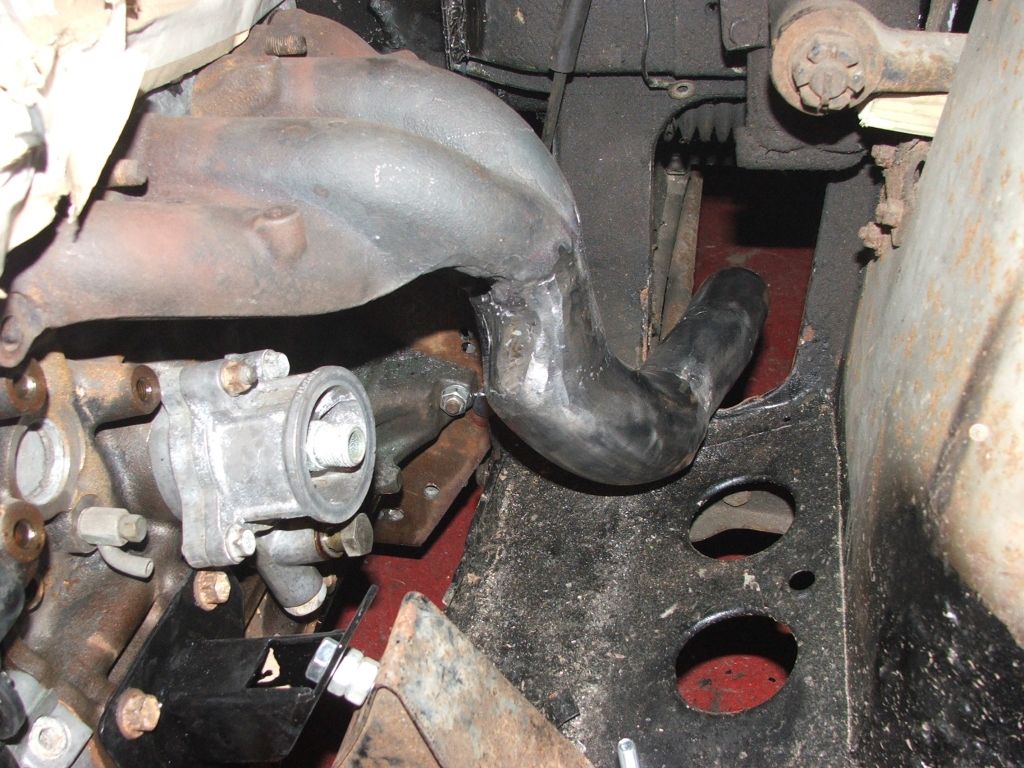
Tweaked and tidied up the manifold so it exits in the right place, with the right size pipe...

June 16th
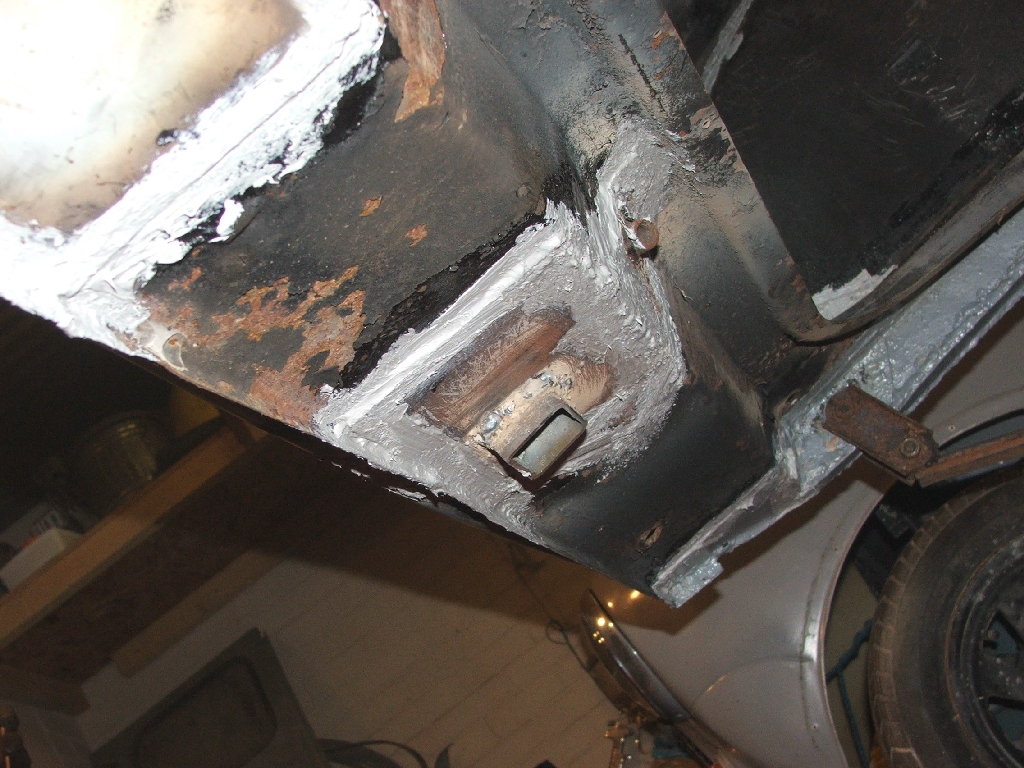
Turrets for telescopic shocks, which will take coilovers at a later date (prob'ly)
Yup, the old favourites... 3mm steel and plasma cutter

Glued together to make solid boxes.

Sit em in holes in the boot floor. Then weld into the floor, chassis rail and seat back to spread the load.
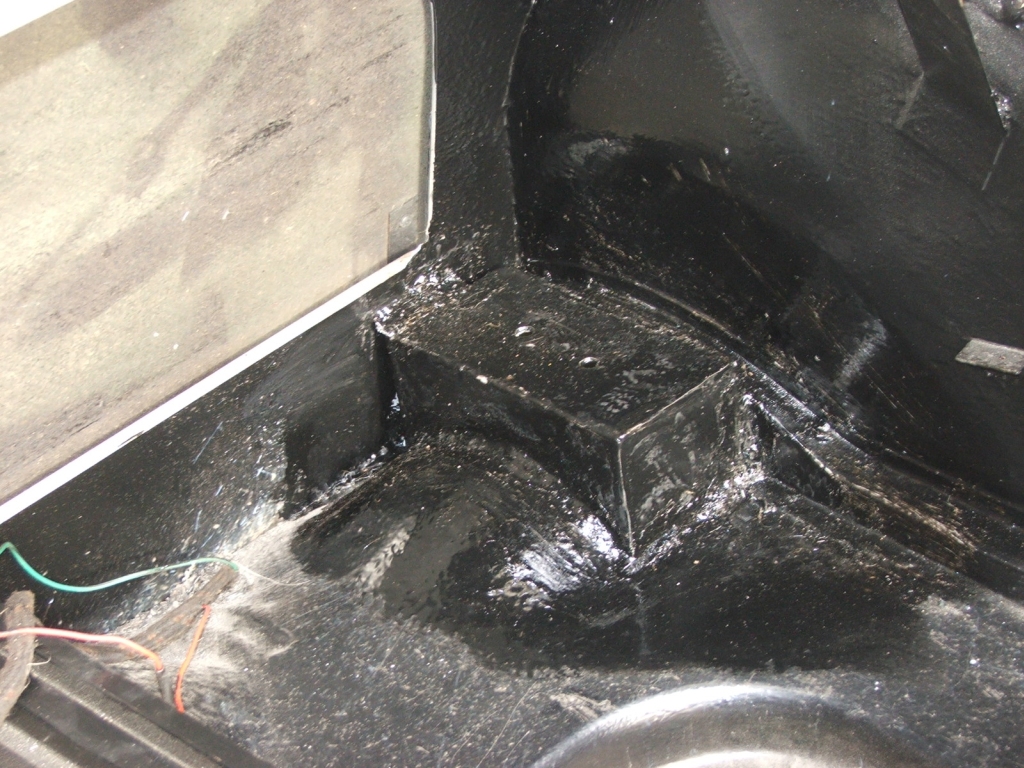
Paint em with the zinky primer and seamy seal them.


Quick lick of black - job done !
June 28th
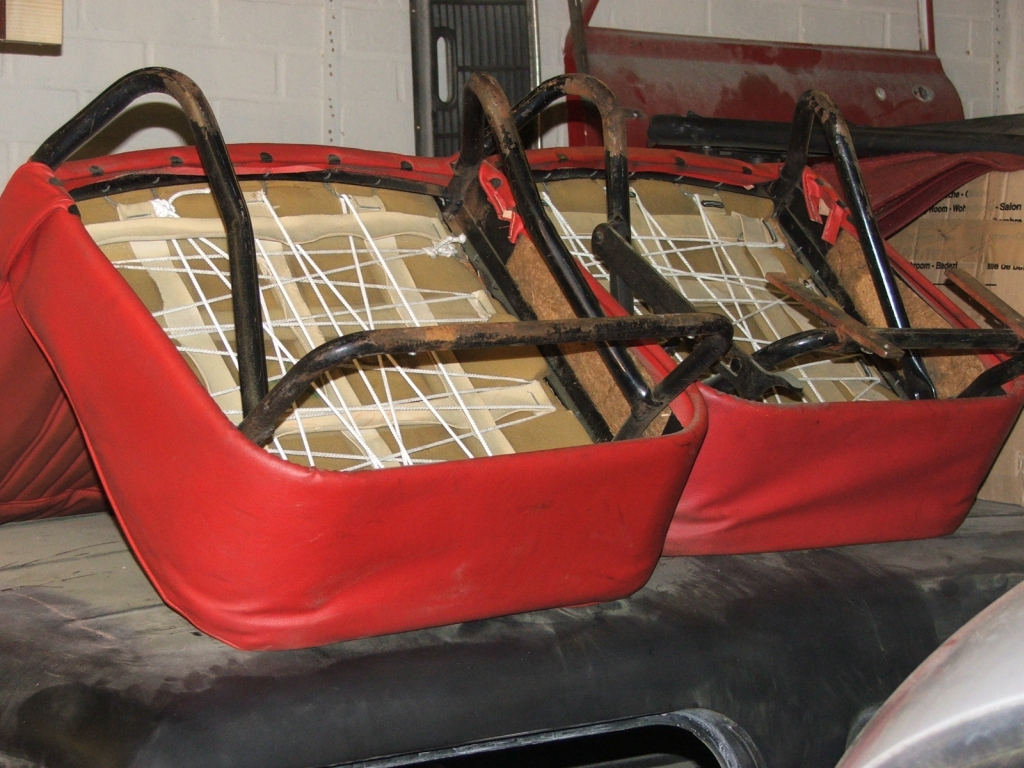
Tightened up the floppy front seats with some polyester cord, wound tightly between the hooks on the seat frame.
Not perfect, but definitely not sitting on the floor any more !!!
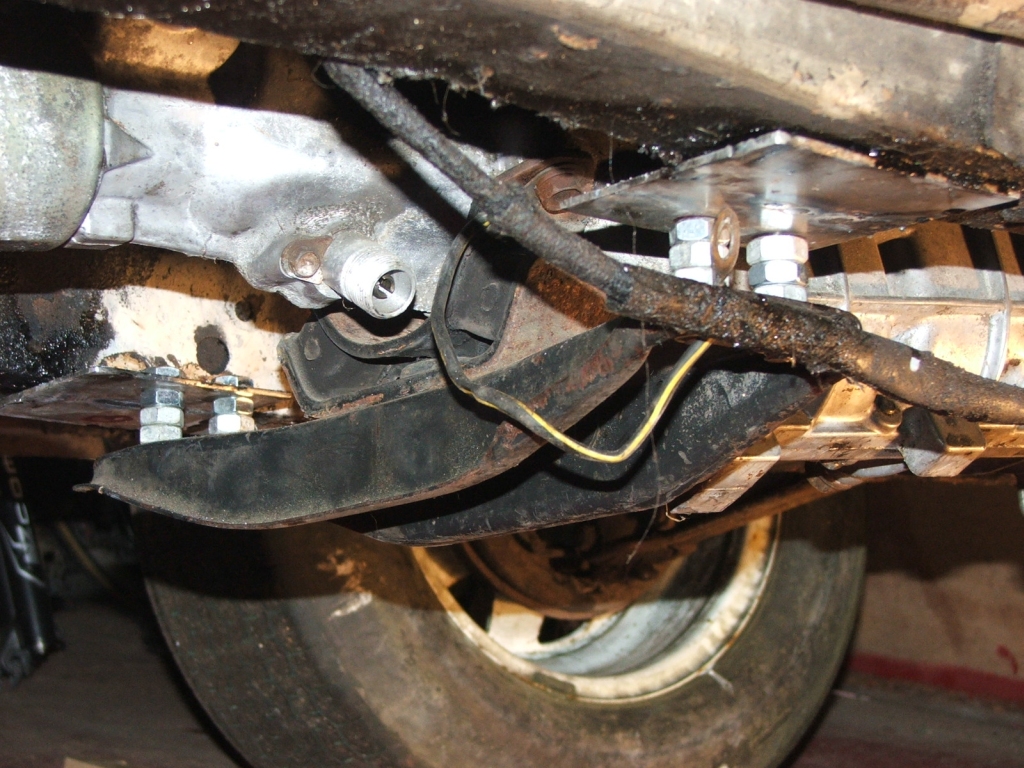
Handily, the Toyota box came with nice rubbery mount and a cross member attached, so an easy job to tack some squares of 3mm steel to the chassis rails to bolt it all together.
The extra nuts are acting as spacers to make sure there is easy up / down adjustment to align the box later. When the box is back out, the brackets will be braced and gusseted.
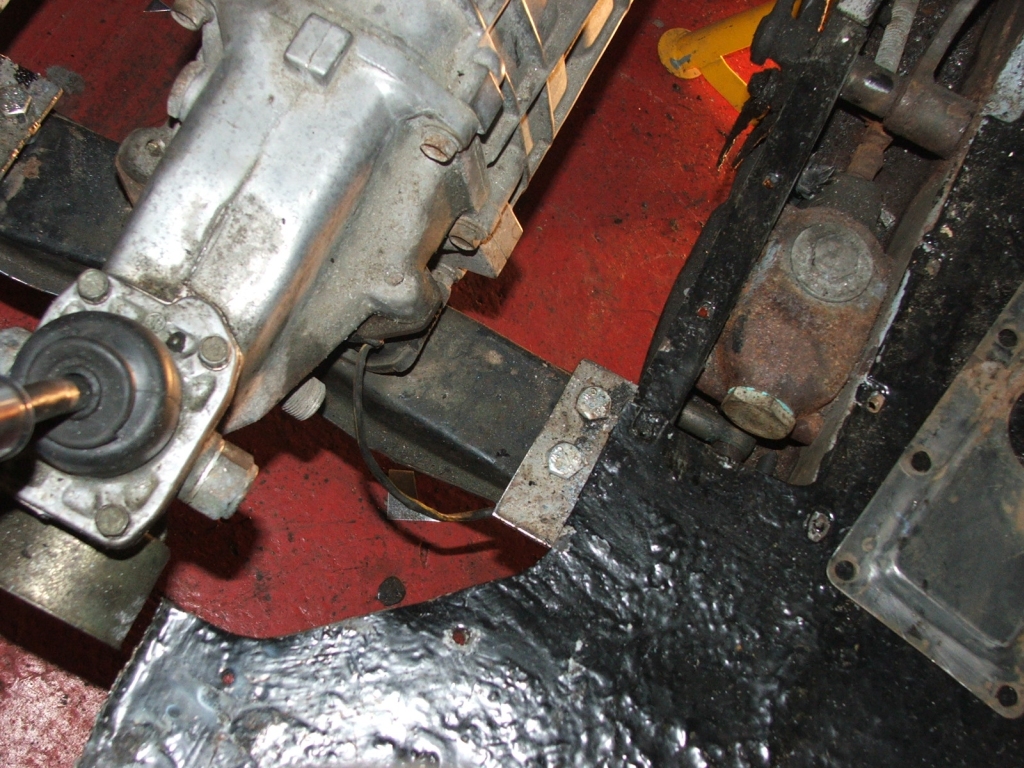
Ooo, the gearstick has also been straightened (cut 1/2 way through, bend, weld) to stop it fouling the handbrake, but the handbrake may move back an inch just to make it all a bit more ergonomic.
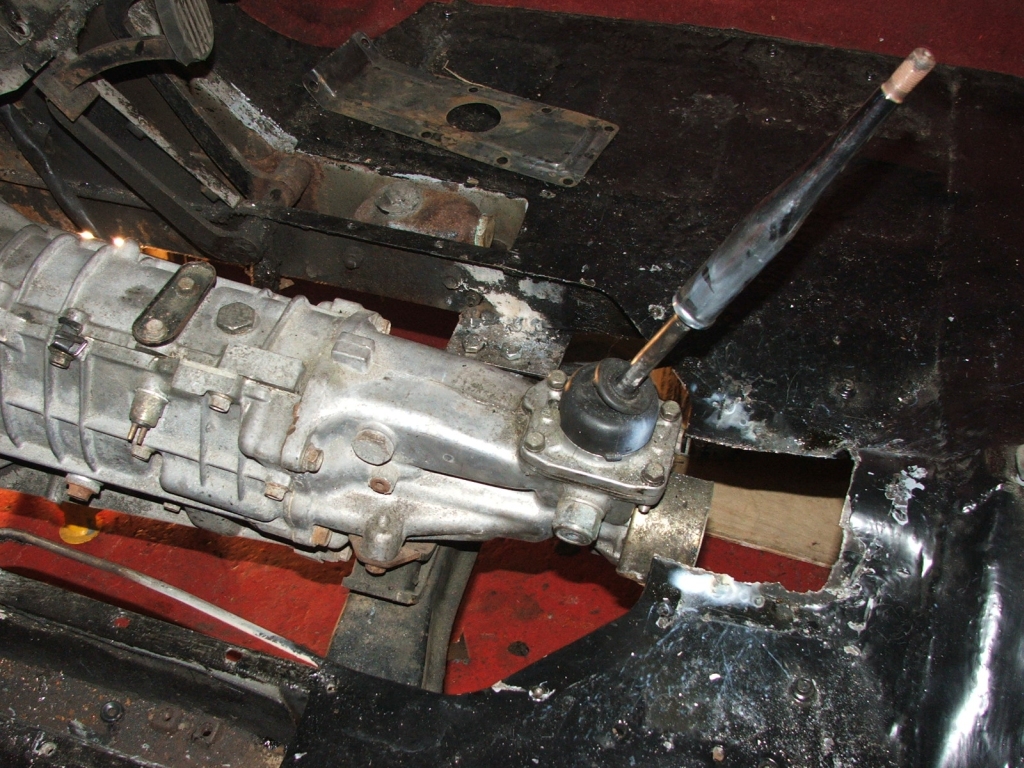

Quick bit of chopping, welding and bashing to extend the tunnel/cover bit.


Jan08